Gr3yH0und
Anime Trivia Master
2
MONTHS
2 2 MONTHS OF SERVICE
LEVEL 1
400 XP
Hey Folks, today we will configure WordPress CMS on Apache Server ( Kali Linux ) in minimum time. We have previously installed WordPress CMS on Ubuntu server which you can check from below.
Ubuntu 20.04 : WordPress Installation on Ubuntu 20.04
About WordPress
If there is a popular cms in today’s, then that is the WordPress. WordPress is becoming a most popular cms (content management system) because of his flexibility. WordPress is a open source platform which written in PHP and work with MySQL and It gives user friendly interface which helps to user to setup his website in few minutes. After complete the setup it gives the administrator console whose help to control whole website.
Let’s take a look
 !!
!!Install Apache Web Server
Just follow our steps continuously and CMS will be setup easily. First we will install the apache web server using the following command to host the WordPress CMS.
apt install apache21apt install apache2

Install MySQL Database
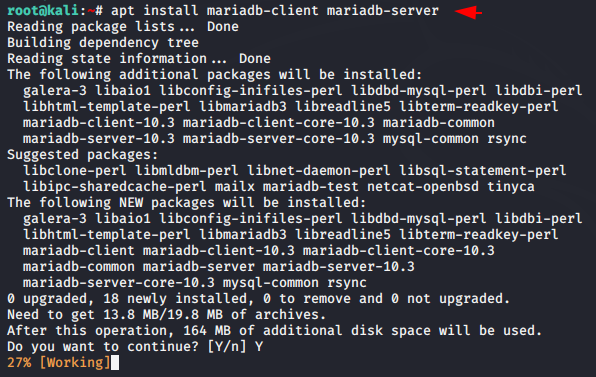
As we know, to build a website, we also need a database server to save the credentials of users and administrators as well as WordPress content, that’s why we need to install maria database server to store all these data.
apt install mariadb-server mariadb-client1apt install mariadb-server mariadb-client
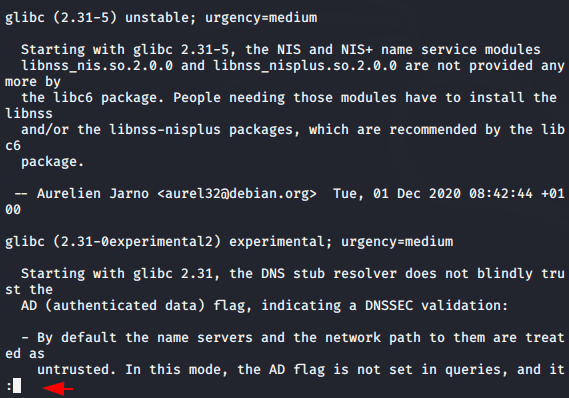
Just ignore all these things and enter continuously. Finally enter “q” to exit the configuration.
Hmm
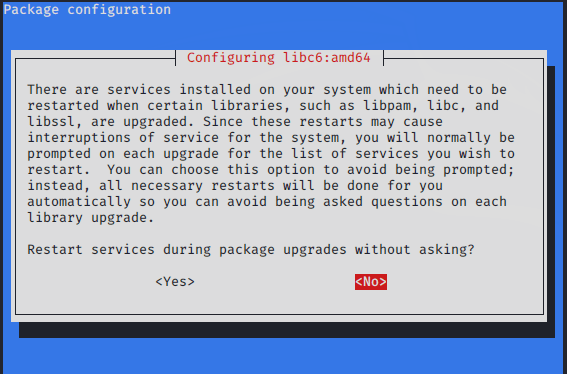
 !! During the configuration of the database server you will get a prompt as shown in the image below, in which you have to proceed by selecting “No“.
systemctl start mysql1systemctl start mysql
Protect Remote Root Login
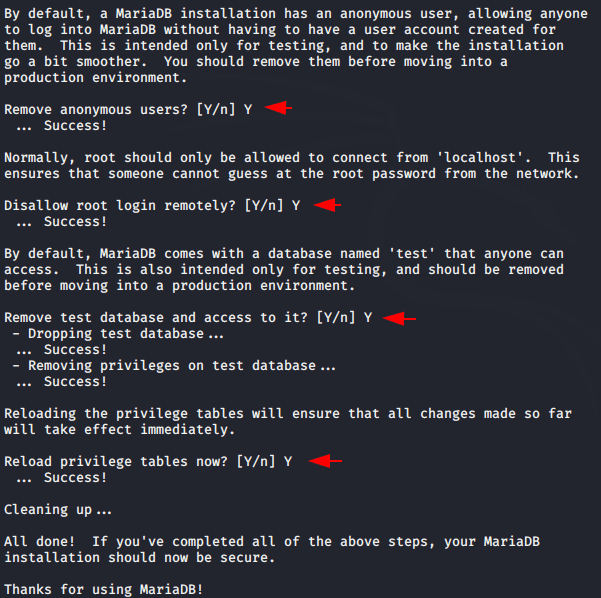
Now we will execute the follwing commands to protect remote root login of the database server. All you have to do is change the root password of mysql as per your choice and you can follow everything else according to us.
mysql_secure_installation1mysql_secure_installation
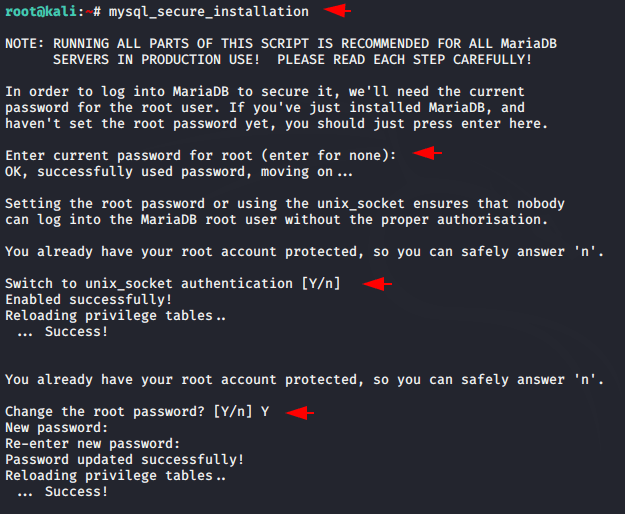
Just follow the steps we have shown in the image below.
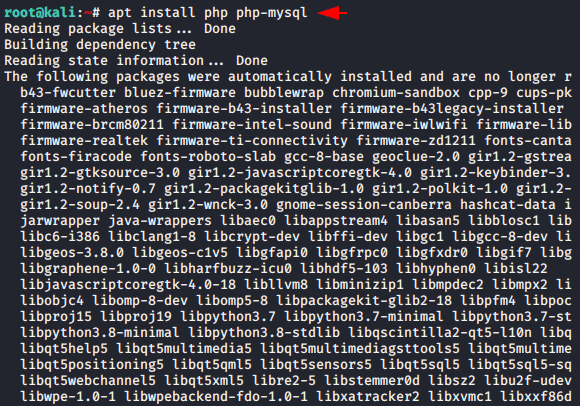
Another thing we need to configure is php, which we will install using the following command.
apt install php php-mysql1apt install php php-mysql
Create Database
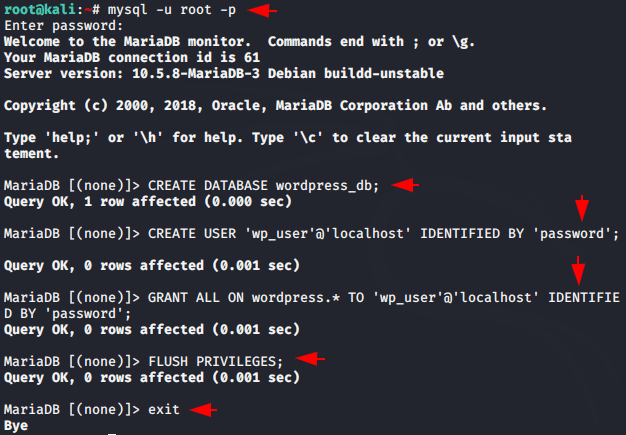
Now we will create database for wordpress by using the following command. You can set the database name, user and password as per your choice or keep the names given by us.
mysql -u root -p
CREATE DATABASE wordpress_db;
CREATE USER 'wp_user'@'localhost' IDENTIFIED BY 'password';
GRANT ALL ON wordpress_db.* TO 'wp_user'@'localhost' IDENTIFIED BY 'password';
FLUSH PRIVILEGES;
exit123456mysql-uroot-pCREATE DATABASE wordpress_db;CREATE USER'wp_user'@'localhost'IDENTIFIED BY'password';GRANT ALL ON wordpress_db.*TO'wp_user'@'localhost'IDENTIFIED BY'password';FLUSH PRIVILEGES;exit
Download WordPress CMS
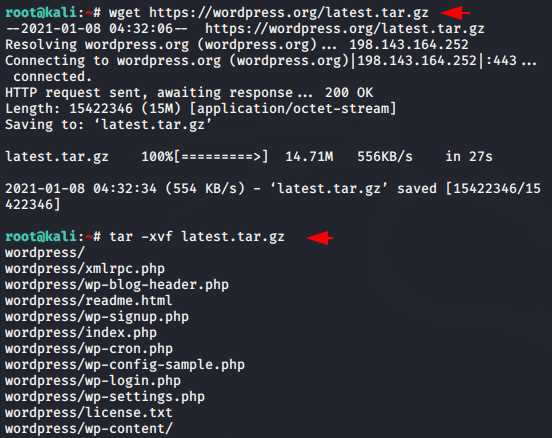
All the backend work is almost done and now we have to download and install the WordPress CMS from the terminal using the wget command. After downloading the CMS, simply extract the zip file at any location using the tar command.
wget https://wordpress.org/latest.tar.gz
tar -xvf latest.tar.gz12wget https://wordpress.org/latest.tar.gztar-xvf latest.tar.gz
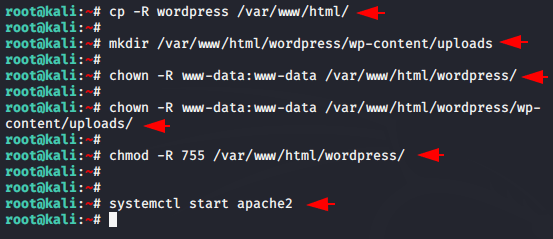
- Steps :1 Copy the entire extracted WordPress directory to the root folder of apache.
- Steps :2 Create an uploads directory inside the “wp-content” folder of the CMS.
- Steps :3 Give some useful permission to the wordpress directory.
- Steps :4 Give some useful permission to the created directory.
- Steps :6 Again give read, write and execute permissions to the wordpress.
- Steps :7 Let’s boot the apache server again : P !!
cp -R wordpress /var/www/html/
mkdir /var/www/html/wordpress/wp-content/uploads
chown -R www-data:www-data /var/www/html/wordpress/
chown -R www-data:www-data /var/www/html/wordpress/wp-content/uploads/
chmod -R 755 /var/www/html/wordpress/
systemctl start apache2123456cp-Rwordpress/var/www/html/mkdir/var/www/html/wordpress/wp-content/uploadschown-Rwww-data:www-data/var/www/html/wordpress/chown-Rwww-data:www-data/var/www/html/wordpress/wp-content/uploads/chmod-R755/var/www/html/wordpress/systemctl start apache2
Installation and backend configuration have been completed successfully and now to create a wordpress website we need to access the following locahost address to our web server.
Loading…
localhost
Loading…
localhost
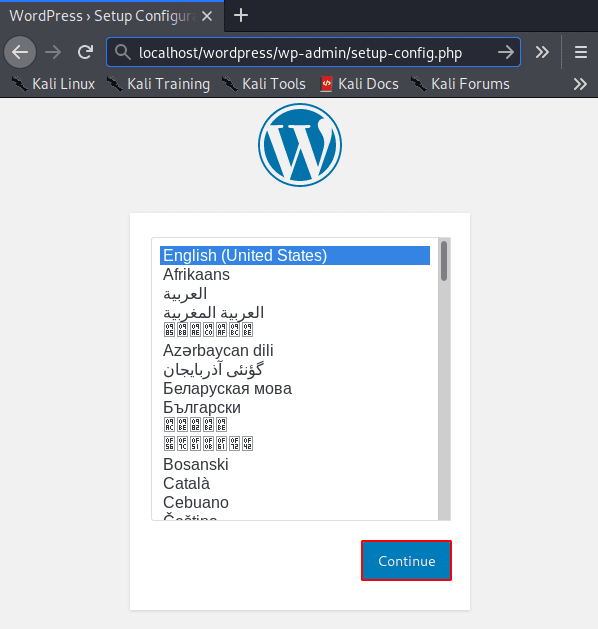
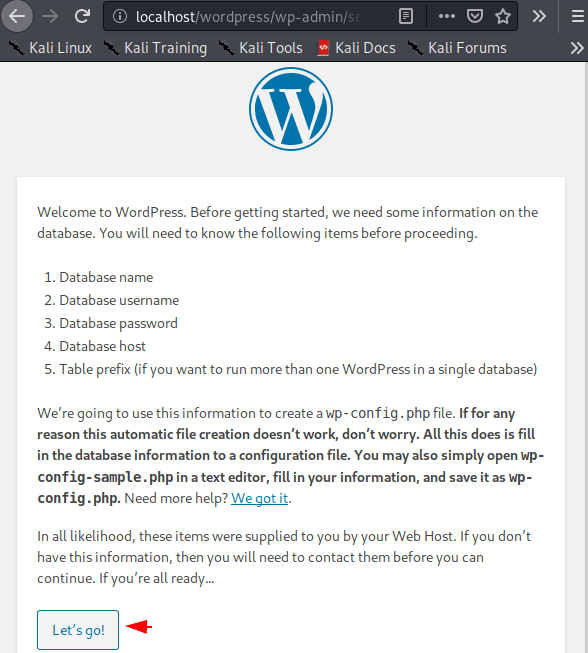
After choosing the preferred language, click “Let’s go” and move on.
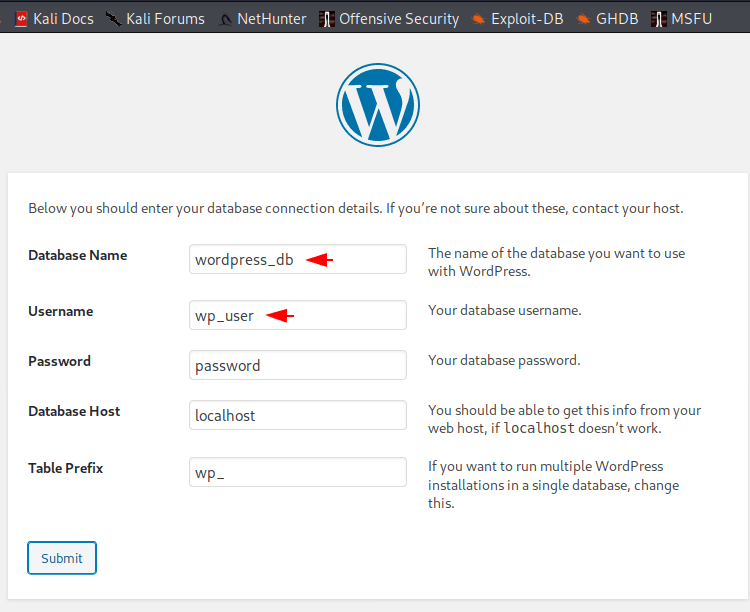
Entered the names of the same database, user and password that we created earlier.
Near
!! Just click on it and proceed.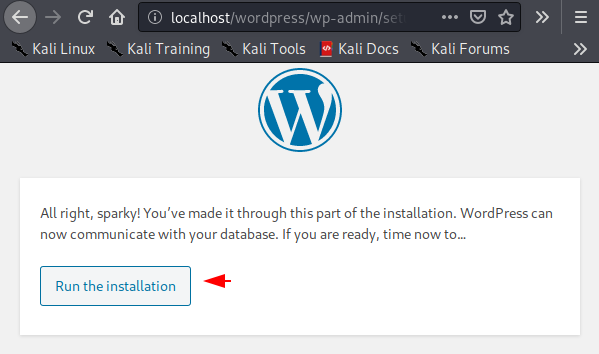
Ready
!! It is time to create credentials for the WordPress admin login. Set the password and username as you like and proceed.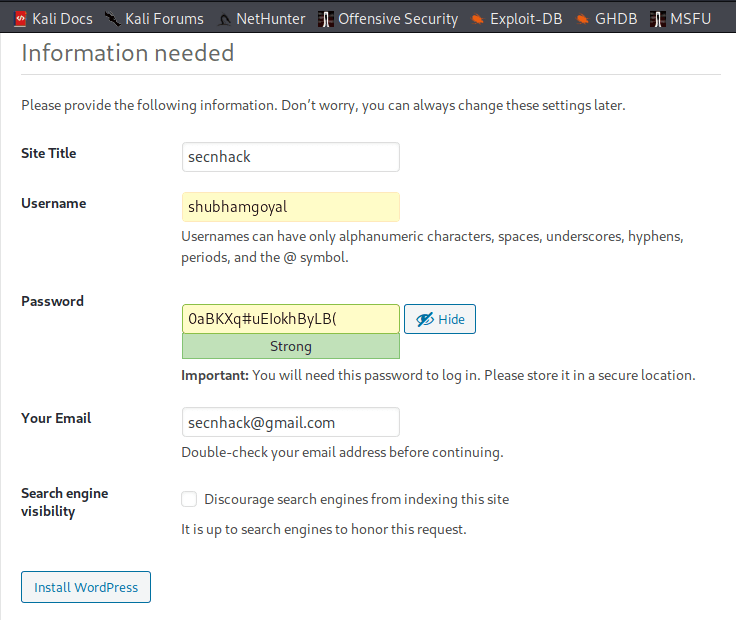
Done
!! All that’s done is just hit enter on the login button and go inside the admin panel of the WordPress CMS.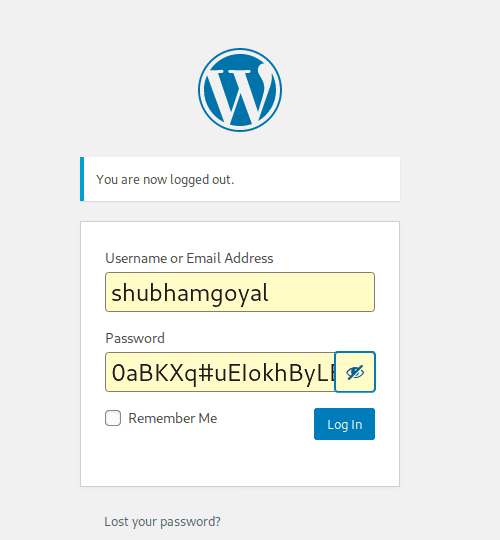
Aggressive
!! Now you can easily create your own website easily using the drag and drop feature provided by WordPress.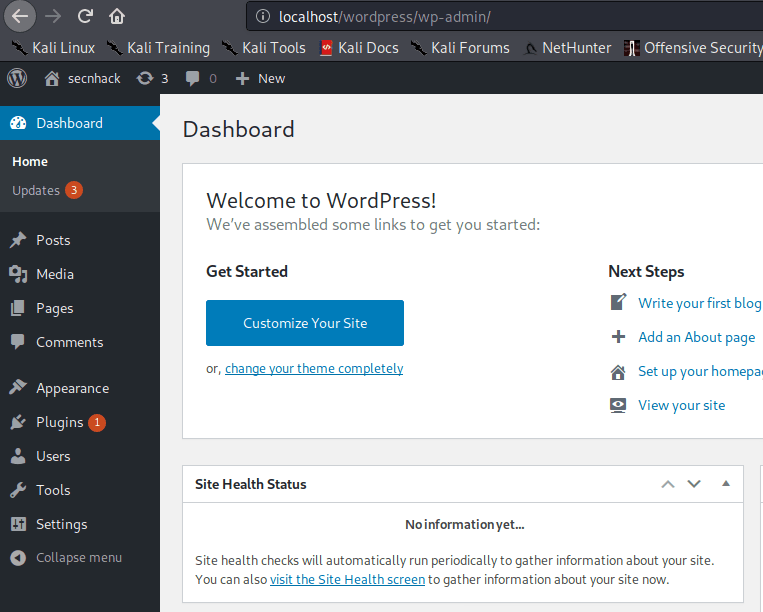
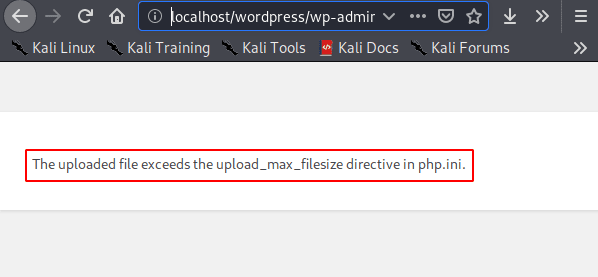
WordPress upload_max_filesize Error
Opps
!! When we upload a theme or plugin greater than 2 mb, we get an error as shown in the image below. Let’s try to slove it  !!
!!
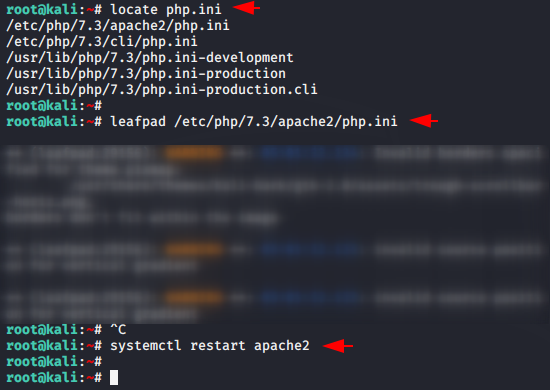
Edit php.ini File
Now we need to edit the configuration of the php.ini file. First locate the file using the “locate” command and then open it using any preferred file editor.
locate php.ini
nano /etc/php/7.3/apache2/php.ini
systemctl restart apache2123locate php.ininano/etc/php/7.3/apache2/php.inisystemctl restart apache2
Just increase the uploading file size feature from 2mb to 64mb and more.
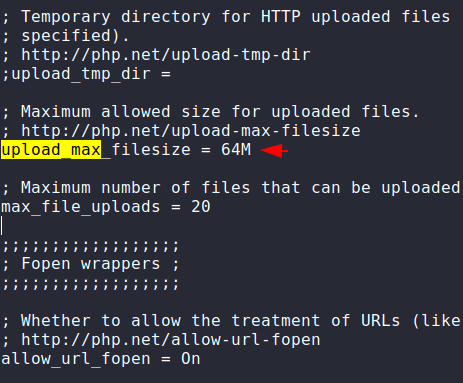
Solved
!! As you can see the error is gone and now we can upload any theme or plugin with more than 2 mb.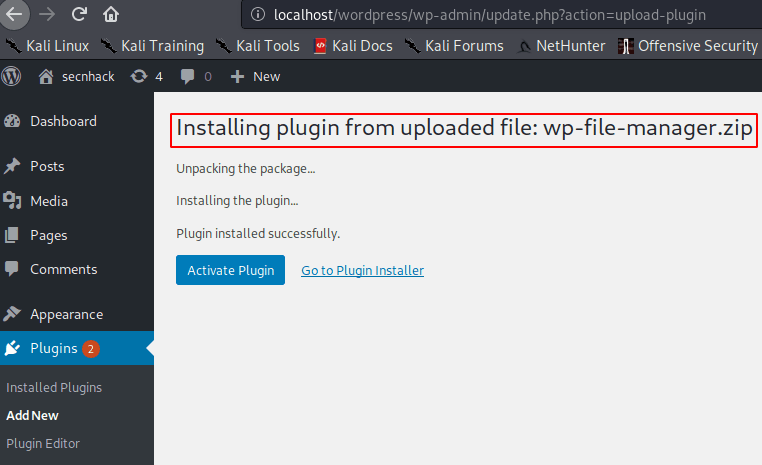
WordPress Getting spoiled ( Error )
Opps
!! When we access our WordPress web page on another system we get another error. Let’s try to solve it too !!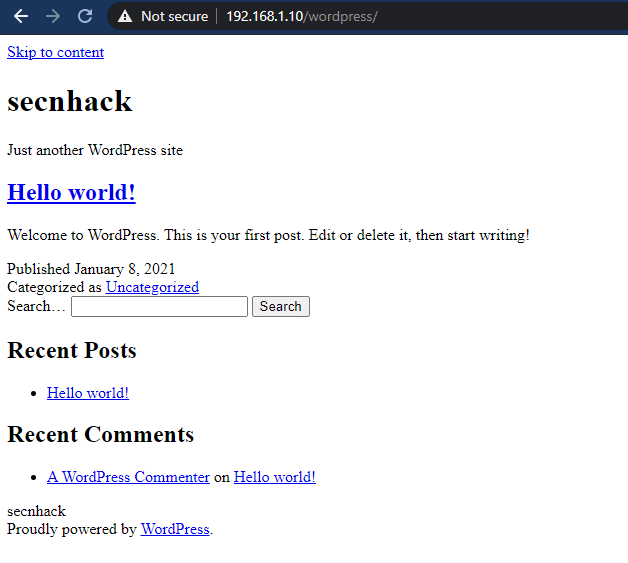
Ok
!! You have to paste these two lines in the “wp-config” file inside the WordPress directory.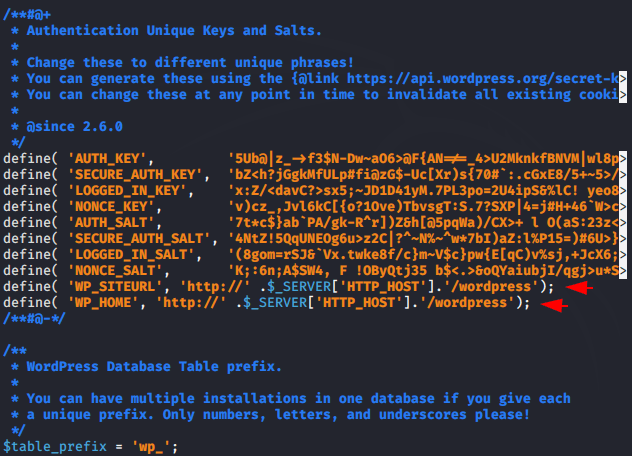
Congratulations
!! We have resolved all the error encountered during the installation of WordPress CMS. Now you can build your website and paste the content to be published.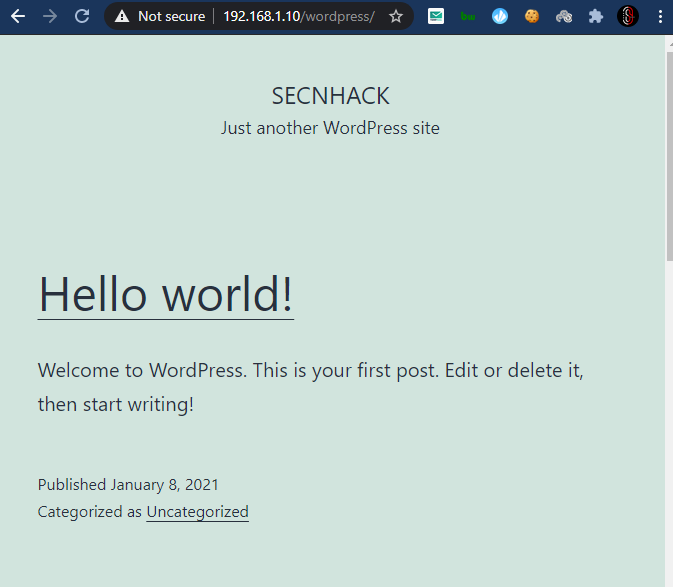
Tags : WordPress installation | how to install wordpress in localhost | wordpress installation in kali linux | install wordpress apache server | upload_max_filesize error | sub domain path wordpress.
About the AuthorShubham Goyal Certified Ethical Hacker, information security analyst, penetration tester and researcher. Can be Contact on Linkedin.