ajeeba
Earnings Amplifier
LEVEL 1
400 XP
Hey Folks, today we are going to configure PrestaShop CMS on ubuntu operating system. PrestaShop is a freemium, open source e-commerce platform. It is written in the PHP programming language with support for the MySQL database management system. PrestaShop has more than three hundred built-in features for managing product listing, payments, shipping, manufacturers and suppliers.
Let’s take a look
 !!
!!Add Repository
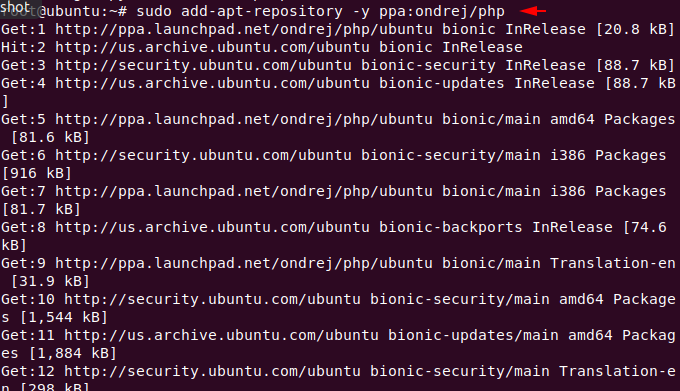
By default, the latest version of PHP is not installed in the Ubuntu operating system, so we will add this given repository so that the latest version of PHP can be installed in the ubutnu operating system. After adding it then execute the update command.
sudo add-apt-repository ppa:ondrej/php
sudo apt-get update12sudo add-apt-repository ppa:ondrej/phpsudo apt-get update
Apache Installation
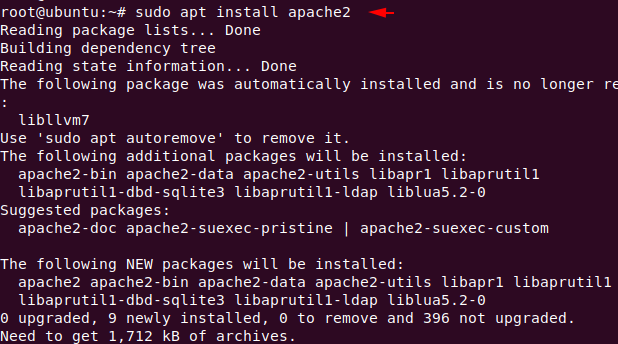
We need a web server to configure or host any web application so we will first install apache web server to host our wordpress on our ubuntu operating system.
sudo apt install apache21sudo apt install apache2
Installation of MySQL Database
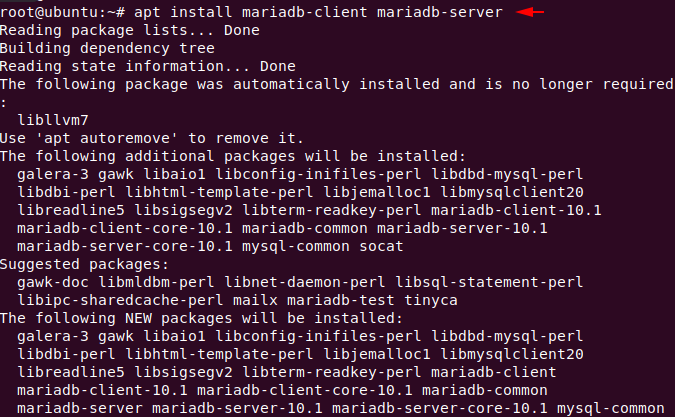
Likewise, we need a database server in the backend to keep the credentials and information of ourselves and our customers. Now we will install maria database server to store all those data and content.
apt install mysql-client mysql-server1apt install mysql-client mysql-server
Installation of PHP
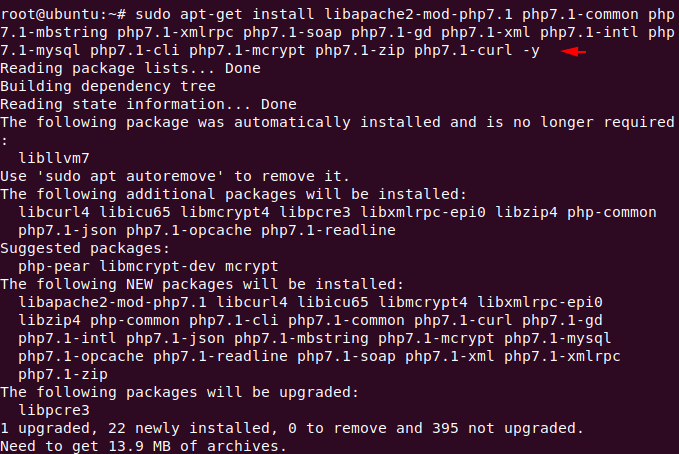
Now we can install any version of PHP which is available, but in this time we need version 7.0 of PHP which we install using the following command.
sudo apt-get install php libapache2-mod-php php-cli php-common php-mbstring php-gd php-intl php-xml php-mysql php-zip php-curl php-xmlrpc1sudo apt-get install php libapache2-mod-php php-cli php-common php-mbstring php-gd php-intl php-xml php-mysql php-zip php-curl php-xmlrpc
Activate Services
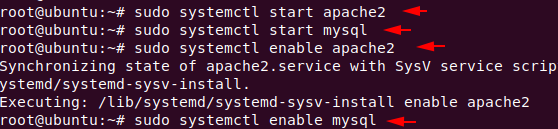
Now we will enable all the services that we had downloaded.
sudo systemctl start apache2
sudo systemctl start mysql12sudo systemctl start apache2sudo systemctl start mysql
Protect Remote Root Login
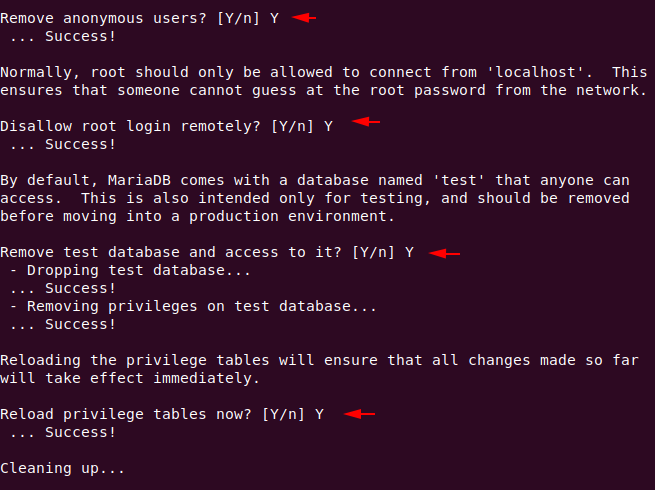
We will take the following steps to secure our database server only. All you have to do is change the root password of mysql as per your choice and the rest has to be done as we have done below.
sudo mysql_secure_installation1sudo mysql_secure_installation
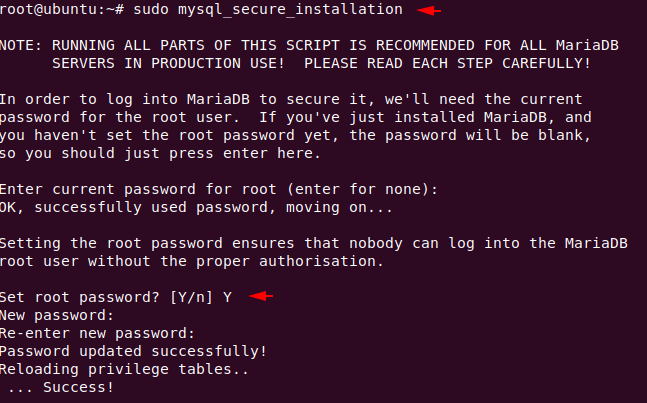
Just enter “Y” everywhere and move ahead.
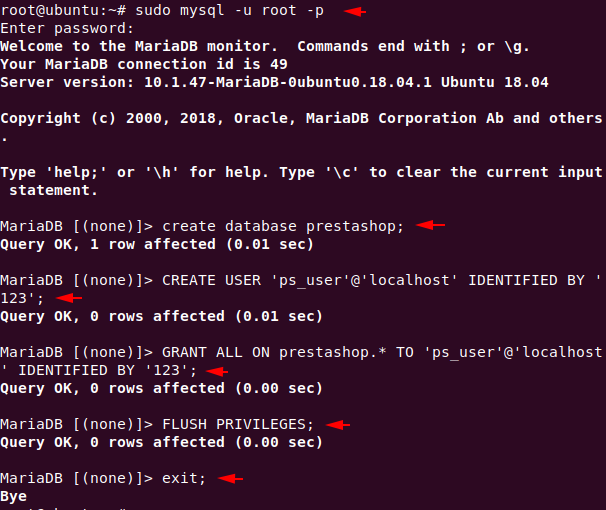
Manage & Create Database
Now we will create a database with username and password using the following command. You can keep all things or names according to yourself.
sudo mysql -u root -p
create database prestashop;
CREATE USER 'ps_user'@'localhost' IDENTIFIED BY '123';
GRANT ALL ON prestashop.* TO 'ps_user'@'localhost' IDENTIFIED BY '123';
FLUSH PRIVILEGES;
exit;123456sudo mysql-uroot-pcreate database prestashop;CREATE USER'ps_user'@'localhost'IDENTIFIED BY'123';GRANT ALL ON prestashop.*TO'ps_user'@'localhost'IDENTIFIED BY'123';FLUSH PRIVILEGES;exit;
PrestaShop CMS Installation
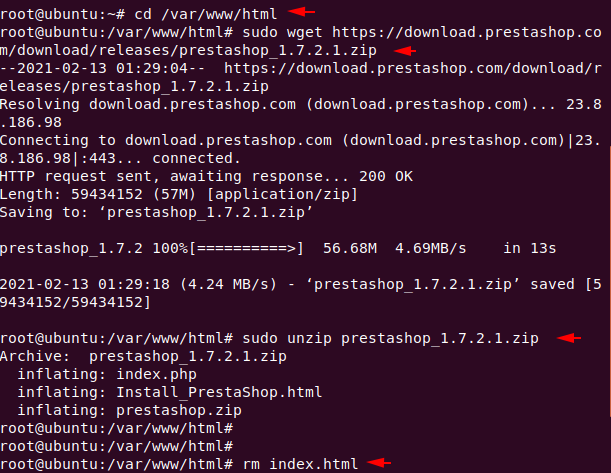
First of all we have to go inside the root folder of apache web server using cd command. Only then we will download the cms project via wget command and unzip the file. By default, the apache web server has an “index.html” file that we must delete using the “rm” command.
cd /var/www/html
sudo wget https://download.prestashop.com/download/releases/prestashop_1.7.2.1.zip
sudo unzip prestashop_1.7.2.1.zip
rm index.html1234cd/var/www/htmlsudo wget https://download.prestashop.com/download/releases/prestashop_1.7.2.1.zipsudo unzip prestashop_1.7.2.1.ziprm index.html
Now give some necessary permissions and restart apache web server.
sudo chown www-data: /var/www/html/
sudo chmod -R 755 /var/www/html/
sudo a2enmod rewrite
service apache2 restart1234sudo chown www-data:/var/www/html/sudo chmod-R755/var/www/html/sudo a2enmod rewriteservice apache2 restart

Great
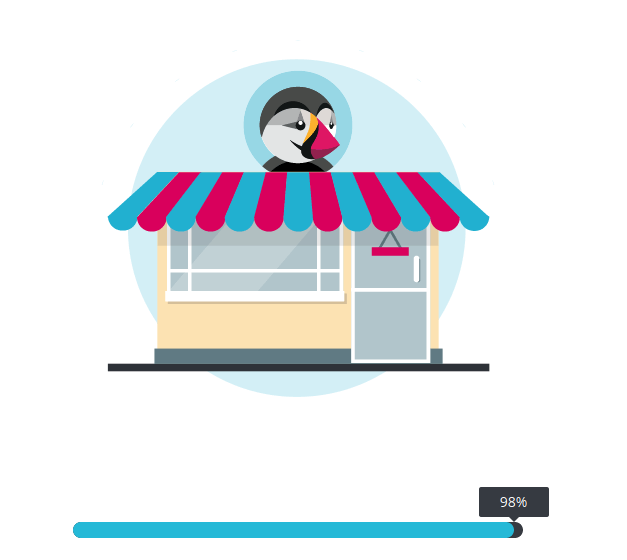
!! Once you open the following URL on your browser, you will get the first glimpse of this CMS. It is currently loading so stay on until it reaches 100 percent.Loading…
localhost
Loading…
localhost
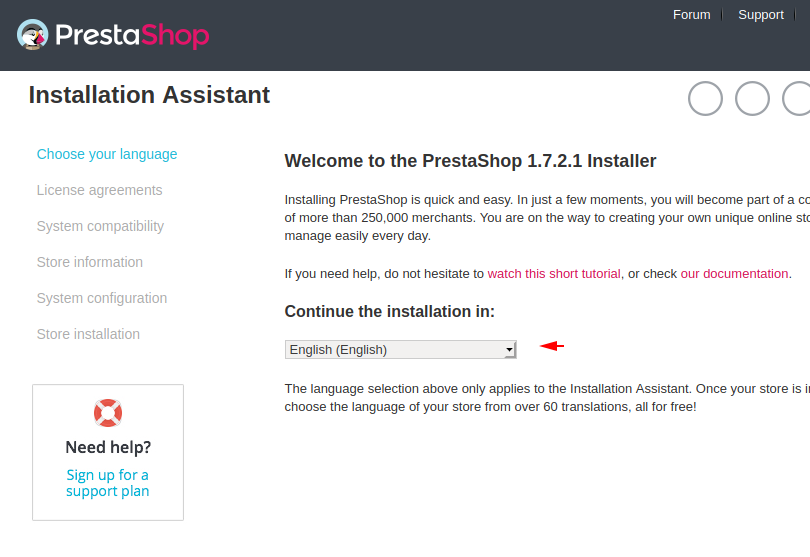
Choose the language you want and proceed.
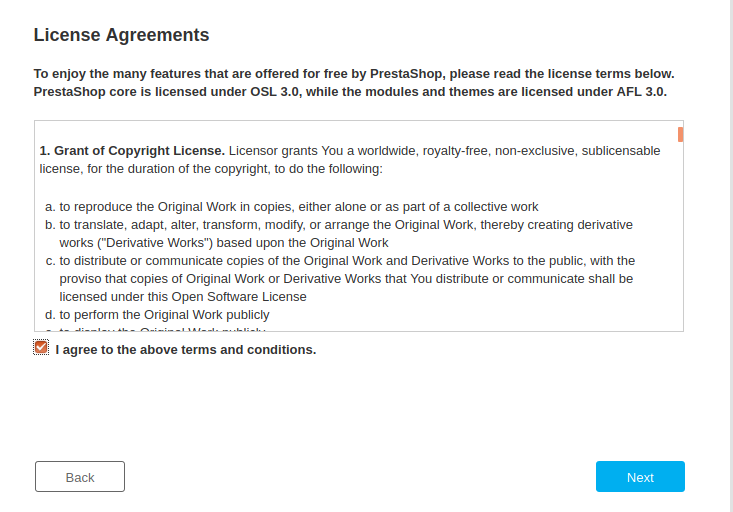
Just tick the empty box of terms and conditions and proceed.
Again fill the details accordingly.

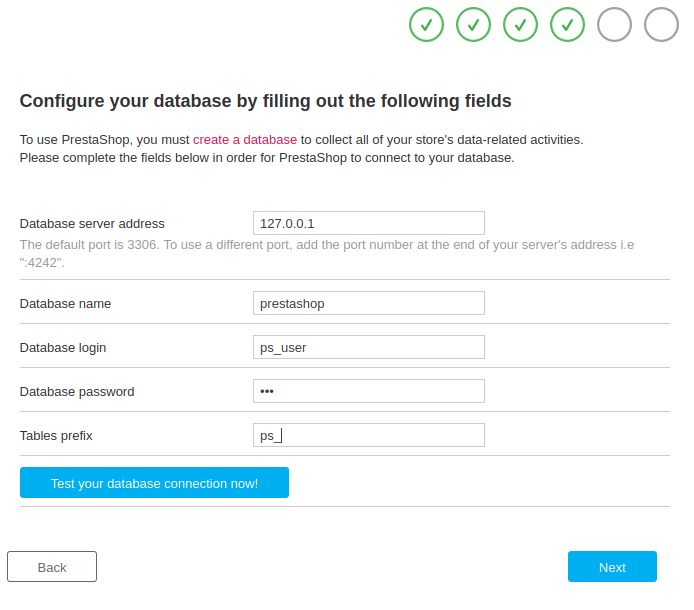
Now here you have to enter the credentials of the maria database server which we created earlier.
Opps
!! For security reasons we need to remove the entire install folder.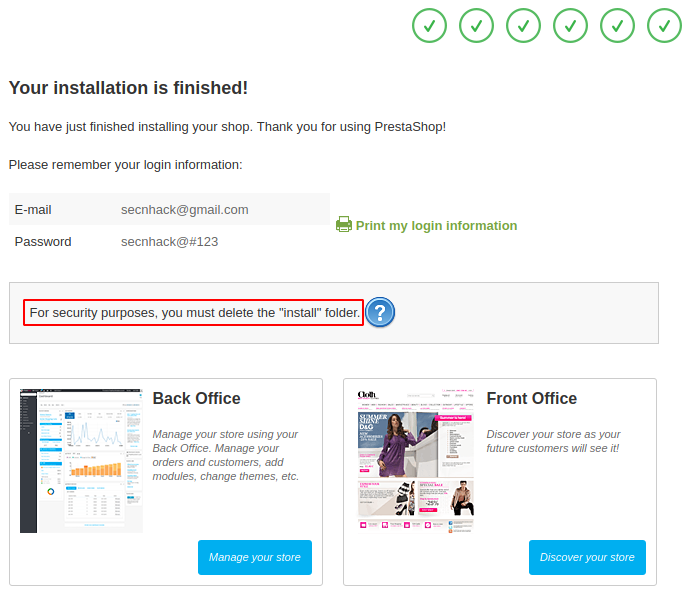
Great
!! Once you browse the following location, you will get the admin panel of CMS to customize or handle the entire web application.Loading…
localhost
Loading…
localhost
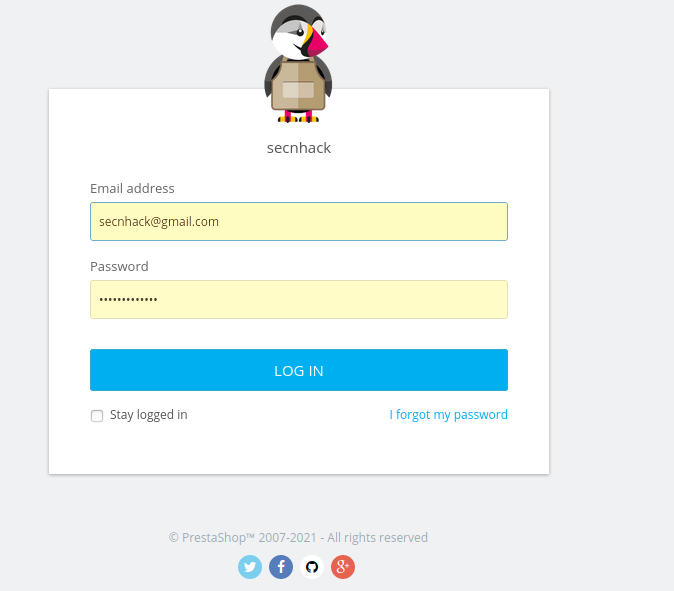
OMG
!! The configuration is completed successfully and now you can manage all your orders and much more.
Amazing
!! As you can see, without doing anything our website looks very good compared to other web applications.