tarabasca
Patch Tester
2
MONTHS
2 2 MONTHS OF SERVICE
LEVEL 1
300 XP
Today you will learn how to install and configure MS SQL server in windows server 2019 operating system for penetration testing within the VM Ware. MSSQL is Microsoft SQL Server for database management in the network. By default, it runs on port 1433.
Table of Content
Requirement:
Configure SQL express setup
Open the 1st download file for SQL server installation and run as administrator. Click on installation then go with New SQL Server standalone installation.

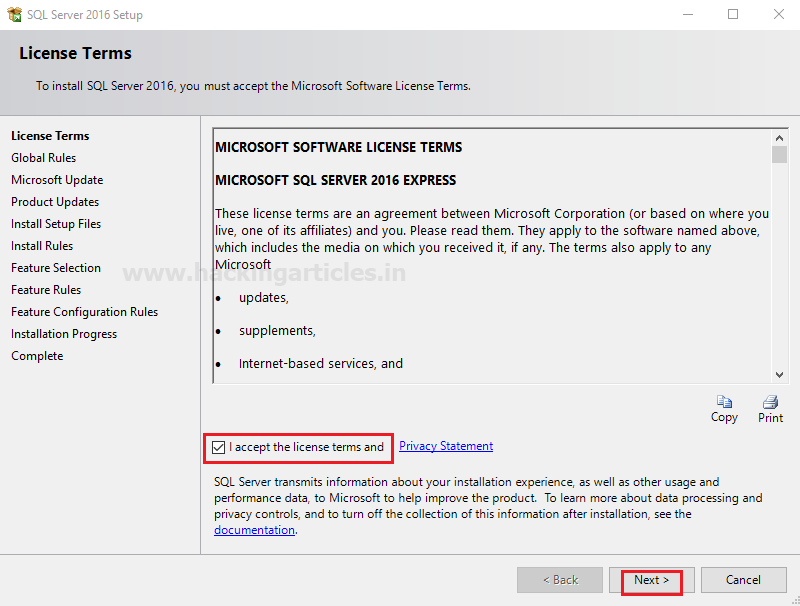
Here enables the checkbox for “I accept the license terms” and click on next.
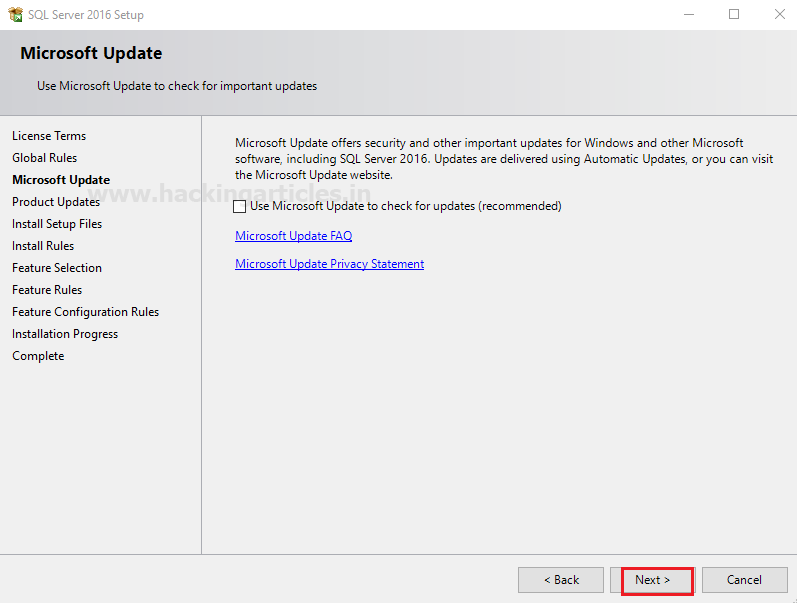
Enable the checkbox for “use Microsoft update to check for update” to enhance the SQL server security and performance will install the update when you will click on next.
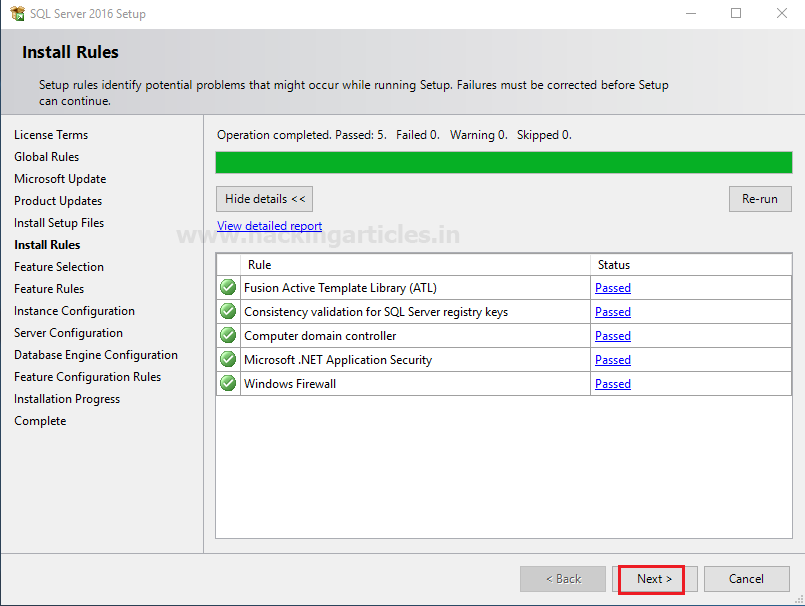
Now it will start installing SQL server Rules file on your system which takes some time. As soon as setup gets installed you will get new window screen of feature selection for your SQL server.
Feature Selection
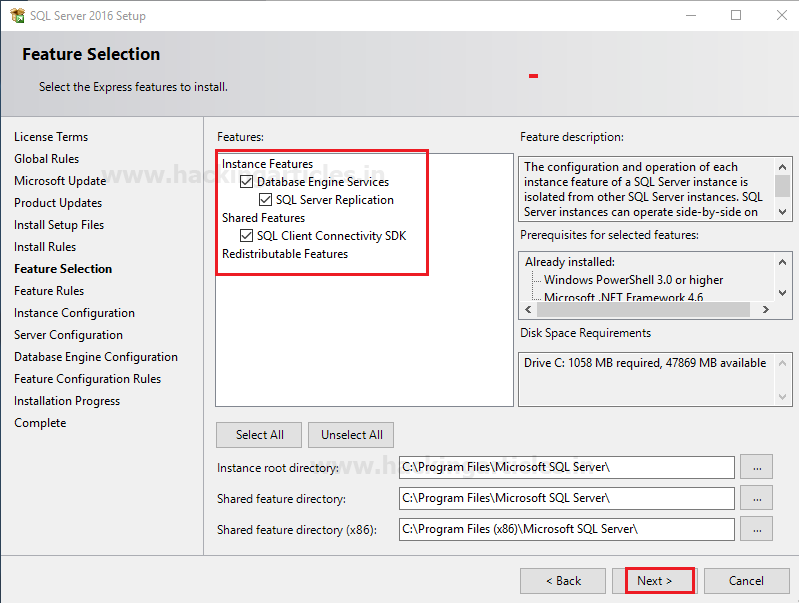
Now select the features you want to install from the given image you can see I had enabled check box for following features.
Click on next.
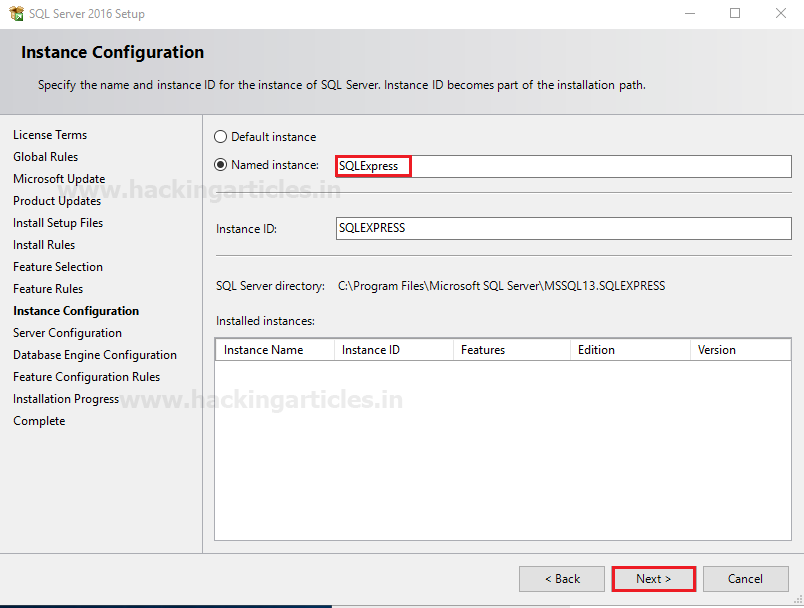
Instance Configuration
Specify the name and instance ID for instance of SQL server. The directory structure, registry structure, and service names all replicate the instance name and a specific instance ID. Instance ID becomes part of the installation path.
After then click on next
You can select Default Instance also if an instance of SQL Server is not installed previously. It does not need a user to give the name of the instance to create a connection.
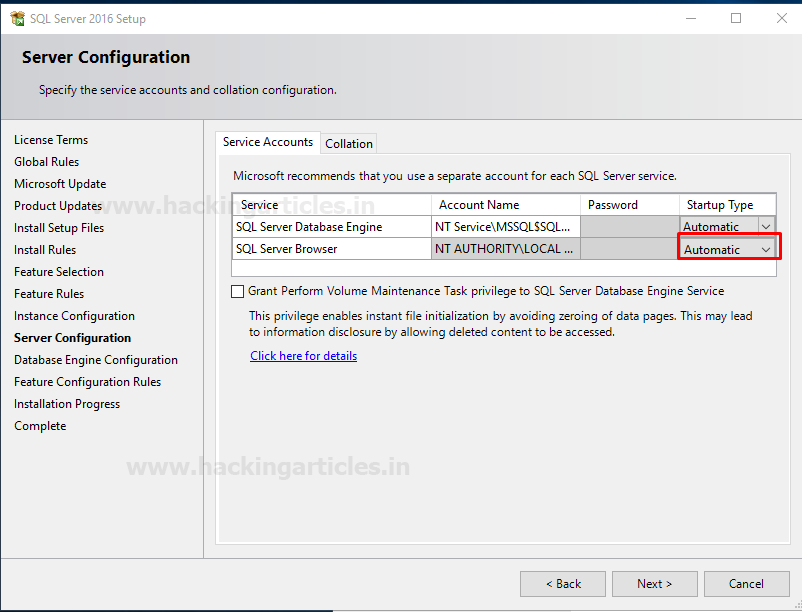
On Server configuration, Specify the service accounts and collation configuration. Microsoft recommends that you use a separate account for each SQL Server Service.Select the SQL Server Database Engine & SQL Server Browser Startup type Automatic. You can choose AQL Server Browser startup Type as per your requirement.
After then click on next
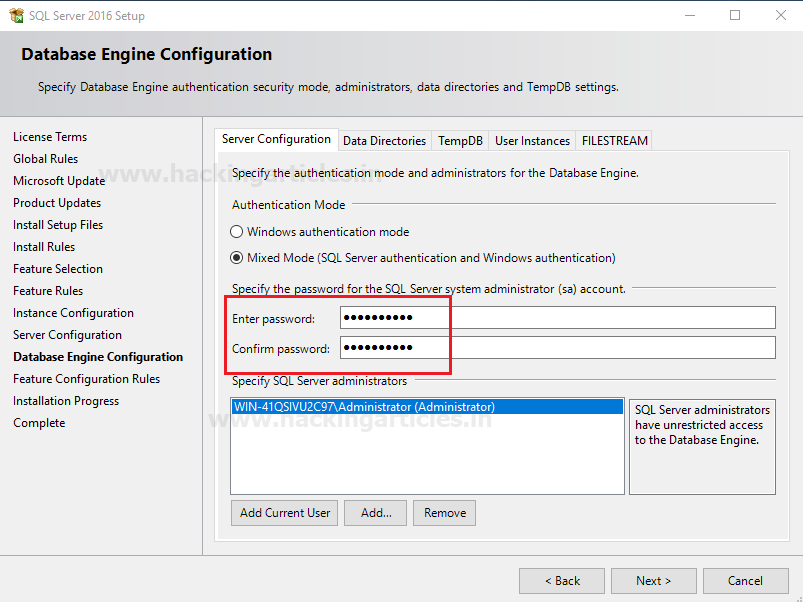
Database Engine Configuration
Specify Database Engine authentication for its security mode
By default, sa is the administrator of MS SQL
Under the panel of authentication mode:
From the given image you can observe that selected user will be part of administrator account of SQL server who has the unrestricted access over database engine.
After then click on next and next.
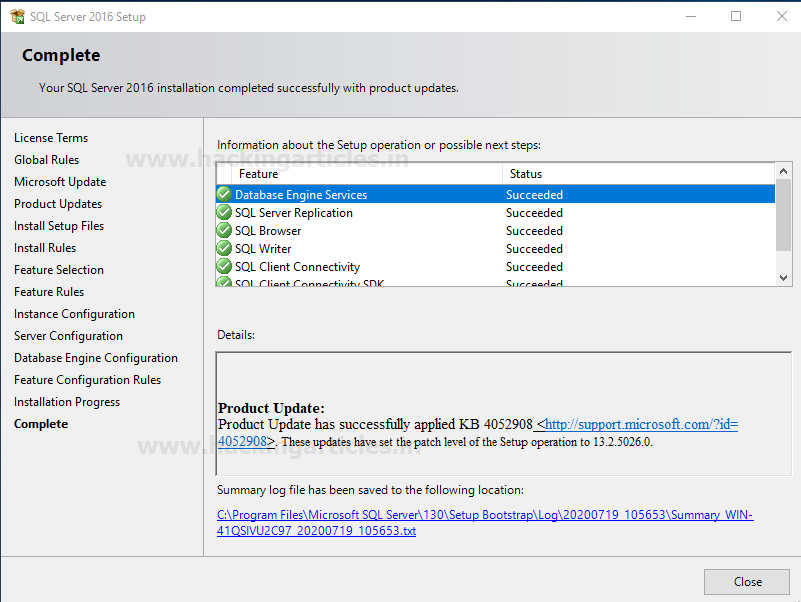
Your SQL server 2016 installation completed successfully, here you can check the status for installed features.
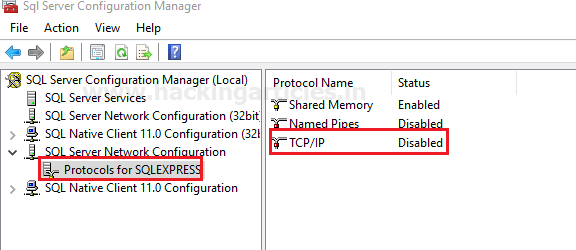
Now open the SQL server configuration manager where you will see left and right panel.
Click on the protocol for SQL Express in the left panel and then after select protocol name “TCP/IP” in the right panel.
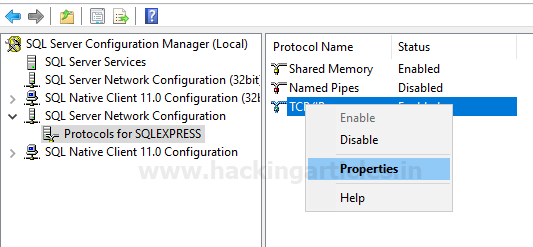
Go to TCP/IP protocol Properties
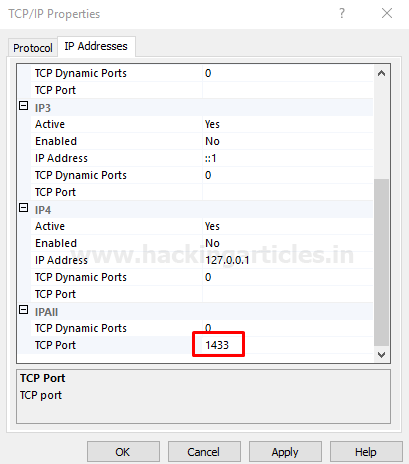
Under IP Addresses specify TCP port 1433 tab, Click on Apply and Enable the TCP/IP.
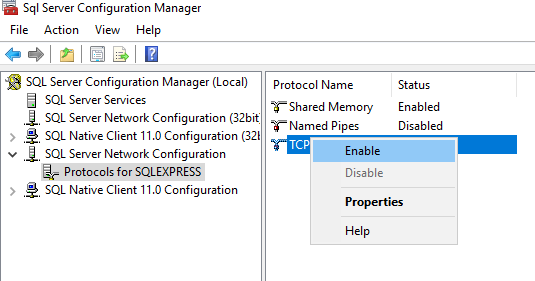
Now you can see, the TCP/IP is enabled as shown in the image.
Configure SQL Management Studio setup
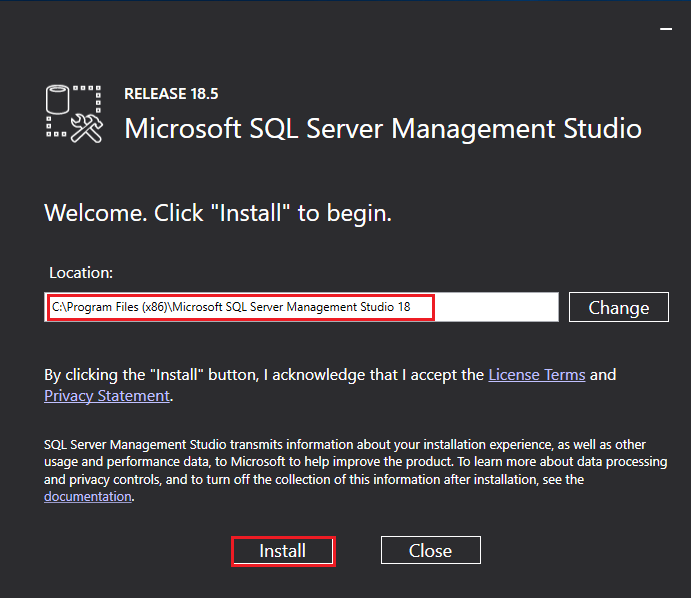
Now open 2nd downloaded application for SQL server management setup and click on Install.
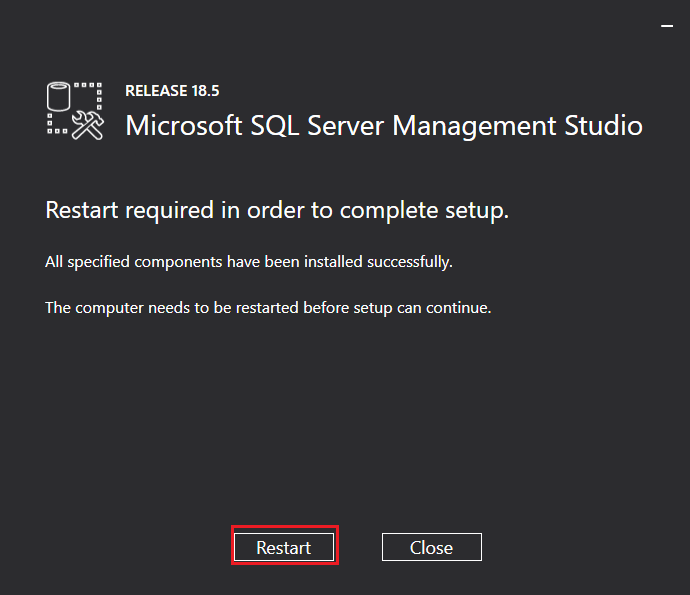
Now it will start installing SQL server Management Studia setup file on your system which takes some time once done will ask to restart.
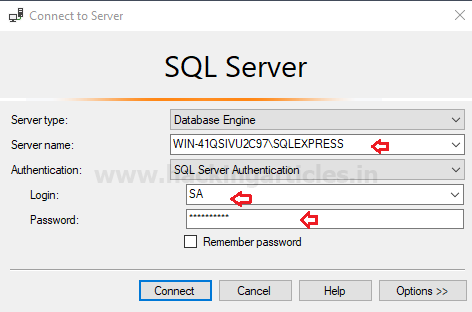
Now login in to SQL Server using admin credential and click on connect.
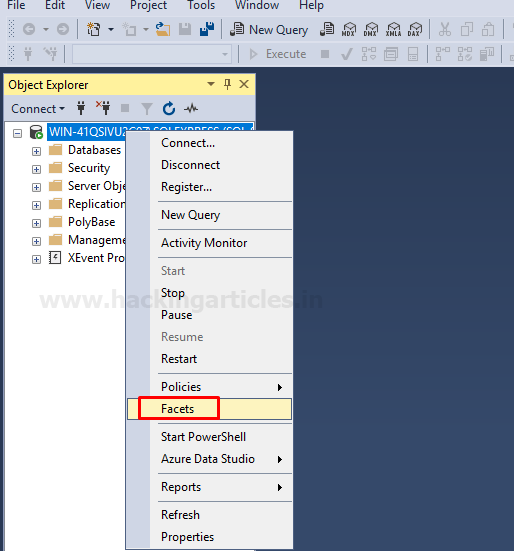
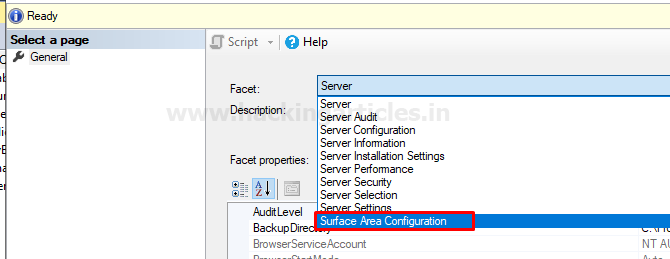
Once you are login into SQL server then Right Click on SQLEXPRESS( SQL Server) and go to Facets
On the window, go to General tab left side, then on the right side explore the Facet and select Surface Area Configuration.
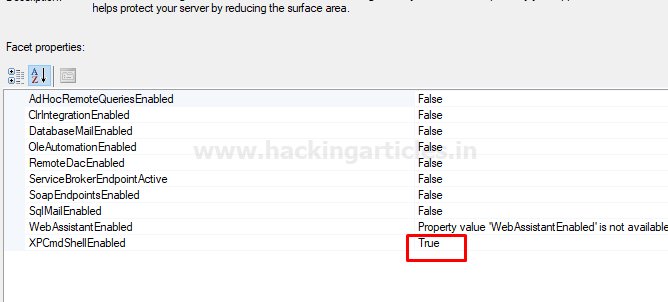
In the next window select True on XPCmdShellEnabled and apply.
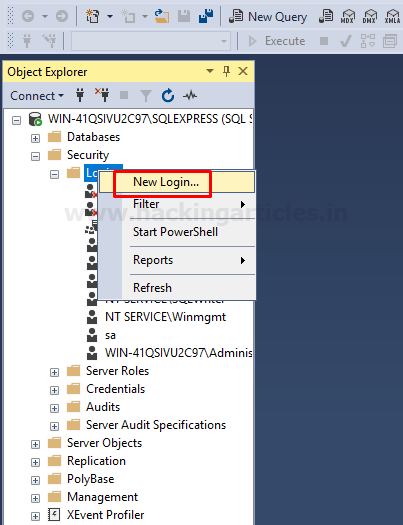
Explore the security folder and create a new login account for other users.
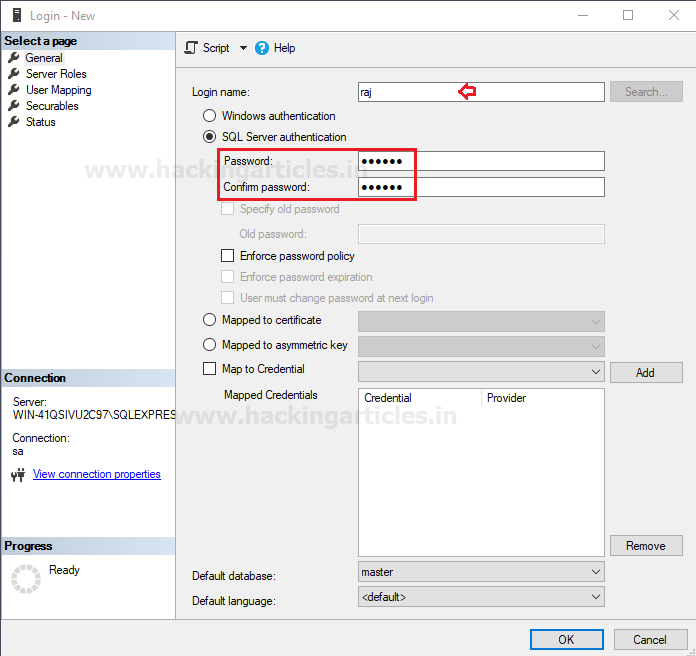
Enter the user name as I had given “Raj” and set a password by choosing SQL server authentication for this user.From the given image you can observe that master is the default database.
Connect to server from windows 10
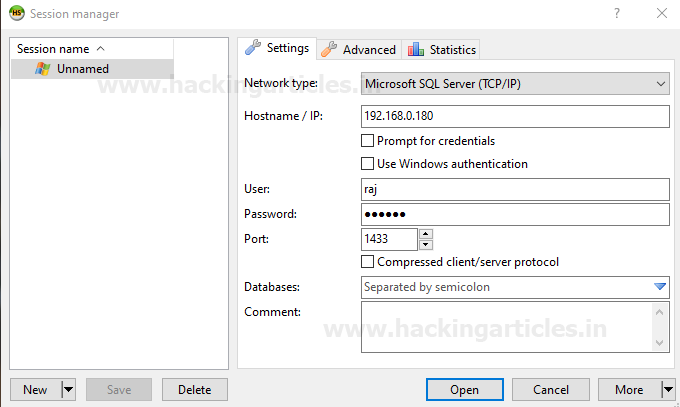
Run heidisql tool to connect with MS SQL Server through Raj user as given below:
Network type: TCP/IP
1
2
3
4
Hostname /IP: 192.168.1.180
User: Raj
Password: 123456
Port: 1433
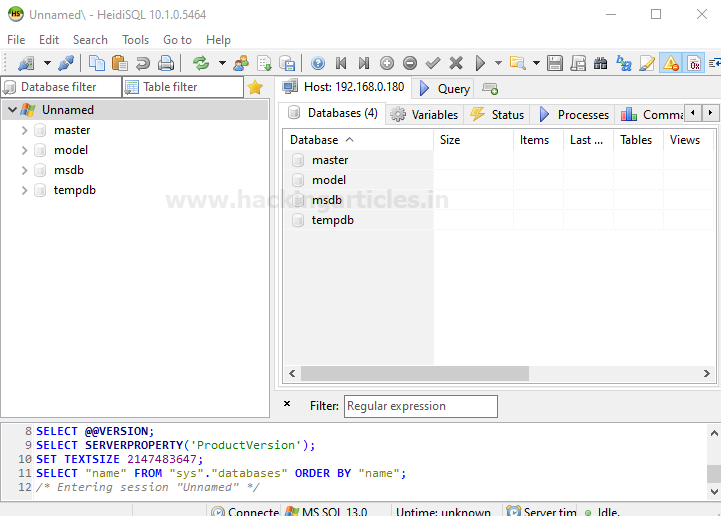
HeidiSQL is a useful and reliable tool designed for web developers using the popular MySQL server, Microsoft SQL databases, and PostgreSQL. It enables you to browse and edit data, create and edit tables, views, procedures, triggers, and scheduled events.
Now click on open
Great!! We have successfully accessed the database system of the MSSQL server. You can modify or create a new table or new database and much more things.
Author: Rajesh Bora is a passionate Researcher and Technical Writer at Hacking Articles. He is a hacking enthusiast. Contact here
Table of Content
- Configure SQL express setup
- Feature Selection
- Instance Configuration
- Database Engine Configuration
- Configure SQL Management Studio setup
- Connect to server from windows 10
Requirement:
- Download setup file ENU\x64\SQLEXPR_x64_ENU.exe
- Download setup file ENU\x86\SQLManagementStudio_x86_ENU.exe from
- Download heidisql tool
Configure SQL express setup
Open the 1st download file for SQL server installation and run as administrator. Click on installation then go with New SQL Server standalone installation.
Here enables the checkbox for “I accept the license terms” and click on next.
Enable the checkbox for “use Microsoft update to check for update” to enhance the SQL server security and performance will install the update when you will click on next.
Now it will start installing SQL server Rules file on your system which takes some time. As soon as setup gets installed you will get new window screen of feature selection for your SQL server.
Feature Selection
Now select the features you want to install from the given image you can see I had enabled check box for following features.
- Database Engine service
- SQL Server Replication
- SQL Client Connective SDK
Click on next.
Instance Configuration
Specify the name and instance ID for instance of SQL server. The directory structure, registry structure, and service names all replicate the instance name and a specific instance ID. Instance ID becomes part of the installation path.
- Enter SQLExpress in the text filed for Name Instance
- Enter SQLExpress in the text filed for Instance ID
After then click on next
You can select Default Instance also if an instance of SQL Server is not installed previously. It does not need a user to give the name of the instance to create a connection.
On Server configuration, Specify the service accounts and collation configuration. Microsoft recommends that you use a separate account for each SQL Server Service.Select the SQL Server Database Engine & SQL Server Browser Startup type Automatic. You can choose AQL Server Browser startup Type as per your requirement.
After then click on next
Database Engine Configuration
Specify Database Engine authentication for its security mode
By default, sa is the administrator of MS SQL
Under the panel of authentication mode:
- Click on mixed mode which is a combination of both type authentication SQL Server and Windows.
- Type your password and confirm the password for the administrator account.
From the given image you can observe that selected user will be part of administrator account of SQL server who has the unrestricted access over database engine.
After then click on next and next.
Your SQL server 2016 installation completed successfully, here you can check the status for installed features.
Now open the SQL server configuration manager where you will see left and right panel.
Click on the protocol for SQL Express in the left panel and then after select protocol name “TCP/IP” in the right panel.
Go to TCP/IP protocol Properties
Under IP Addresses specify TCP port 1433 tab, Click on Apply and Enable the TCP/IP.
Now you can see, the TCP/IP is enabled as shown in the image.
Configure SQL Management Studio setup
Now open 2nd downloaded application for SQL server management setup and click on Install.
Now it will start installing SQL server Management Studia setup file on your system which takes some time once done will ask to restart.
Now login in to SQL Server using admin credential and click on connect.
Once you are login into SQL server then Right Click on SQLEXPRESS( SQL Server) and go to Facets
On the window, go to General tab left side, then on the right side explore the Facet and select Surface Area Configuration.
In the next window select True on XPCmdShellEnabled and apply.
Explore the security folder and create a new login account for other users.
Enter the user name as I had given “Raj” and set a password by choosing SQL server authentication for this user.From the given image you can observe that master is the default database.
Connect to server from windows 10
Run heidisql tool to connect with MS SQL Server through Raj user as given below:
Network type: TCP/IP
1
2
3
4
Hostname /IP: 192.168.1.180
User: Raj
Password: 123456
Port: 1433
HeidiSQL is a useful and reliable tool designed for web developers using the popular MySQL server, Microsoft SQL databases, and PostgreSQL. It enables you to browse and edit data, create and edit tables, views, procedures, triggers, and scheduled events.
Now click on open
Great!! We have successfully accessed the database system of the MSSQL server. You can modify or create a new table or new database and much more things.
Author: Rajesh Bora is a passionate Researcher and Technical Writer at Hacking Articles. He is a hacking enthusiast. Contact here