kingyash1929
Toolchain Integrator
LEVEL 1
500 XP
Hey Folks, in this tutorial we will show you the whole process of installing and configuring a network scanning tool called “Nexpose“. Nexpose identifies the active services, open ports, and running applications on each machine, and it attempts to find vulnerabilities that may exist based on the attributes of the known services and applications. To get an in-depth knowledge about this tool, you can go here.
Let’s get to the point
 !!
!!Registration
Nexus offers us a 14-day free trial to get to know about this tool much better but you have to register to grab this chance. Usually it supports domain or company email addresses, but you can also use temporary email.
Loading…
www.rapid7.com
Loading…
www.rapid7.com
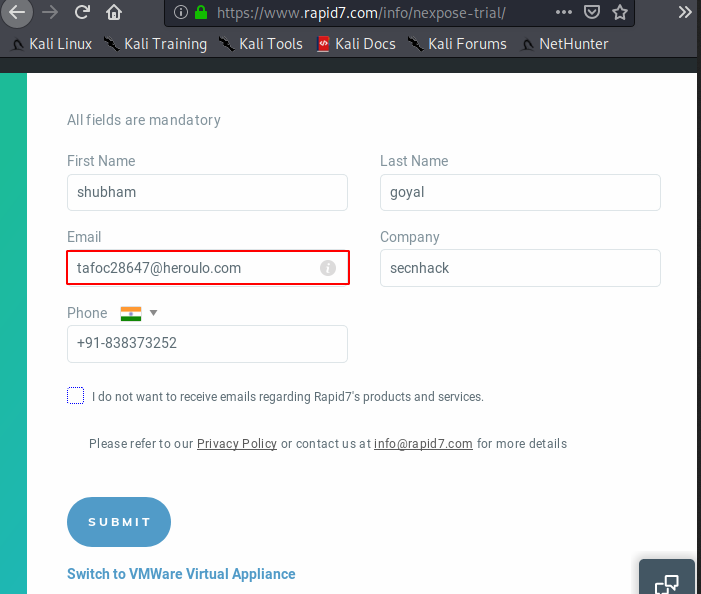
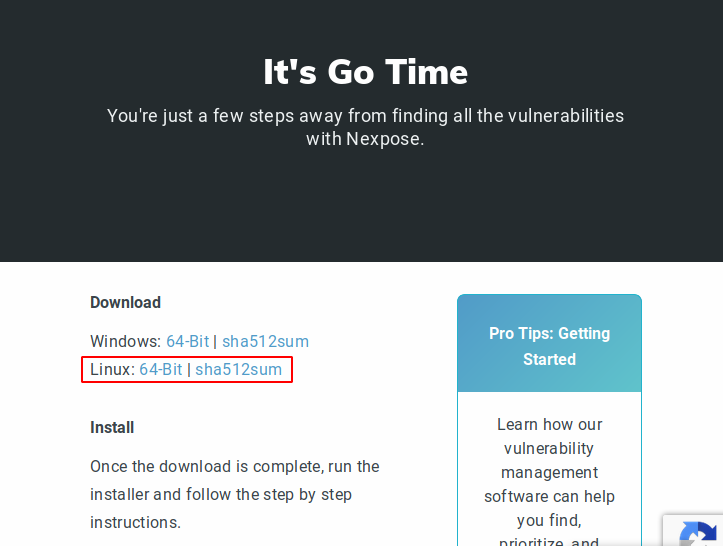
After submitting the details we redirect to the download page from where we download the software for the linux operating system.
After a few minutes we received the product key at our temporary email address. Hold it tight
!!
Now we move the downloaded file to our compatible location, allow it executable and start the script.
chmod +x Rapid.bin ./Rapid7.bin1chmod+xRapid.bin./Rapid7.bin

Hmm
!! As soon as we start the script, the GUI interface opens in the kali linux machine. We click on next to proceed.
Everything is already set as it should be, so we need to move forward again.

If you want to provide a proxy then it is up to you but in our case we will move forward.

Setting Credentials
We need to keep the username and password to protect the admin console.

We click on “Initialize and start after installation” and proceed.

Good
!! The final link is given by the tool that we open on our default Firefox browser.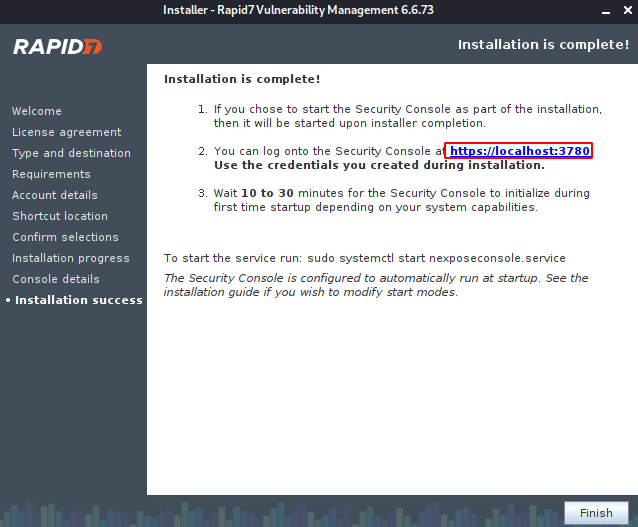
Hmm
 !! When we open the given URL on the browser, we get some certificate problem on there. To deal with this problem, we accept the warning and move towards the tool.
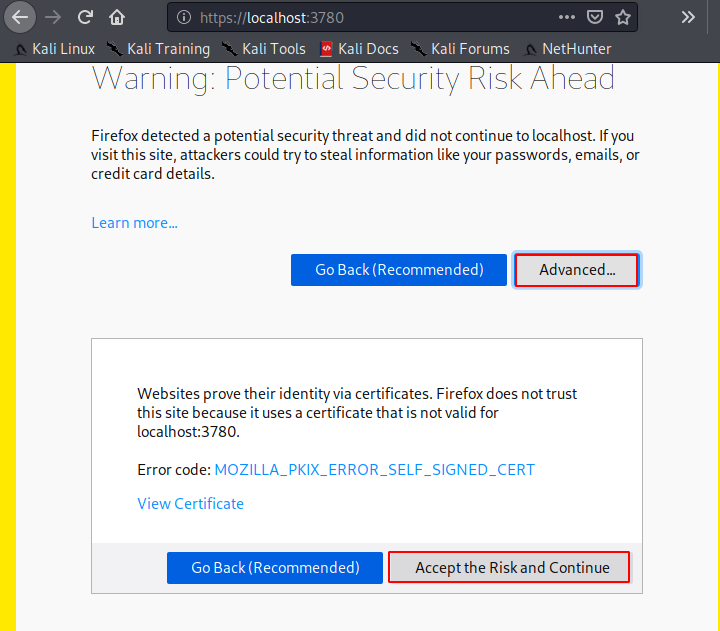
Great
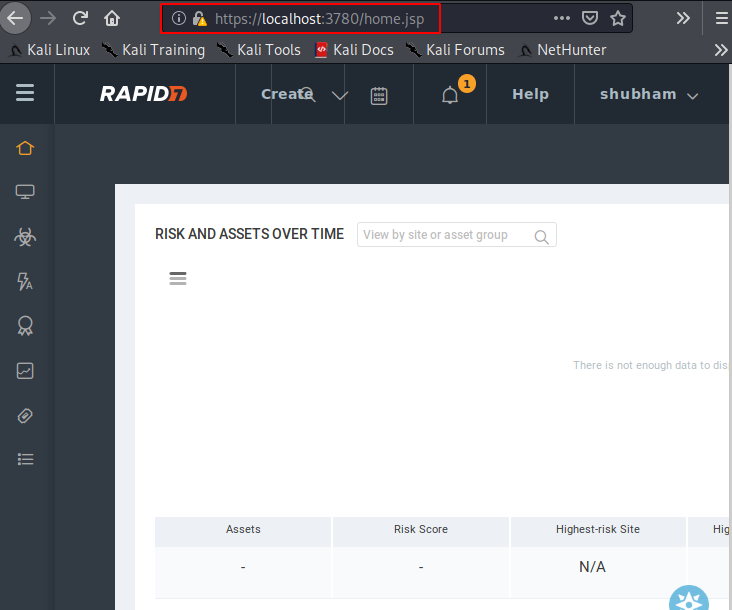
!! Finally we have reached our last stop. Here we enter the credentials we had previously created and moved forward.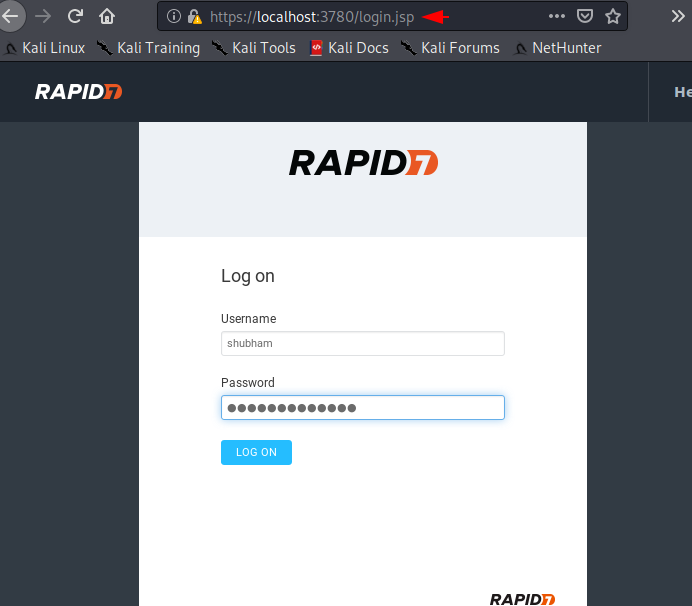
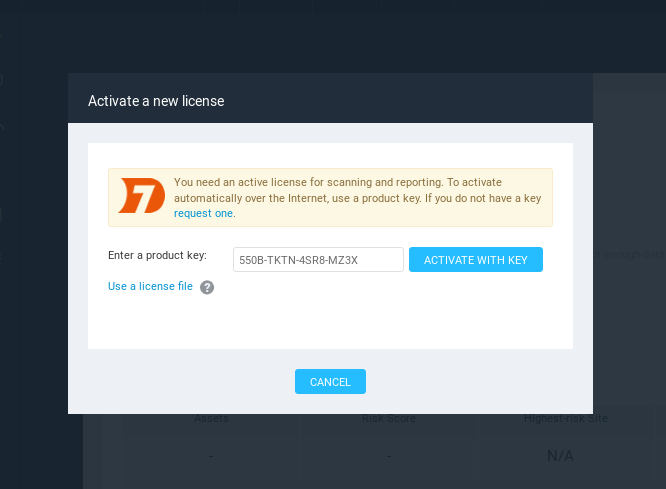
Now here we have to submit the product key which we got earlier by this tool at our email address.
Amazing
!! Everything is set up and now we can enjoy this tool and scan the entire infrastructure (hosts) of any network.