emanuele55
Community Builder
2
MONTHS
2 2 MONTHS OF SERVICE
LEVEL 1
400 XP

Hey Folks, in our previous article we configured the Nessus web vulnerability scanner tool in kali linux machine which you can read from here. In this tutorial, we will discuss all the features of this tool one by one, describe their work and also give a live demo of that feature.
Let’s get to the point
 !!
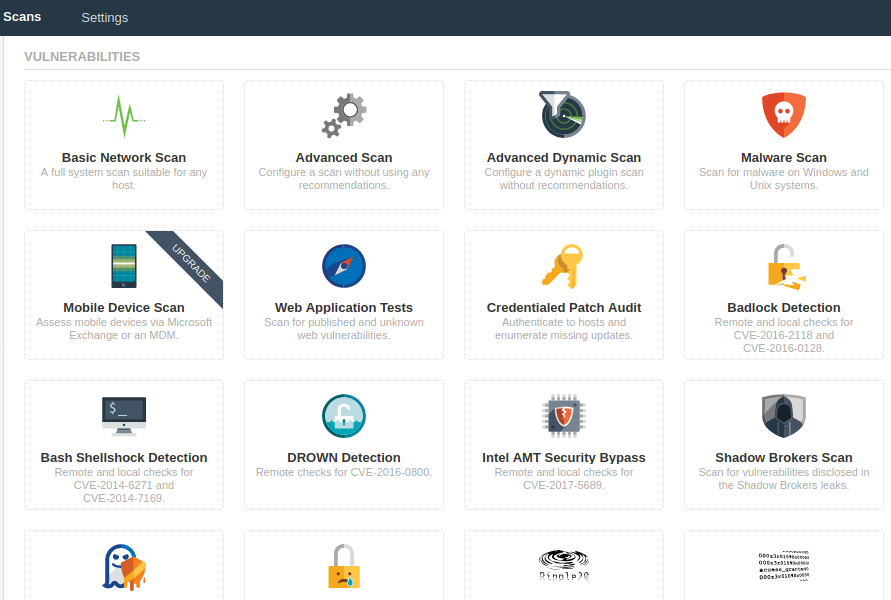
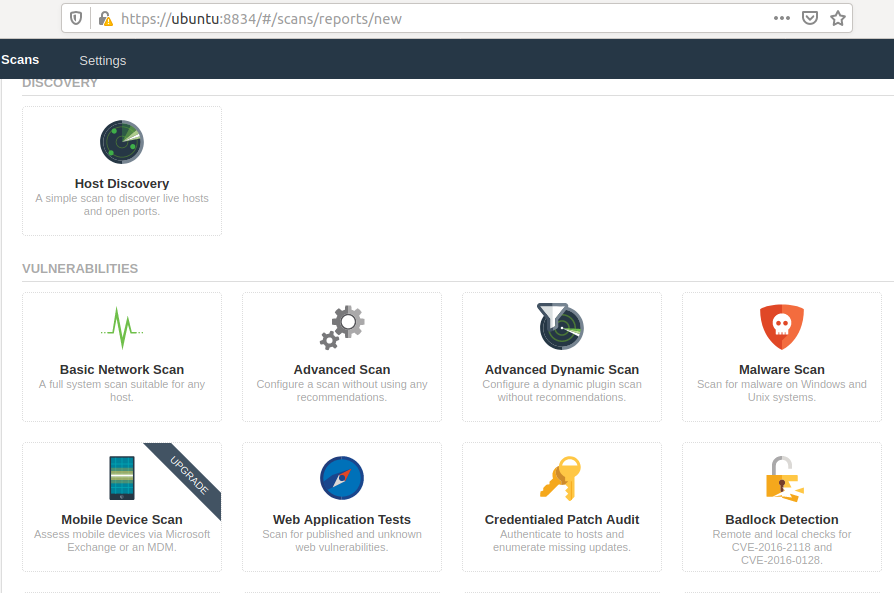
!!Host Discovery Scan
As you may have known by the name of this scan, the following facility has been provided to search all the computers connected to the network. Alright ! we select the option.
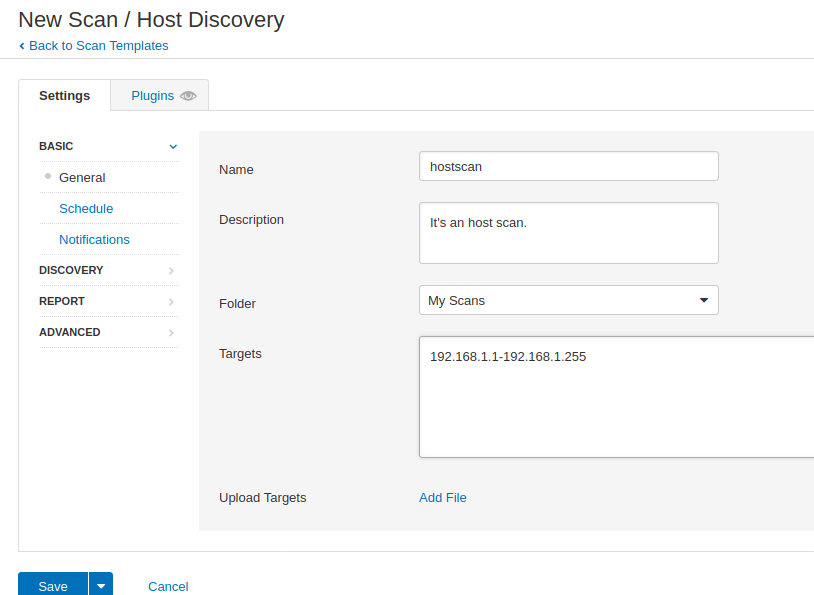
Every time after selecting the option you have to give any specific name and description for the new scan, so just enter any name and fill the description according to you. The target can be a domain or IP address but at this time we have chosen a host discovery option, so we need to give the network range to get the host details connected to the network. Save the scan after submitting the details.
Ready
!! Once we save the scan, we are all redirected to the scan page, from where we can start our scanning by clicking on the highlighted button.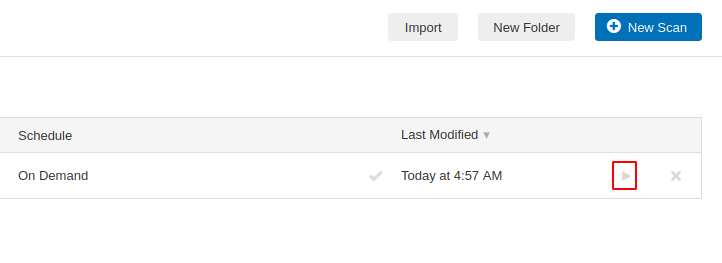
Done
!! After the scanning is complete, we go inside the scan and get the results that you see in the image below. We have successfully detected all hosts connected to the network, along with active services.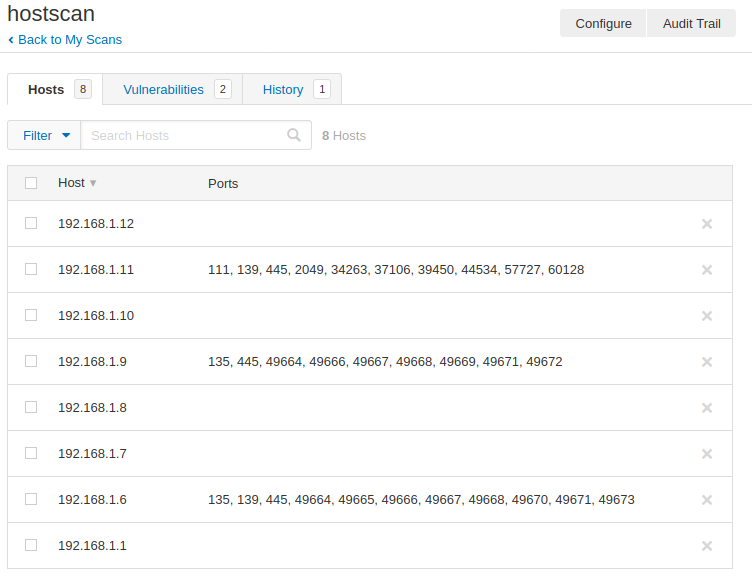
Hmm
!! If you want to get in-depth information about specific hosts, then click on it.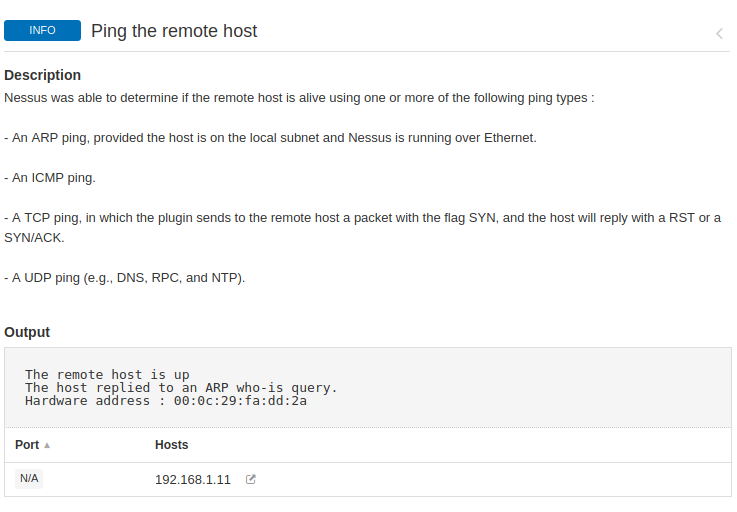
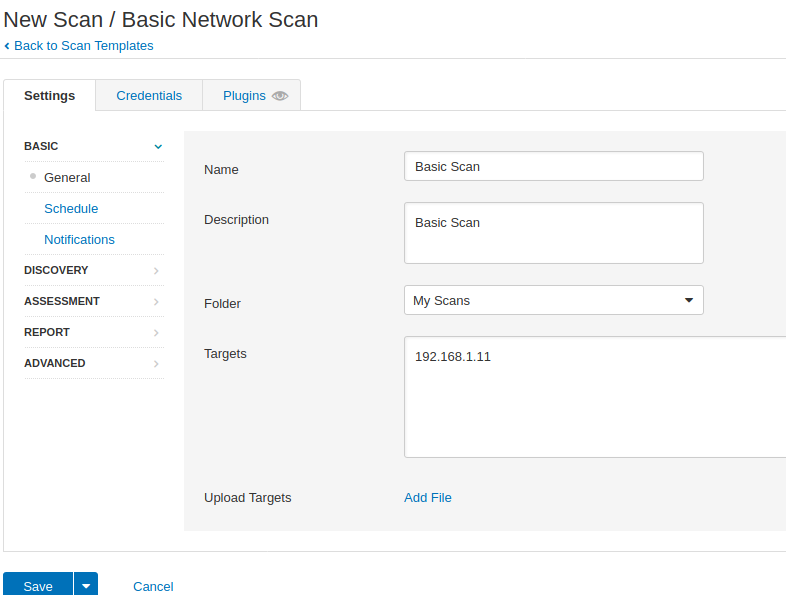
Basic Network Scan
We will now enumerate specific hosts and try to find vulnerabilities in it using the basic network scan feature. Now at this time we only mention the IP address of that host machine.
Great
!! We found many vulnerabilities on the target machine, which are all classified as well, such as low, medium, high and critical. Let’s check one critical vulnerability of these.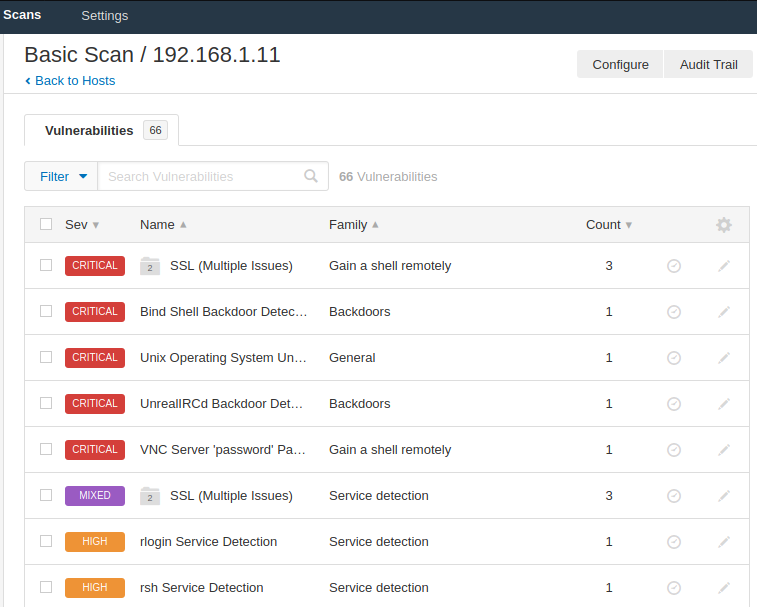
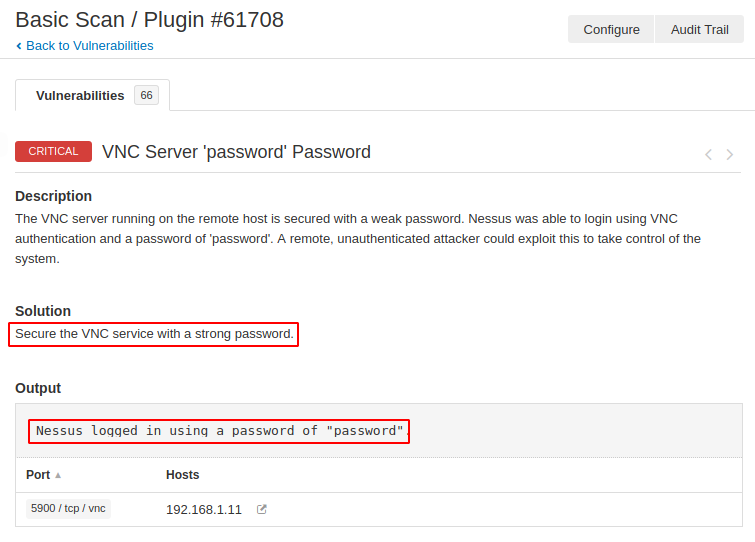
VNC Vulnerability Found
The vulnerability classification by this tool is very good as you can see that the VNC server running on the target machine is protected with “password“, which allows the attacker to easily connect to the target mahcine and retrieve sensitive documents.
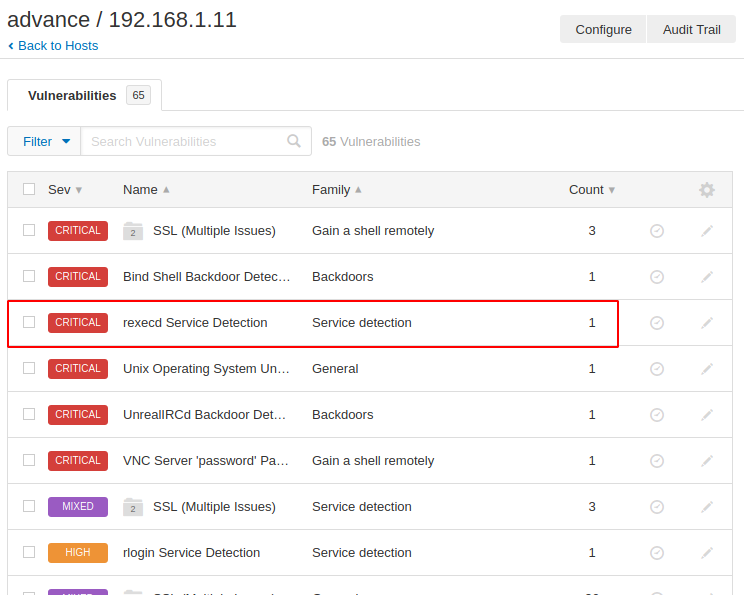
Advance Scan
There is not much difference between basic and advanced scans, but advanced scans provide a bit more information than basic. The result you can see in the image below is that it has detected another new vulnerability.
Malware Scan
The following facility are provided to detect any type of malware in the system. We mentioned the machine’s IP address.
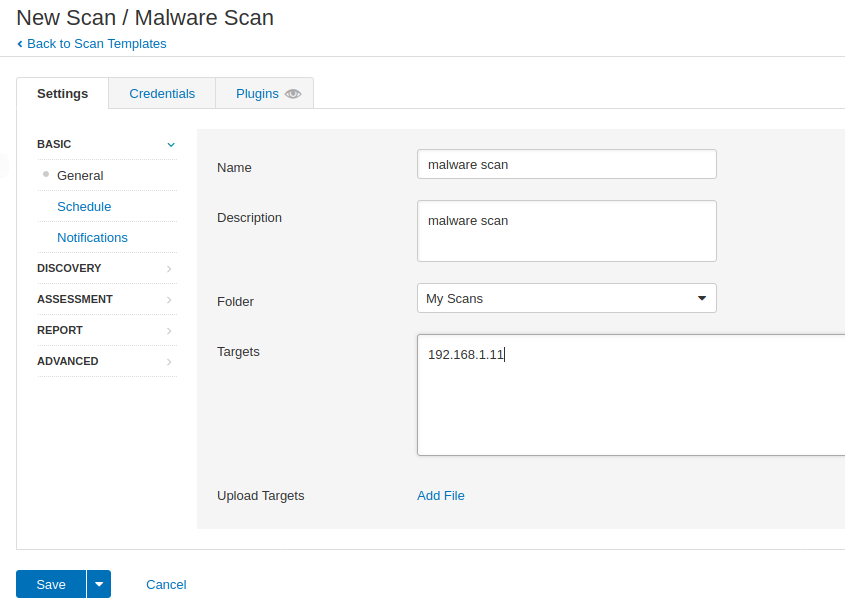
But make sure that a remote share service should be available on that machine as we have to provide access to that machine through remote share services like: ssh, rdp etc. Once we have accumulated the credentials of the ssh service, we start the scan.
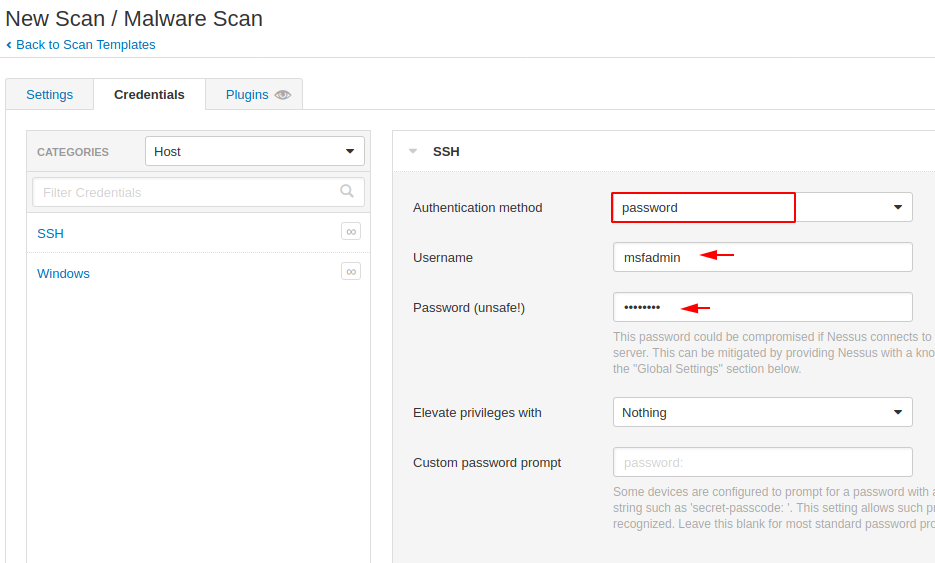
Alright
!! As you can see it has detected some backdoor available on the system which can be harmful to the system.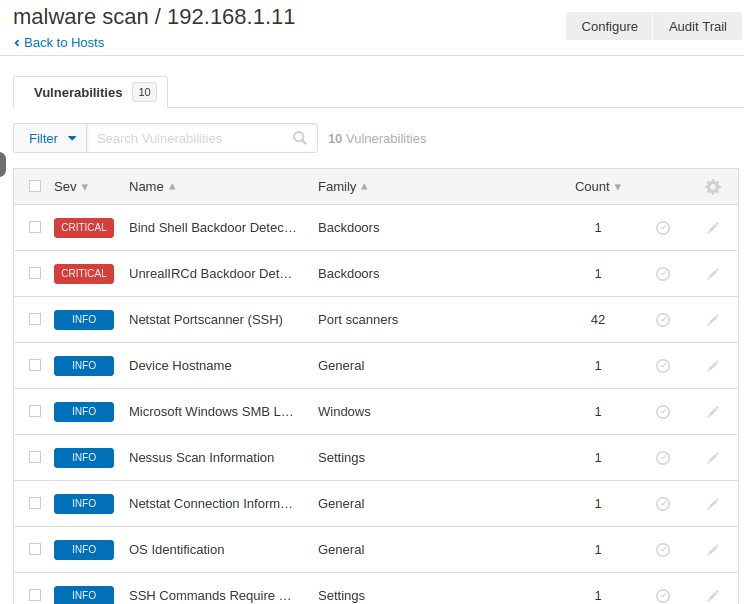
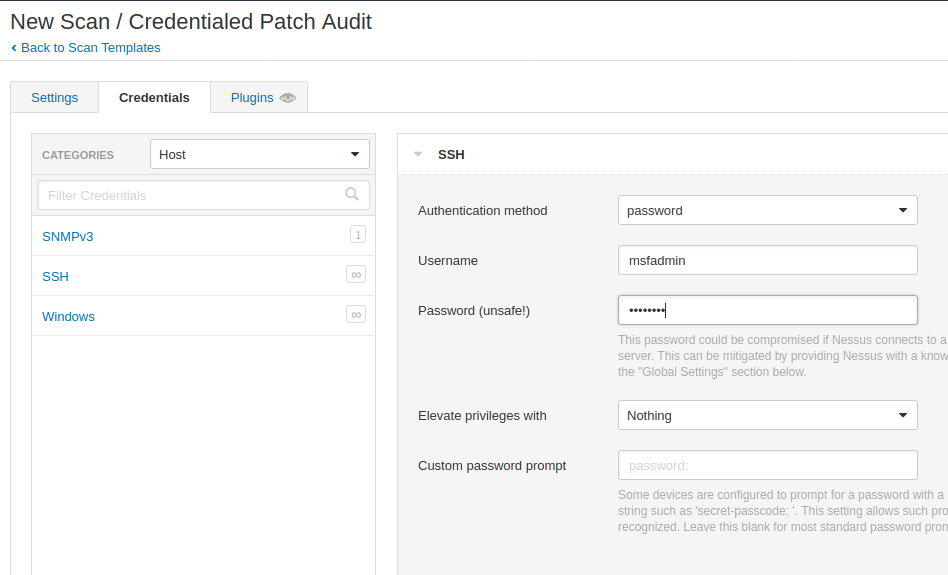
Credentials Patch Audit
The process described in this section enables you to perform local security checks on Linux based systems and windows systems as well. We enter the IP address of that machine along with ssh credentials and start the scan.
Opps
!! As soon as we checked the local security in the system, we found several vulnerabilities.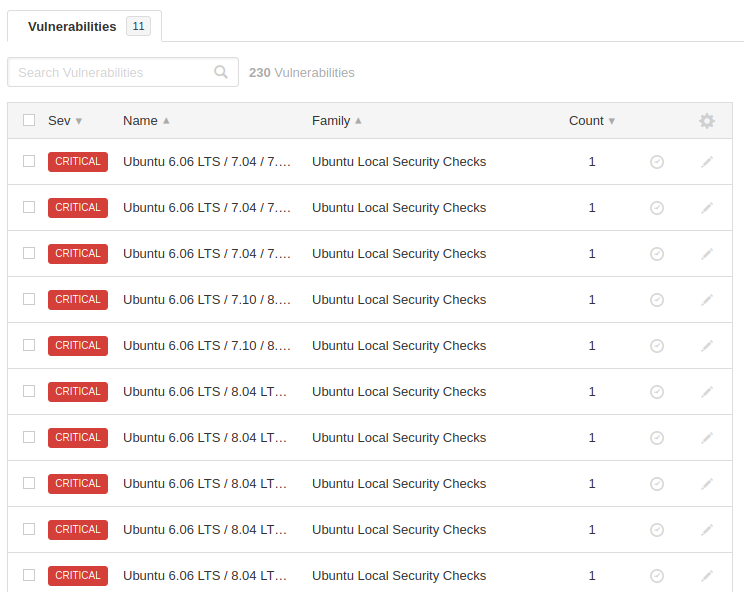
Web Application Vulnerability Scanning
You can take help of this tool to detect well known vulnerabilities in web applications.
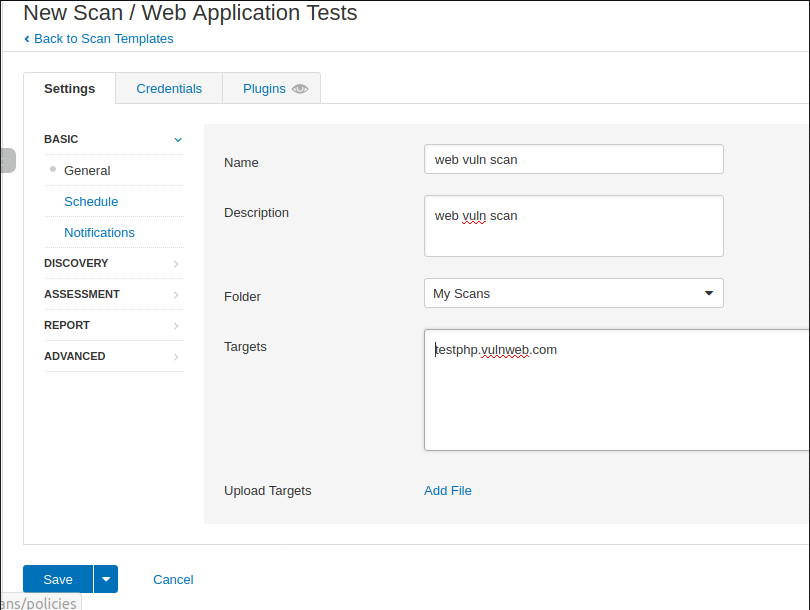
Nice
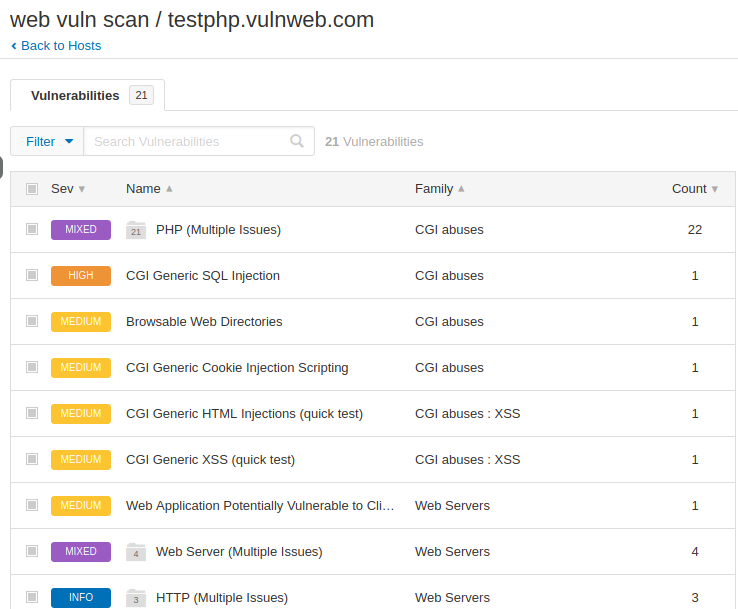
!! It automatically detects that the php version running on the web server is completely vulnerable and even attacker can take advantage by using this vulnerable version.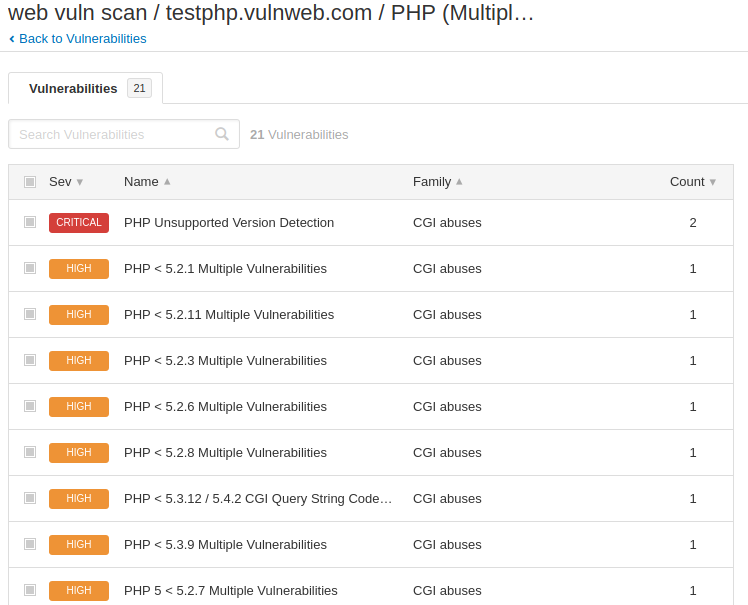
It gives us complete details about that vulnerability, exploitation method as well as steps to reduce that vulnerability.
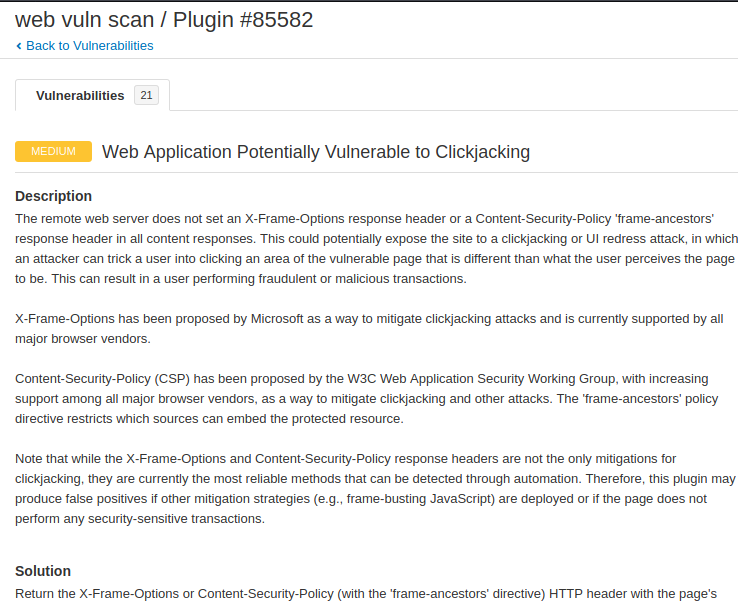
Similarly, we found more vulnerability in web application.
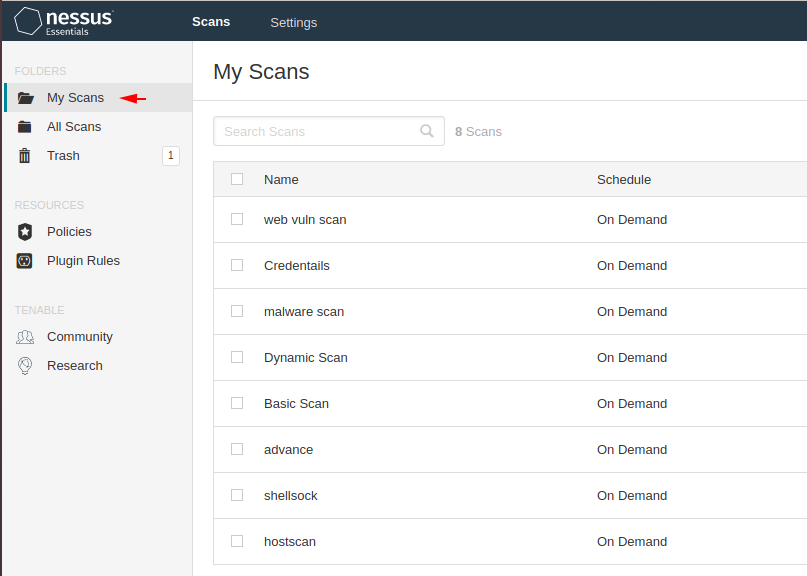
Saved Scan
All scans are saved in the “My Scans” section, from where you can also download it.
It also comes with a premium version so that you can unlock these remaining options as well.