astroaoz12
Blockchain Validator
Divine
LEVEL 1
400 XP
Hey Folks, in this tutorial we will show the installation process of CMS Made Simple on Ubuntu operating system. CMS Made Simple is a free and open source content management system written in PHP and uses MySQL to store their data. It’s built using PHP and the Smarty Engine, which keeps functionality, and templates separated. You can check here for more information.
Let’s take a look
 !!
!!Add Repository
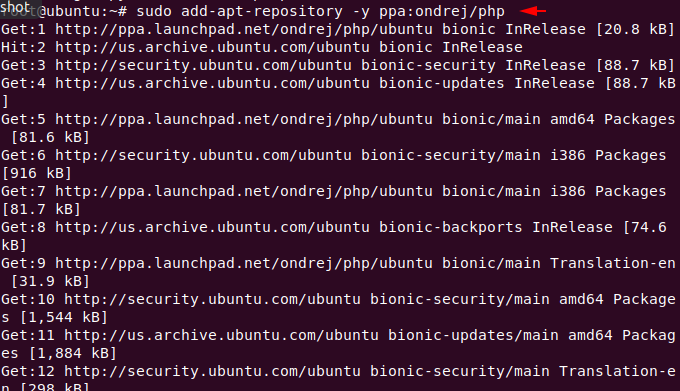
By default, the latest version of PHP is not installed in the Ubuntu operating system, so we will add this given repository so that the latest version of PHP can be installed in the ubuntu operating system. After adding it then execute the update command.
sudo add-apt-repository ppa:ondrej/php
sudo apt-get update12sudo add-apt-repository ppa:ondrej/phpsudo apt-get update
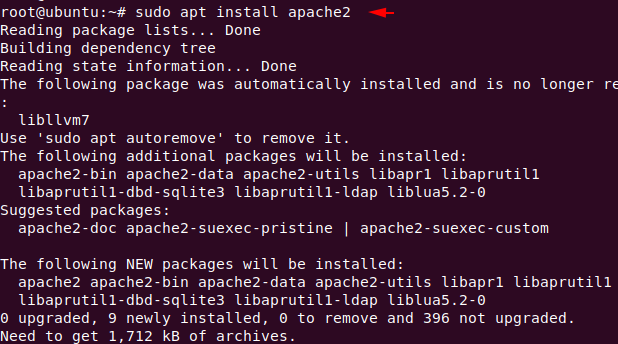
Apache Installation
We need a web server to configure or host any web application so we will first install apache web server to host our wordpress on our ubuntu operating system.
sudo apt install apache21sudo apt install apache2
Installation of MySQL Database
Likewise, we need a database server in the backend to keep the credentials and information of ourselves and our customers. Now we will install maria database server to store all those data and content.
apt install mysql-client mysql-server1apt install mysql-client mysql-server

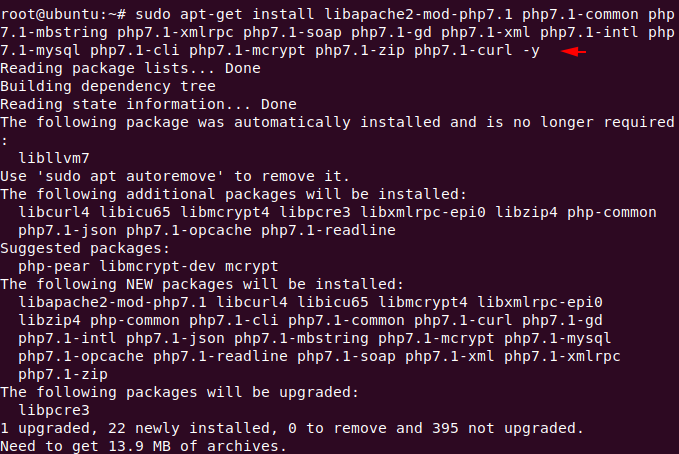
Installation of PHP
Now we can install any version of PHP which is available, but in this time we need version 7.1 of PHP which we install using the following command.
sudo apt-get install libapache2-mod-php7.1 php7.1-common php7.1-mbstring php7.1-xmlrpc php7.1-soap php7.1-gd php7.1-xml php7.1-intl php7.1-mysql php7.1-cli php7.1-mcrypt php7.1-zip php7.1-curl -y1sudo apt-get install libapache2-mod-php7.1php7.1-common php7.1-mbstring php7.1-xmlrpc php7.1-soap php7.1-gd php7.1-xml php7.1-intl php7.1-mysql php7.1-cli php7.1-mcrypt php7.1-zip php7.1-curl-y
Enable Services
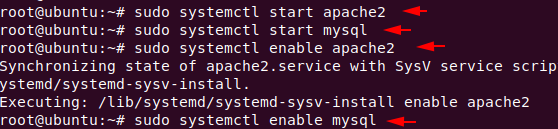
Now we have to enable all the services that we have downloaded.
sudo systemctl start apache2
sudo systemctl start mysql
sudo systemctl enable apache2
sudo systemctl enable mysql1234sudo systemctl start apache2sudo systemctl start mysqlsudo systemctl enable apache2sudo systemctl enable mysql
Protect Remote Root Login
We will take the following steps to secure our database server only. All you have to do is change the root password of mysql as per your choice and the rest has to be done as we have done below.
sudo mysql_secure_installation1sudo mysql_secure_installation
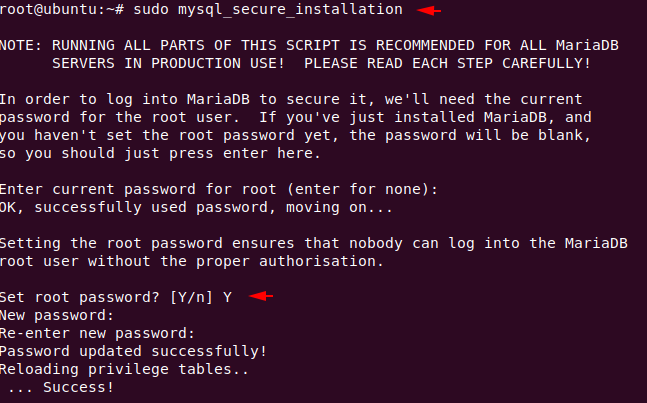
Just enter “Y” everywhere and proceed.

Manage & Create Database
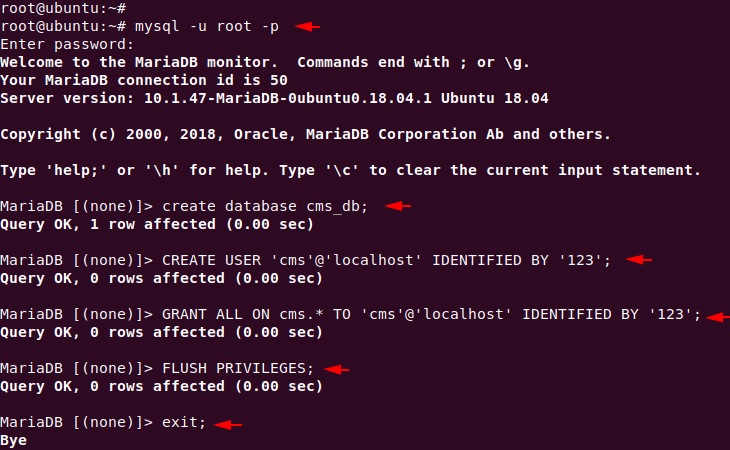
Now we will create a database with username and password using the following command. You can keep all things or names according to yourself.
sudo mysql -u root -p
create database cms_db;
CREATE USER 'cms'@'localhost' IDENTIFIED BY '123';
GRANT ALL ON cms_db.* TO 'cms'@'localhost' IDENTIFIED BY '123';
FLUSH PRIVILEGES;
exit;123456sudo mysql-uroot-pcreate database cms_db;CREATE USER'cms'@'localhost'IDENTIFIED BY'123';GRANT ALL ON cms_db.*TO'cms'@'localhost'IDENTIFIED BY'123';FLUSH PRIVILEGES;exit;
CMS Made Simple Installation
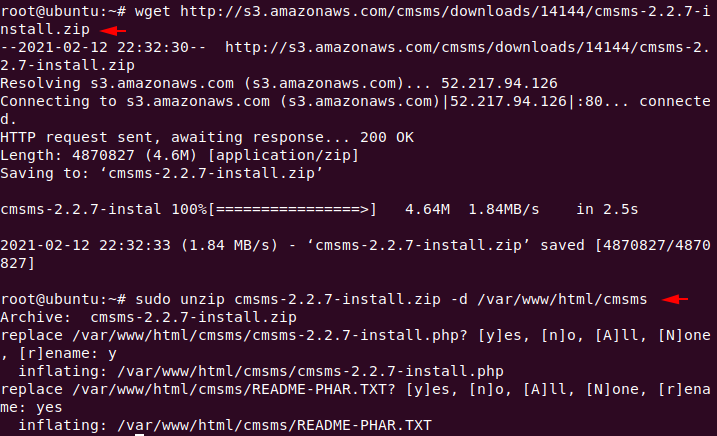
To download the CMS project, we will use the wget command. Once downloaded, unzip the file using the below command.
wget http://s3.amazonaws.com/cmsms/downloads/14144/cmsms-2.2.7-install.zip
sudo unzip cmsms-2.2.7-install.zip -d /var/www/html/cmsms12wget http://s3.amazonaws.com/cmsms/downloads/14144/cmsms-2.2.7-install.zipsudo unzip cmsms-2.2.7-install.zip-d/var/www/html/cmsms
Change ownership and give read, write, execute permissions to the cms folder.
sudo chown -R www-data:www-data /var/www/html/cmsms/
sudo chmod -R 755 /var/www/html/cmsms/12sudo chown-Rwww-data:www-data/var/www/html/cmsms/sudo chmod-R755/var/www/html/cmsms/

Enable the specified module and restart the apache web server.
sudo a2enmod rewrite
systemctl restart apache212sudo a2enmod rewritesystemctl restart apache2

Ready
!! Everything is done and now you need to open the following location on your browser to complete the remaining installation.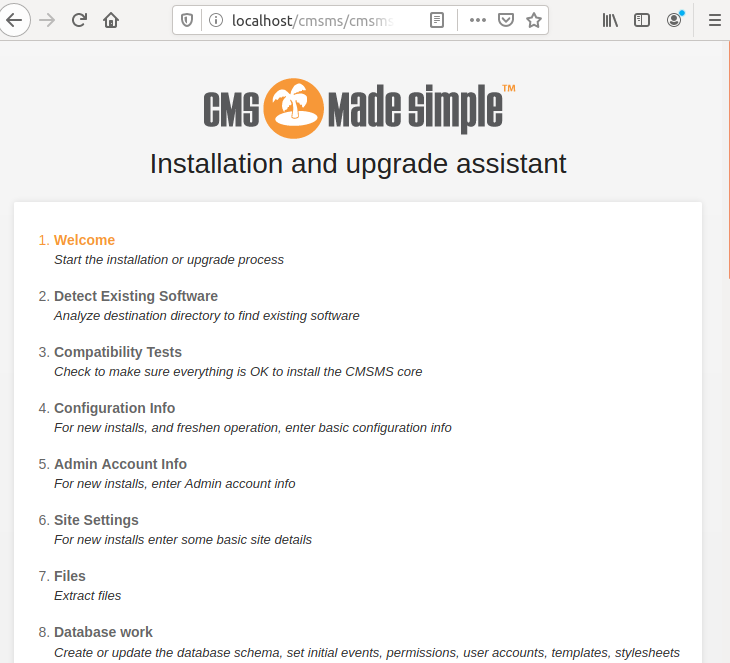
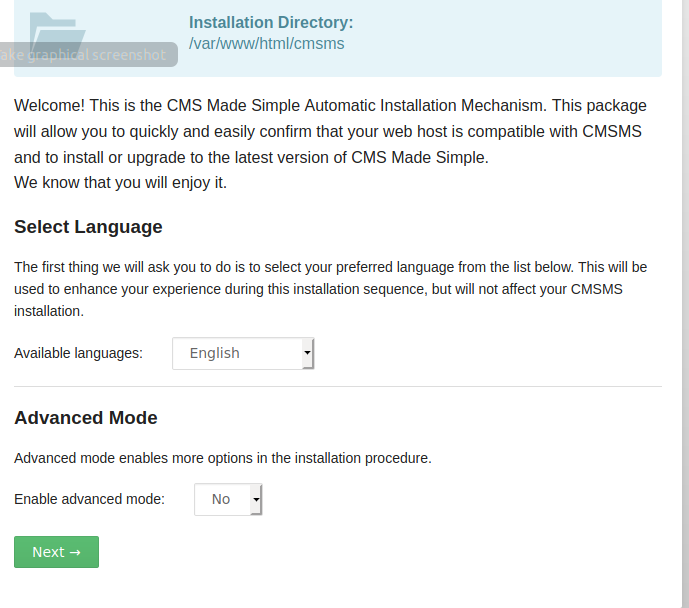
Select language according to yourself and move ahead.
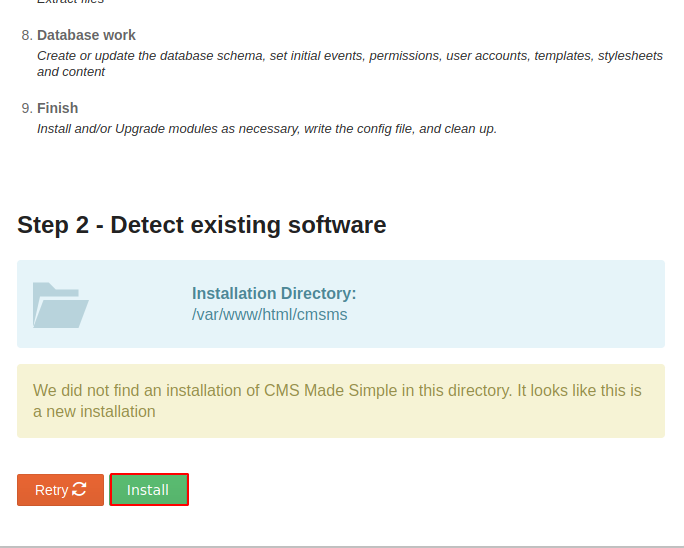
Click on “install” button and move ahead.
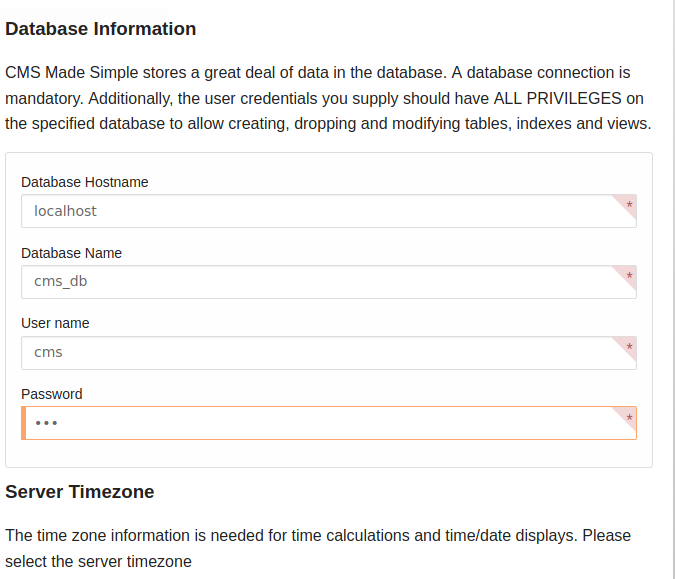
Here you need to enter the credentials of the meria database which we created earlier.
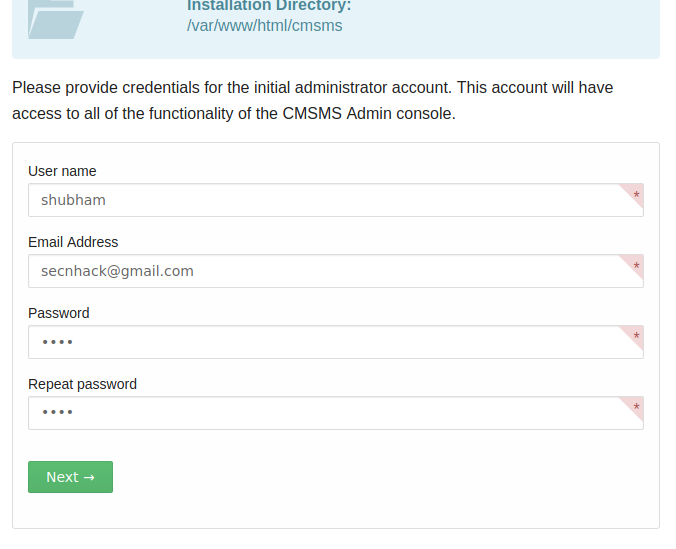
Create a user with a password to enter CMS’s admin panel.
You can select additional languages if necessary.
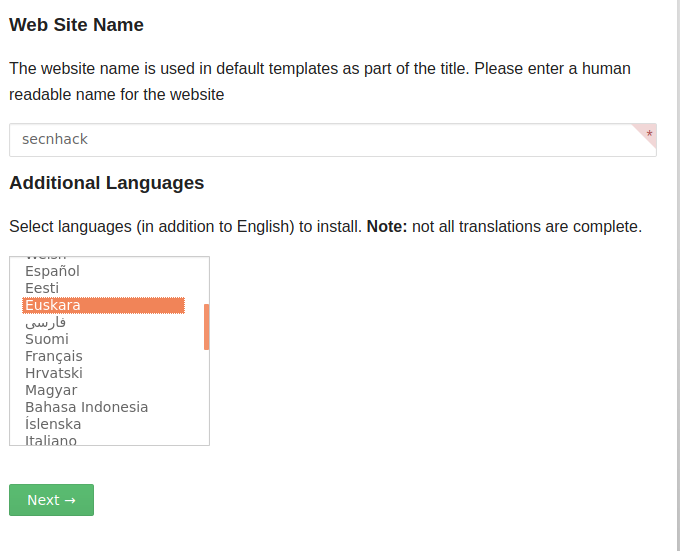
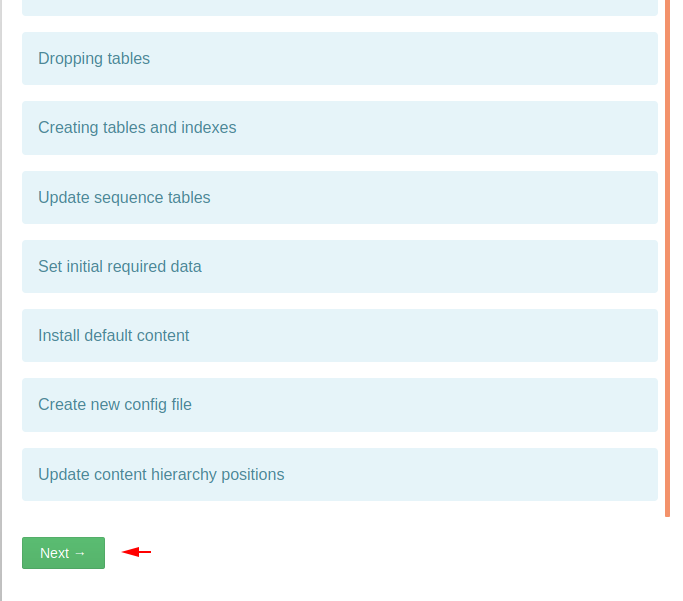
Again click on “next” button and proceed.
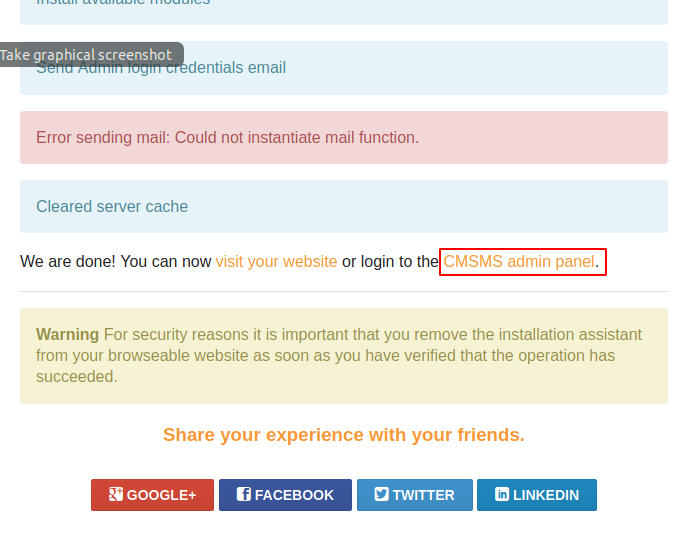
Just ignore everything and click on the hyper link highlighted in the image below.
Near
!! Just cross your finger and enter the username and password to enter the admin panel.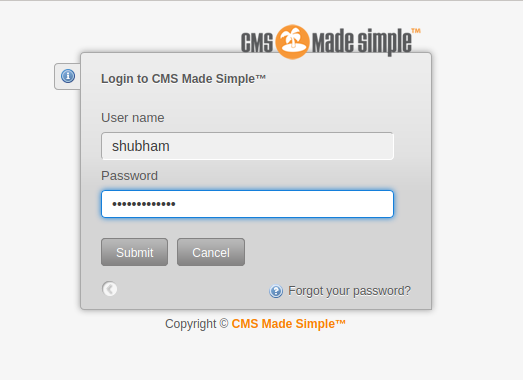
Amazing
!! As you can see in the image below we have successfully configured “CMS Made Simple” on the ubuntu operating system.