RodriguezDaGreat
Embedded Systems Coder
2
MONTHS
2 2 MONTHS OF SERVICE
LEVEL 1
300 XP
Hey folks, this is going to be amazing article because we will going to install an new linux Garuda Linux that is an free and open-source arch Linux operating system. Now let us give you a little introduction about that Garuda Linux Arch is a rolling distribution based on Linux operating system. The Garuda Linux operating system provides us a graphical interface to easily install and configure on virtual environments. It comes with a graphical interface, due to which we can install and manage the tools both graphically and through the command line. Let us move towards the installation of Garuda Linux operating system.
Lets take a look
 !!
!!Installation
If you are familiar with the VMware workstation, their functions and even if you have previously installed any Linux operating system then you only need to see the last image where you can get stuck, Otherwise if you are a beginner then follow our step till the end. Right
!! Now first you have to download vmware workstation from official website or you can also download it from here. Now do not understand that we will install it for you as you can do it itself easily.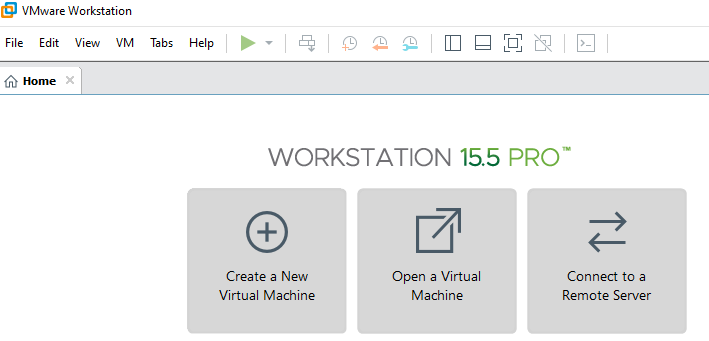
Back to work, after successfully installing vmware on a window machine you will get the “New Virtual Machine” option on the top left corner. Met
Just click on it and choose the first option as shown in the image below.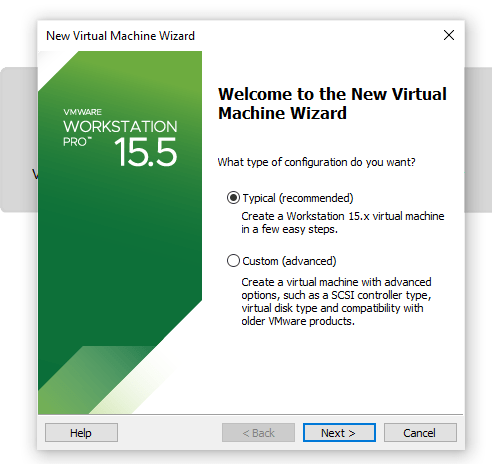
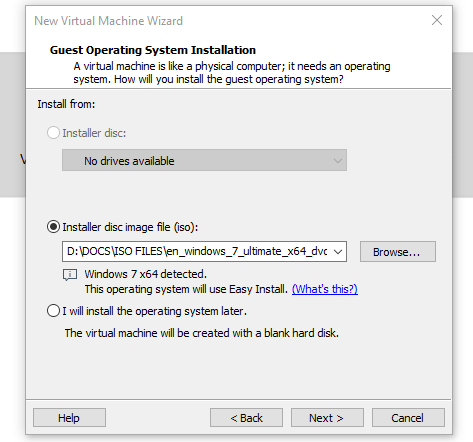
Its time to download garuda linux operatin system iso image which you can opt from here. After downloading it go back to the vmware workstation, click the browse button to locate the downloaded iso file and click on next.
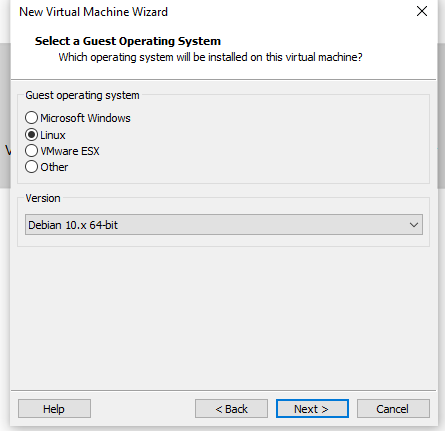
Now click on the given linux option and select the version as per your choice but in our case we will select the “Debian 10.x” version.
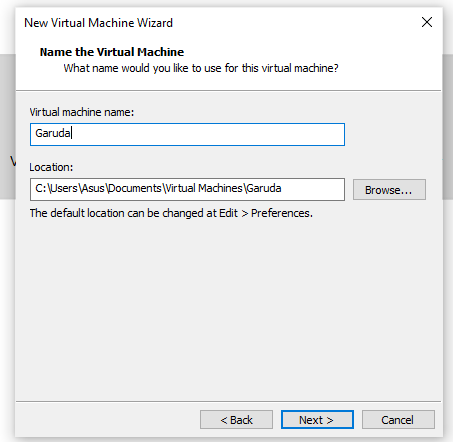
Here give the name of the virtual machine as per choice and enter the location of the folder where you want to save the data of these vm files.
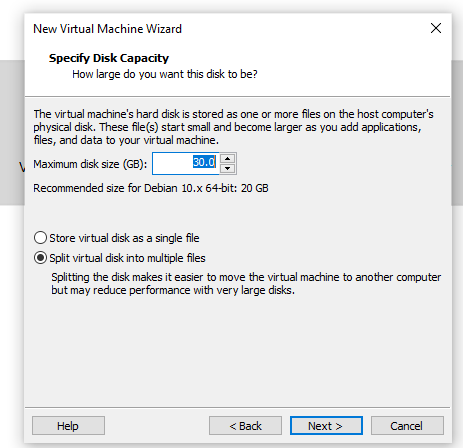
Give disk space for operating system according to your requirement and computer configuration and click on next with select the option second.
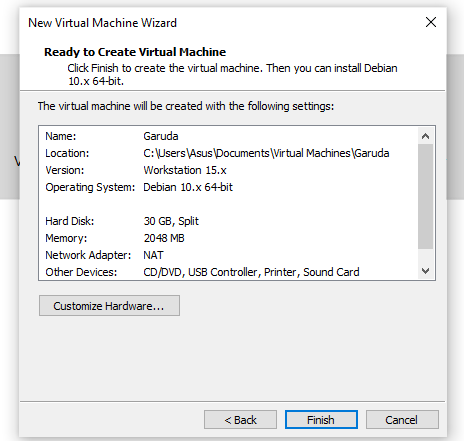
Everything is done ! If you want to make some changes then you can go back and reset the configuration. But now click on Finish
!!
If you have done all the things well then the interface to boot the operating system will look like below, otherwise error will comes during the boot. But i hope all will be well
!!
Nice
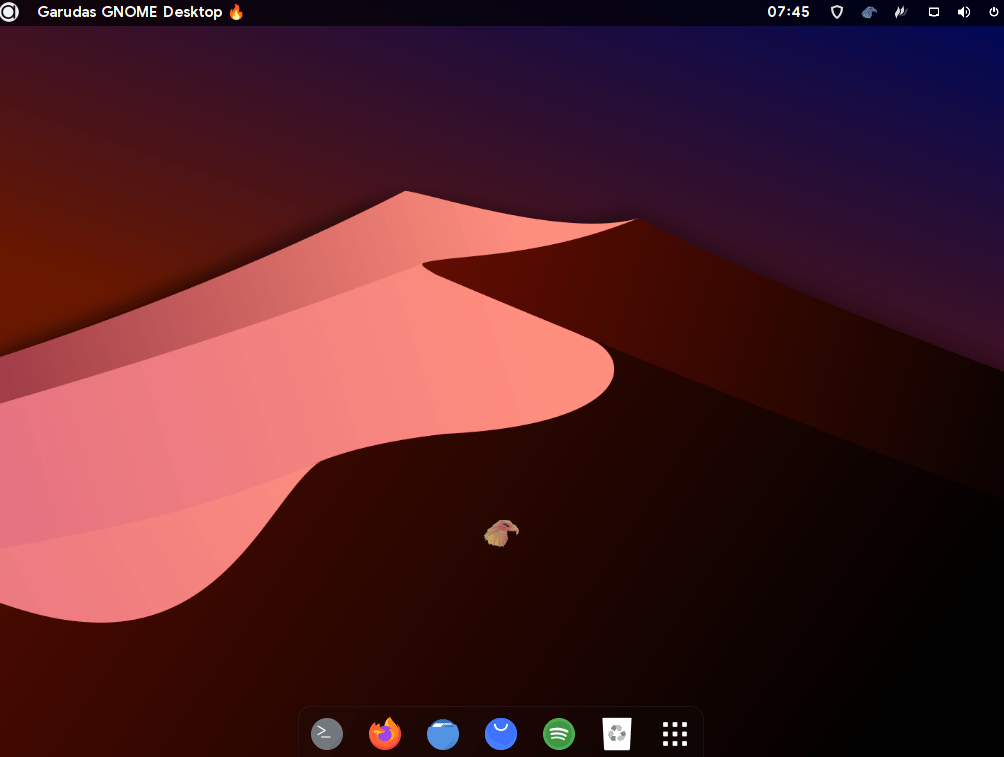
!! Below you can see that the booting interface is finally popping up which means we have done all the things well. Great Now we will boot this operating system with the selected GNOME terminal.
Done
!! Finally the wait is over and after doing the last step the Garuda Linux operating system is successfully configured. Now execute the commands, setup the interface as per choice and enjoy !!.