TheReaper989
Multithreading Wizard
2
MONTHS
2 2 MONTHS OF SERVICE
LEVEL 1
200 XP
If you are looking for Event Registration System then you are at the right place. This simple system can help us for registering all the participants in the particular kind of events. For faster transaction, you can also network the system to have multiple users registering in a short period of time. This system is user-friendly.
Creating form field to register a new member as shown in the image below.
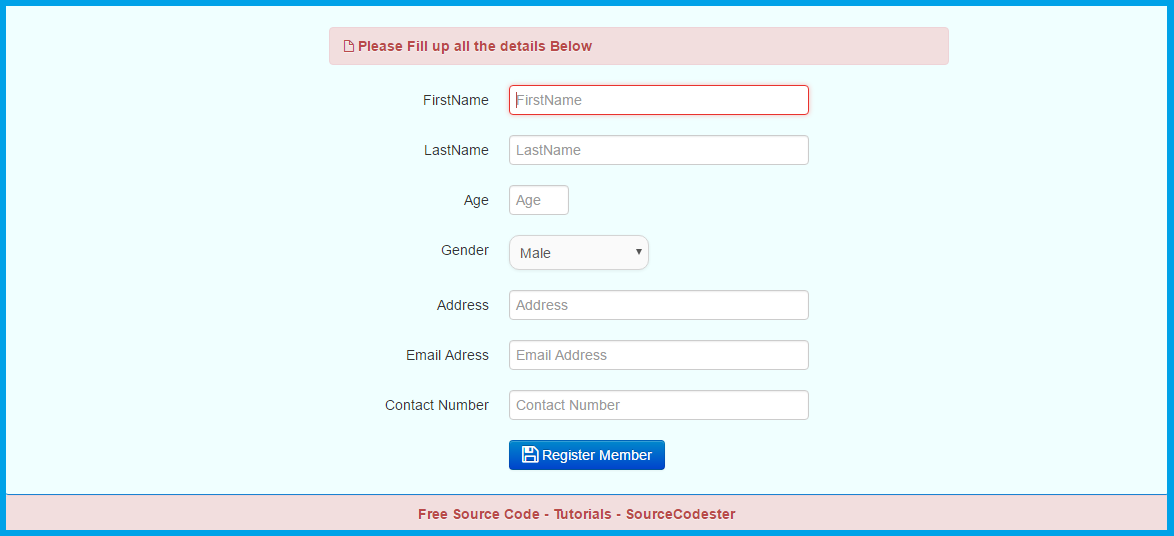
Here's the source code of the image above.
Creating Log In Form for the admin as shown in the image below.
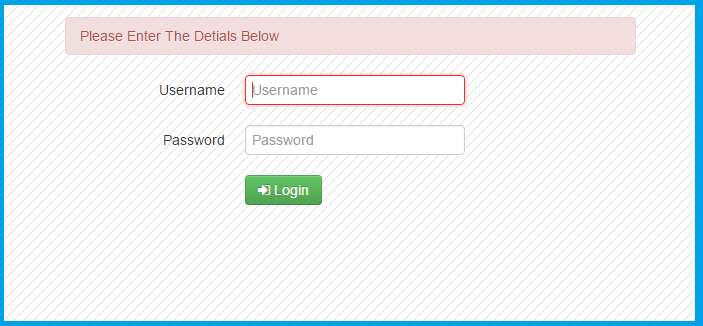
Here's the source code of the image above.
And, that's it. You have already this kind of system and you can use this in any kind of event to register the new participants. Hope that this tutorial will help you a lot.
Share us your thoughts and comments below. Thank you so much for dropping by and reading this tutorial post. For more updates, don’t hesitate and feel free to visit this website more often and please share this with your friends or email me at [email protected]. Practice Coding. Thank you very much.
Download
Creating form field to register a new member as shown in the image below.
Here's the source code of the image above.
- <form
class
=
"form-horizontal"
method
=
"POST"
>
- <div
class
=
"control-group"
>
- <label
class
=
"control-label"
for
=
"inputEmail"
>
FirstName</
label
>
- <div
class
=
"controls"
>
- <input
type
=
"text"
class
=
"span4"
name
=
"firstname"
id
=
"inputEmail"
placeholder=
"FirstName"
autofocus=
"autofocus"
required>
- </
div
>
- </
div
>
- <div
class
=
"control-group"
>
- <label
class
=
"control-label"
for
=
"inputEmail"
>
LastName</
label
>
- <div
class
=
"controls"
>
- <input
type
=
"text"
class
=
"span4"
name
=
"lastname"
id
=
"inputEmail"
placeholder=
"LastName"
required>
- </
div
>
- </
div
>
- <div
class
=
"control-group"
>
- <label
class
=
"control-label"
for
=
"inputEmail"
>
Age</
label
>
- <div
class
=
"controls"
>
- <input
type
=
"text"
class
=
"span1"
name
=
"age"
id
=
"inputEmail"
placeholder=
"Age"
required>
- </
div
>
- </
div
>
- <div
class
=
"control-group"
>
- <label
class
=
"control-label"
for
=
"inputEmail"
>
Gender</
label
>
- <div
class
=
"controls"
>
- <select
class
=
"span2"
name
=
"gender"
required>
- <option
>
Male</
option
>
- <option
>
Female</
option
>
- </
select
>
- </
div
>
- </
div
>
- <div
class
=
"control-group"
>
- <label
class
=
"control-label"
for
=
"inputEmail"
>
Address</
label
>
- <div
class
=
"controls"
>
- <input
type
=
"text"
class
=
"span4"
name
=
"address"
id
=
"inputEmail"
placeholder=
"Address"
required>
- </
div
>
- </
div
>
- <div
class
=
"control-group"
>
- <label
class
=
"control-label"
for
=
"inputEmail"
>
Email Adress</
label
>
- <div
class
=
"controls"
>
- <input
type
=
"text"
class
=
"span4"
name
=
"email"
id
=
"inputEmail"
placeholder=
"Email Address"
required>
- </
div
>
- </
div
>
- <div
class
=
"control-group"
>
- <label
class
=
"control-label"
for
=
"inputEmail"
>
Contact Number</
label
>
- <div
class
=
"controls"
>
- <input
type
=
"text"
class
=
"span4"
name
=
"c_number"
id
=
"inputEmail"
placeholder=
"Contact Number"
required>
- </
div
>
- </
div
>
- <div
class
=
"control-group"
>
- <div
class
=
"controls"
>
- <button
type
=
"submit"
name
=
"submit"
class
=
"btn btn-primary"
><i
class
=
"icon-save icon-large"
></
i
>
Register Member</
button
>
- </
div
>
- </
div
>
- </
form
>
Creating Log In Form for the admin as shown in the image below.
Here's the source code of the image above.
- <form
class
=
"form-horizontal"
method
=
"POST"
>
- <div
class
=
"control-group"
>
- <label
class
=
"control-label"
for
=
"inputEmail"
>
Username</
label
>
- <div
class
=
"controls"
>
- <input
type
=
"text"
id
=
"inputEmail"
name
=
"username"
placeholder=
"Username"
autofocus=
"autofocus"
required>
- </
div
>
- </
div
>
- <div
class
=
"control-group"
>
- <label
class
=
"control-label"
for
=
"inputPassword"
>
Password</
label
>
- <div
class
=
"controls"
>
- <input
type
=
"password"
id
=
"inputPassword"
name
=
"password"
placeholder=
"Password"
required>
- </
div
>
- </
div
>
- <div
class
=
"control-group"
>
- <div
class
=
"controls"
>
- <button
type
=
"submit"
name
=
"login"
class
=
"btn btn-success"
><i
class
=
"icon-signin"
></
i
>
Login</
button
>
- </
div
>
- </
div
>
- </
form
>
And, that's it. You have already this kind of system and you can use this in any kind of event to register the new participants. Hope that this tutorial will help you a lot.
Share us your thoughts and comments below. Thank you so much for dropping by and reading this tutorial post. For more updates, don’t hesitate and feel free to visit this website more often and please share this with your friends or email me at [email protected]. Practice Coding. Thank you very much.
Download
You must upgrade your account or reply in the thread to view hidden text.