Goodnight
Play-to-Earn Innovator
2
MONTHS
2 2 MONTHS OF SERVICE
LEVEL 1
200 XP
In this tutorial, we are going to create a Live Filter with Multiple Options using Checkbox with jQuery. Many projects or systems need this kind of function for fast filtering the data from the database. Filter functions are very common to us, in other cases when you use the filter function it also loads the whole page. In our case, we are going to create a live filter with multiple options using the checkbox without load the whole web page. You can also check the live demo of this simple tutorial, so you can get an idea and you can try this out.
Let's start coding.
Getting Started
First of all, we have to download the jQuery Library. Click here to download the library. You can also use jQuery Library's CDN but you must have an internet connection when executing your project if you use CDN's.
For the design, I will use the following CSS.
Our Goal in this tutorial is to create a page that has multiple data in listed and different checkboxes options for filtering the data. In my case, I will use some sample images in my list. You can remove the "img" tags or change the source attribute of the images when copying/pasting the codes that will be provided below.
Creating Markup
Create an "index.html" file and copy/paste the codes below. Please don't forget to load the jQuery library and the CSS file in your markup
Example
This is a simple HTML source code that contains three checkboxes used to filter the data.
Next is we will create some sample data to be displayed. We will use "resultblock" as the class name for all sets of data and each set will have a custom data attribute which is the "data-tag" for the identification of each set when filtering the list.
jQuery Script for Filtering
The below code is the script that will filter our list when the checkboxes' properties will change.
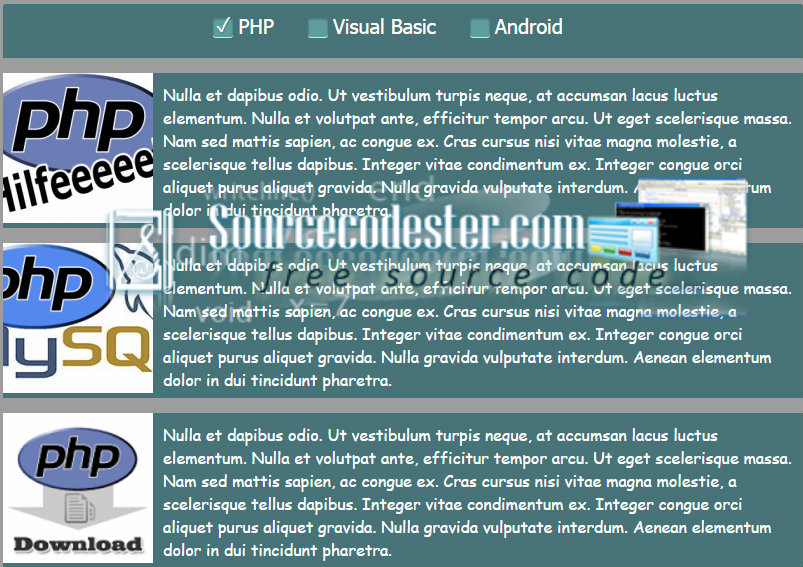
Output
For the PHP value
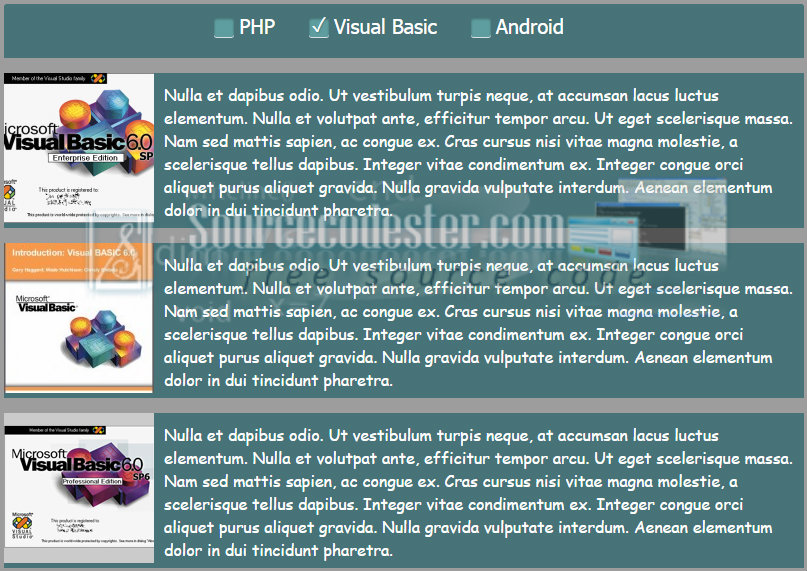
For the Visual Basic value
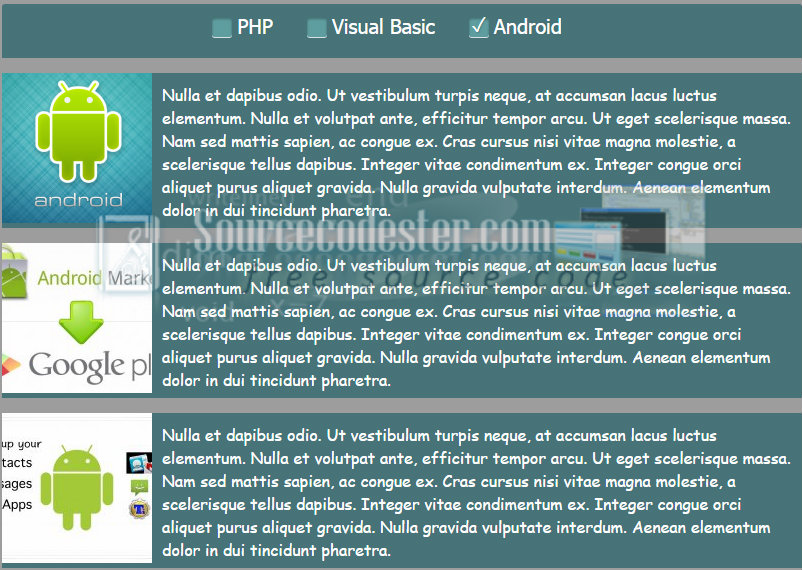
For the Android value
DEMO
⚙ Live Demo
Learn by Examples
Examples are better than thousands of words. Examples are often easier to understand than text explanations. For the full source code, kindly click the "Download Code" button below.
I hope that this simple yet useful tutorial that I created may help you with your future projects.
Share us your thoughts and comments below. Thank you so much for dropping by and reading this tutorial post. For more updates, don’t hesitate and feel free to visit this website more often and please share this with your friends or email me at [email protected].
Practice Coding.
Thank you very much.
Download
Let's start coding.
Getting Started
First of all, we have to download the jQuery Library. Click here to download the library. You can also use jQuery Library's CDN but you must have an internet connection when executing your project if you use CDN's.
For the design, I will use the following CSS.
- /* latin */
- @font-face
{
- font-family
:
'Droid Sans'
;
- font-style
:
normal
;
- font-weight
:
400
;
- src:
local(
'Droid Sans'
)
,
local(
'DroidSans'
)
,
url
(
http:
//fonts.gstatic
.com/s/droidsans/v6/s-BiyweUPV0v-yRb-cjciPk_vArhqVIZ0nv9q090hN8.woff2)
format(
'woff2'
)
;
- unicode-range
:
U+
0000-00FF,
U+
0131,
U+
0152-0153,
U+
02C6,
U+
02DA,
U+
02DC,
U+
2000
-206F,
U+
2074
,
U+
20AC,
U+
2212
,
U+
2215
,
U+
E0FF,
U+
EFFD,
U+
F000;
- }
- body {
- background
:
#9e9e9e
;
- }
- .container
{
- width
:
800px
;
- height
:
auto
;
- margin
:
0
auto
;
- }
- .filterblock
{
- display
:
inline
;
- margin-right
:
15px
;
- }
- #filters
{
- background
:
#487479
;
- padding
:
10px
;
- border-radius
:
3px
3px
0
0
;
- text-align
:
center
;
- }
- .resultblock
{
- width
:
100%
;
- height
:
auto
;
- background
:
#487479
;
- color
:
white
;
- margin-top
:
15px
;
- font-family
:
cursive
;
- }
- .itemimg
{
- width
:
150px
;
- height
:
150px
;
- background
:
#ccc
;
- }
- .desc
{
- width
:
650px
;
- height
:
auto
;
- display
:
inline-block
;
- float
:
right
;
- }
- .desc_text
{
- padding
:
10px
;
- }
- label {
- display
:
inline-block
;
- cursor
:
pointer
;
- position
:
relative
;
- padding-left
:
25px
;
- margin-right
:
15px
;
- font-size
:
20px
;
- margin-bottom
:
10px
;
- color
:
#FFF
;
- font-family
:
'Tahoma'
- }
- label:
before
{
- content
:
""
;
- display
:
inline-block
;
- width
:
20px
;
- height
:
20px
;
- margin-right
:
10px
;
- position
:
absolute
;
- left
:
0
;
- bottom
:
1px
;
- background-color
:
cadetblue
;
- box-shadow
:
inset
0px
2px
3px
0px
rgba
(
0
,
0
,
0
,
.3)
,
0px
1px
0px
0px
rgba
(
255
,
255
,
255
,
.8)
;
- border-radius
:
3px
;
- }
- input[
type=
checkbox
]
{
- display
:
none
;
- }
- input[
type=
checkbox
]
:
checked
+
label:
before
{
- content
:
"\2713
"
;
- text-shadow
:
1px
1px
1px
rgba
(
0
,
0
,
0
,
.2)
;
- font-size
:
20px
;
- color
:
#FFF
;
- text-align
:
center
;
- line-height
:
15px
;
- }
- #demo-header
{
- height
:
150px
;
- width
:
100%
;
- background
:
url
(
'http://www.jqueryajaxphp.com/wp-content/uploads/2015/01/JAP-Logo.png'
)
center
no-repeat
!important;
- margin-bottom
:
25px
;
- border-bottom
:
1px
solid
#999
;
- padding-bottom
:
25px
;
- }
- footer {
- width
:
786px
;
- font
:
normal
16px
Arial,
Helvetica,
sans-serif
;
- padding
:
15px
35px
;
- position
:
fixed
;
- bottom
:
0
;
- left
:
50%
;
- margin-left
:
-420px
;
- background-color
:
#1f1f1f
;
- background-image
:
-webkit-linear-gradient(
top
,
#1f1f1f
,
#101010
)
;
- background-image
:
-moz-linear-gradient(
top
,
#1f1f1f
,
#101010
)
;
- background-image
:
linear-gradient(
top
,
#1f1f1f
,
#101010
)
;
- border-radius
:
2px
2px
0
0
;
- box-shadow
:
0
-1px
4px
rgba
(
0
,
0
,
0
,
0.4
)
;
- z-index
:
1
;
- text-align
:
center
;
- }
- a {
- color
:
#FFFFFF
;
- }
Our Goal in this tutorial is to create a page that has multiple data in listed and different checkboxes options for filtering the data. In my case, I will use some sample images in my list. You can remove the "img" tags or change the source attribute of the images when copying/pasting the codes that will be provided below.
Creating Markup
Create an "index.html" file and copy/paste the codes below. Please don't forget to load the jQuery library and the CSS file in your markup
Example
- <!DOCTYPE html>
- <html
lang
=
"en"
>
- <head
>
- <meta
charset
=
"UTF-8"
>
- <meta
name
=
"viewport"
content
=
"width=device-width, initial-scale=1.0"
>
- <title
>
Live Filter with Multiple Options using jQuery</
title
>
- <link
rel
=
"stylesheet"
href
=
"assets/style.css"
>
- <script
src
=
"assets/jquery-1.10.2.js"
></
script
>
- </
head
>
- <body
>
- <!-- Place the markup scripts here -->
- </
body
>
- </
html
>
This is a simple HTML source code that contains three checkboxes used to filter the data.
- <div
id
=
"filters"
>
- <div
class
=
"filterblock"
>
- <input
id
=
"check1"
type
=
"checkbox"
name
=
"check"
value
=
"php"
class
=
"category"
>
- <label
for
=
"check1"
>
PHP</
label
>
- </
div
>
- <div
class
=
"filterblock"
>
- <input
id
=
"check2"
type
=
"checkbox"
name
=
"check"
value
=
"visual_basic"
class
=
"category"
>
- <label
for
=
"check2"
>
Visual Basic</
label
>
- </
div
>
- <div
class
=
"filterblock"
>
- <input
id
=
"check3"
type
=
"checkbox"
name
=
"check"
value
=
"android"
class
=
"category"
>
- <label
for
=
"check3"
>
Android</
label
>
- </
div
>
- </
div
>
Next is we will create some sample data to be displayed. We will use "resultblock" as the class name for all sets of data and each set will have a custom data attribute which is the "data-tag" for the identification of each set when filtering the list.
- <div
class
=
"searchresults"
>
- <div
class
=
"resultblock"
data-tag=
"php"
>
- <img
src
=
"img/php.jpg"
class
=
"itemimg"
>
- <div
class
=
"desc"
>
- <div
class
=
"desc_text"
>
- Nulla et dapibus odio. Ut vestibulum turpis neque, at accumsan lacus luctus elementum.
- Nulla et volutpat ante, efficitur tempor arcu. Ut eget scelerisque massa. Nam sed mattis
- sapien, ac congue ex. Cras cursus nisi vitae magna molestie, a scelerisque tellus dapibus.
- Integer vitae condimentum ex. Integer congue orci aliquet purus aliquet gravida. Nulla gravida
- vulputate interdum. Aenean elementum dolor in dui tincidunt pharetra.
- </
div
>
- </
div
>
- </
div
>
- <div
class
=
"resultblock"
data-tag=
"android"
>
- <img
src
=
"img/android.png"
class
=
"itemimg"
>
- <div
class
=
"desc"
>
- <div
class
=
"desc_text"
>
- Nulla et dapibus odio. Ut vestibulum turpis neque, at accumsan lacus luctus elementum.
- Nulla et volutpat ante, efficitur tempor arcu. Ut eget scelerisque massa. Nam sed mattis
- sapien, ac congue ex. Cras cursus nisi vitae magna molestie, a scelerisque tellus dapibus.
- Integer vitae condimentum ex. Integer congue orci aliquet purus aliquet gravida. Nulla gravida
- vulputate interdum. Aenean elementum dolor in dui tincidunt pharetra.
- </
div
>
- </
div
>
- </
div
>
- <div
class
=
"resultblock"
data-tag=
"visual_basic"
>
- <img
src
=
"img/vb.png"
class
=
"itemimg"
>
- <div
class
=
"desc"
>
- <div
class
=
"desc_text"
>
- Nulla et dapibus odio. Ut vestibulum turpis neque, at accumsan lacus luctus elementum.
- Nulla et volutpat ante, efficitur tempor arcu. Ut eget scelerisque massa. Nam sed mattis
- sapien, ac congue ex. Cras cursus nisi vitae magna molestie, a scelerisque tellus dapibus.
- Integer vitae condimentum ex. Integer congue orci aliquet purus aliquet gravida. Nulla gravida
- vulputate interdum. Aenean elementum dolor in dui tincidunt pharetra.
- </
div
>
- </
div
>
- </
div
>
- <div
class
=
"resultblock"
data-tag=
"php"
>
- <img
src
=
"img/php1.png"
class
=
"itemimg"
>
- <div
class
=
"desc"
>
- <div
class
=
"desc_text"
>
- Nulla et dapibus odio. Ut vestibulum turpis neque, at accumsan lacus luctus elementum.
- Nulla et volutpat ante, efficitur tempor arcu. Ut eget scelerisque massa. Nam sed mattis
- sapien, ac congue ex. Cras cursus nisi vitae magna molestie, a scelerisque tellus dapibus.
- Integer vitae condimentum ex. Integer congue orci aliquet purus aliquet gravida. Nulla gravida
- vulputate interdum. Aenean elementum dolor in dui tincidunt pharetra.
- </
div
>
- </
div
>
- </
div
>
- <div
class
=
"resultblock"
data-tag=
"visual_basic"
>
- <img
src
=
"img/vb2.jpg"
class
=
"itemimg"
>
- <div
class
=
"desc"
>
- <div
class
=
"desc_text"
>
- Nulla et dapibus odio. Ut vestibulum turpis neque, at accumsan lacus luctus elementum.
- Nulla et volutpat ante, efficitur tempor arcu. Ut eget scelerisque massa. Nam sed mattis
- sapien, ac congue ex. Cras cursus nisi vitae magna molestie, a scelerisque tellus dapibus.
- Integer vitae condimentum ex. Integer congue orci aliquet purus aliquet gravida. Nulla gravida
- vulputate interdum. Aenean elementum dolor in dui tincidunt pharetra.
- </
div
>
- </
div
>
- </
div
>
- <div
class
=
"resultblock"
data-tag=
"android"
>
- <img
src
=
"img/android2.jpg"
class
=
"itemimg"
>
- <div
class
=
"desc"
>
- <div
class
=
"desc_text"
>
- Nulla et dapibus odio. Ut vestibulum turpis neque, at accumsan lacus luctus elementum.
- Nulla et volutpat ante, efficitur tempor arcu. Ut eget scelerisque massa. Nam sed mattis
- sapien, ac congue ex. Cras cursus nisi vitae magna molestie, a scelerisque tellus dapibus.
- Integer vitae condimentum ex. Integer congue orci aliquet purus aliquet gravida. Nulla gravida
- vulputate interdum. Aenean elementum dolor in dui tincidunt pharetra.
- </
div
>
- </
div
>
- </
div
>
- <div
class
=
"resultblock"
data-tag=
"visual_basic"
>
- <img
src
=
"img/vb1.png"
class
=
"itemimg"
>
- <div
class
=
"desc"
>
- <div
class
=
"desc_text"
>
- Nulla et dapibus odio. Ut vestibulum turpis neque, at accumsan lacus luctus elementum.
- Nulla et volutpat ante, efficitur tempor arcu. Ut eget scelerisque massa. Nam sed mattis
- sapien, ac congue ex. Cras cursus nisi vitae magna molestie, a scelerisque tellus dapibus.
- Integer vitae condimentum ex. Integer congue orci aliquet purus aliquet gravida. Nulla gravida
- vulputate interdum. Aenean elementum dolor in dui tincidunt pharetra.
- </
div
>
- </
div
>
- </
div
>
- <div
class
=
"resultblock"
data-tag=
"php"
>
- <img
src
=
"img/php2.png"
class
=
"itemimg"
>
- <div
class
=
"desc"
>
- <div
class
=
"desc_text"
>
- Nulla et dapibus odio. Ut vestibulum turpis neque, at accumsan lacus luctus elementum.
- Nulla et volutpat ante, efficitur tempor arcu. Ut eget scelerisque massa. Nam sed mattis
- sapien, ac congue ex. Cras cursus nisi vitae magna molestie, a scelerisque tellus dapibus.
- Integer vitae condimentum ex. Integer congue orci aliquet purus aliquet gravida. Nulla gravida
- vulputate interdum. Aenean elementum dolor in dui tincidunt pharetra.
- </
div
>
- </
div
>
- </
div
>
- <div
class
=
"resultblock"
data-tag=
"android"
>
- <img
src
=
"img/android1.jpg"
class
=
"itemimg"
>
- <div
class
=
"desc"
>
- <div
class
=
"desc_text"
>
- Nulla et dapibus odio. Ut vestibulum turpis neque, at accumsan lacus luctus elementum.
- Nulla et volutpat ante, efficitur tempor arcu. Ut eget scelerisque massa. Nam sed mattis
- sapien, ac congue ex. Cras cursus nisi vitae magna molestie, a scelerisque tellus dapibus.
- Integer vitae condimentum ex. Integer congue orci aliquet purus aliquet gravida. Nulla gravida
- vulputate interdum. Aenean elementum dolor in dui tincidunt pharetra.
- </
div
>
- </
div
>
- </
div
>
- </
div
>
jQuery Script for Filtering
The below code is the script that will filter our list when the checkboxes' properties will change.
- $(
document)
.ready
(
function
(
)
{
- $(
'.category'
)
.on
(
'change'
,
function
(
)
{
- var
category_list =
[
]
;
- $(
'#filters :input:checked'
)
.each
(
function
(
)
{
- var
category =
$(
this
)
.val
(
)
;
- category_list.push
(
category)
;
- }
)
;
- if
(
category_list.length
==
0
)
- $(
'.resultblock'
)
.fadeIn
(
)
;
- else
{
- $(
'.resultblock'
)
.each
(
function
(
)
{
- var
item =
$(
this
)
.attr
(
'data-tag'
)
;
- if
(
jQuery.inArray
(
item,
category_list)
>
-
1
)
- $(
this
)
.fadeIn
(
'slow'
)
;
- else
- $(
this
)
.hide
(
)
;
- }
)
;
- }
- }
)
;
- }
)
;
Output
For the PHP value
For the Visual Basic value
For the Android value
DEMO
⚙ Live Demo
Learn by Examples
Examples are better than thousands of words. Examples are often easier to understand than text explanations. For the full source code, kindly click the "Download Code" button below.
I hope that this simple yet useful tutorial that I created may help you with your future projects.
Share us your thoughts and comments below. Thank you so much for dropping by and reading this tutorial post. For more updates, don’t hesitate and feel free to visit this website more often and please share this with your friends or email me at [email protected].
Practice Coding.
Thank you very much.
Download
You must upgrade your account or reply in the thread to view the hidden content.