CuckooAcorn
Cross-Chain Trader
2
MONTHS
2 2 MONTHS OF SERVICE
LEVEL 1
100 XP
Installing CodeIgniter
If you don't have CodeIgniter installed yet, you can use this link to download the latest version of CodeIgniter which is 3.1.7 that I've used in this tutorial.
After downloading, extract the file in the folder of your server. Since I'm using XAMPP as my localhost server, I've put the folder in htdocs folder of my XAMPP.
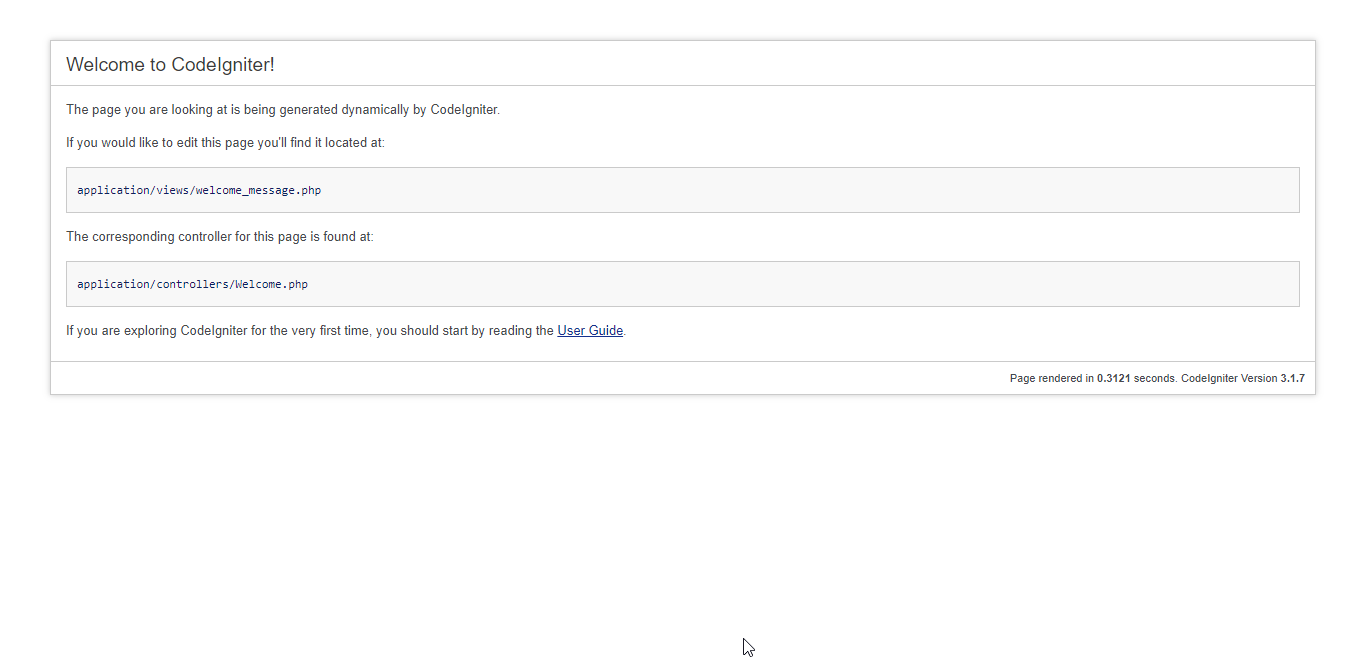
Then, you can test whether you have successfully installed codeigniter by typing your app name in your browser. In my case, I named my app as codeigniter_404 so I'm using the below code.
Adding Bootstrap
In this tutorial, I'll be using bootstrap which is included in the downloadable of this tutorial but if you want, you may download bootstrap using this link.
Creating our .htaccess
Next, we need to create .htaccess page to enable codeigniter's error 404 page.
In your app's root folder, create a file named .htaccess and add the ff codes:
Configuring our App
Next, we configure our base url and removing index.php in our index_page to remove it to our URLs.
Open config.php located in application/config folder and edit the following lines.
Creating our 404 Page
Lastly, we create our custom 404 page by updating the contents of error_404.php located in application/views/error/html folder by the ff codes.
In here, we have created a new controller on the page to access our base_url.
That ends this tutorial. Happy Coding :)
Download
If you don't have CodeIgniter installed yet, you can use this link to download the latest version of CodeIgniter which is 3.1.7 that I've used in this tutorial.
After downloading, extract the file in the folder of your server. Since I'm using XAMPP as my localhost server, I've put the folder in htdocs folder of my XAMPP.
Then, you can test whether you have successfully installed codeigniter by typing your app name in your browser. In my case, I named my app as codeigniter_404 so I'm using the below code.
- localhost/codeigniter_404
Adding Bootstrap
In this tutorial, I'll be using bootstrap which is included in the downloadable of this tutorial but if you want, you may download bootstrap using this link.
Creating our .htaccess
Next, we need to create .htaccess page to enable codeigniter's error 404 page.
In your app's root folder, create a file named .htaccess and add the ff codes:
- <IfModule mod_rewrite.c>
- RewriteEngine On
- RewriteCond %{REQUEST_FILENAME} !-f
- RewriteCond %{REQUEST_FILENAME} !-d
- RewriteRule ^(.*)$ index.php/$1 [L]
- </
IfModule>
Configuring our App
Next, we configure our base url and removing index.php in our index_page to remove it to our URLs.
Open config.php located in application/config folder and edit the following lines.
- $config
[
'base_url'
]
=
'http://localhost/codeigniter_404/'
;
- $config
[
'index_page'
]
=
''
;
Creating our 404 Page
Lastly, we create our custom 404 page by updating the contents of error_404.php located in application/views/error/html folder by the ff codes.
- <?php
- defined
(
'BASEPATH'
)
OR exit
(
'No direct script access allowed'
)
;
- ?>
- <?php
- $ci
=
new
CI_Controller(
)
;
- $ci
=&
get_instance(
)
;
- $ci
->
load
->
helper
(
'url'
)
;
- ?>
- <!DOCTYPE html>
- <html>
- <head>
- <meta charset="utf-8">
- <title>404 Error Page not Found</title>
- <link rel="stylesheet" type="text/css" href="<?php
echo
base_url(
)
;
?>
bootstrap/css/bootstrap.min.css">
- <style type="text/css">
- .errorDiv{
- padding: 40px 15px;
- text-align: center;
- }
- .errorMsg{
- margin-top:15px;margin-bottom:15px;
- }
- .errorBtn .btn{
- margin-right:10px;
- }
- </style>
- </head>
- <body>
- <div class="container">
- <div class="row">
- <div class="col-md-12">
- <div class="errorDiv">
- <h1>
- Oops!</h1>
- <h2>
- 404 Not Found</h2>
- <div class="errorMsg">
- Sorry, an error has occurred. Requested page not found!
- </div>
- <div class="errorBtn">
- <a href="<?php
echo
base_url(
)
?>
welcome/" class="btn btn-primary btn-lg"><span class="glyphicon glyphicon-home"></span>
- Take Me Home </a><a href="#" class="btn btn-default btn-lg"><span class="glyphicon glyphicon-envelope"></span> Contact Support </a>
- </div>
- </div>
- </div>
- </div>
- </div>
- </body>
- </html>
In here, we have created a new controller on the page to access our base_url.
That ends this tutorial. Happy Coding :)
Download
You must upgrade your account or reply in the thread to view the hidden content.