L3gitHaXORR
Operational Technology Auditor
2
MONTHS
2 2 MONTHS OF SERVICE
LEVEL 1
200 XP
Getting Started
This is the continuation of our previous tutorial entitled Python - Django Creating Models that tackles about creating our models.
Creating our Migrations
We will now connect this models to our website by creating migrations.
1. Open command prompt of our site, then type:
python manage.py makemigrations blog
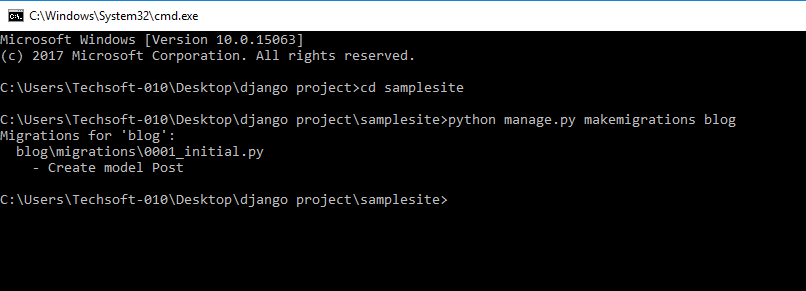
This will create the migration for our blog app and will look for models created in our app.
2. Type: python manage.py migrate
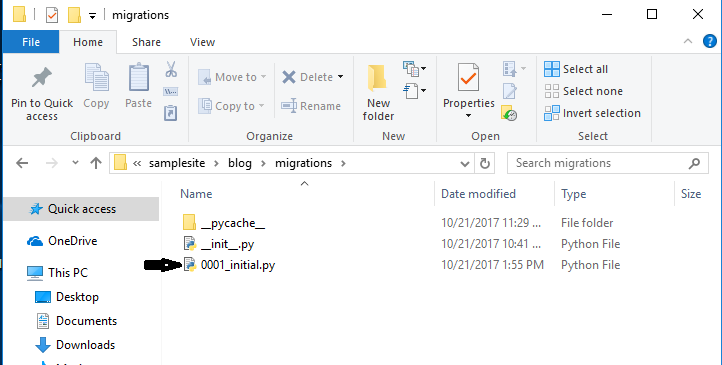
Checking our Migrations
Go to our blog app then open migrations folder. As you can see, we have created a new file which is our migration.
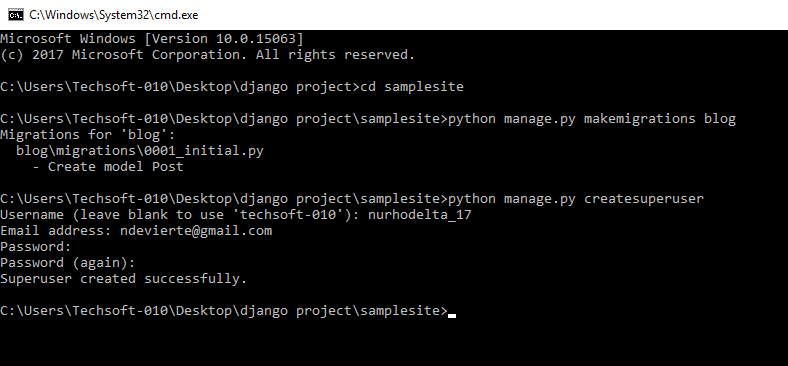
Creating our Admin
Now that we have created our connection, we will now create our Admin that will manage our tables.
Open command prompt and type: python manage.py createsuperuser
This will direct us to create username and password for our admin.
Registering our Table into Admin
Next, we need to register Post table that we have created in our models into our admin.
Go to our blog app directory, open admin.py and paste the ff codes:
Running our Server
We now then run our server to check our admin.
1. Type: 127.0.0.1:8000/admin/ to go to Admin Login Page.
2. Login the account that we have registered earlier and you should be able to open Admin like this:
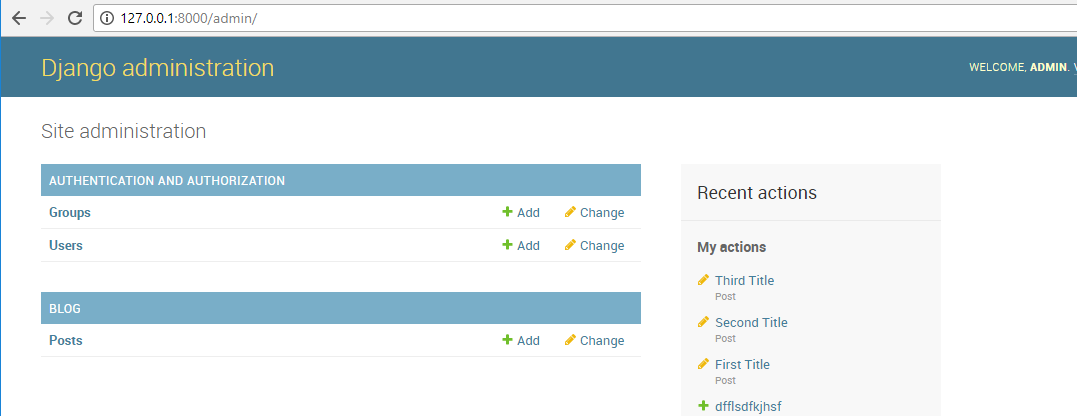
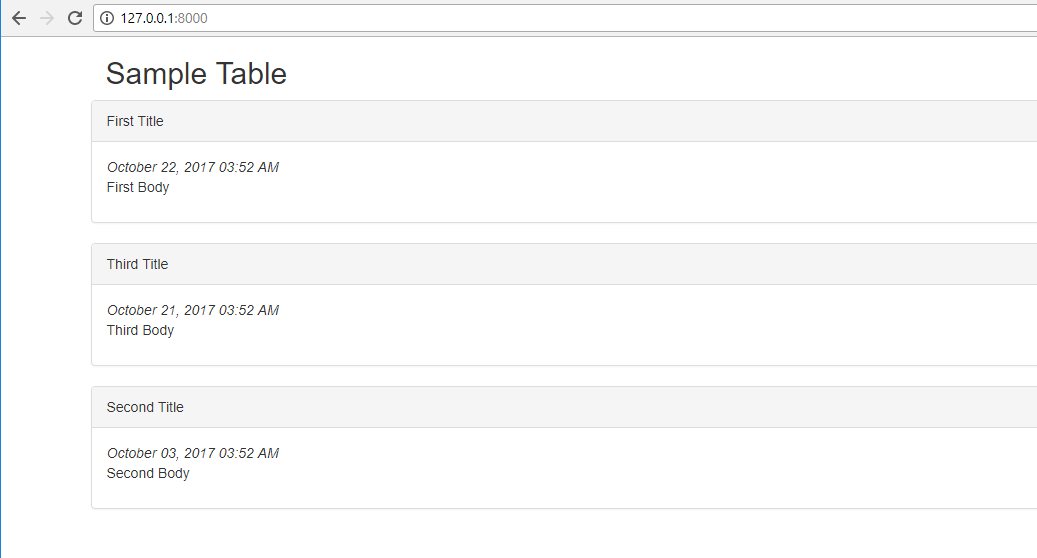
You can then add data to our Post table.
After adding data to our Post table, our site should look like this:
This end this tutorial. Happy Coding :)
Download
This is the continuation of our previous tutorial entitled Python - Django Creating Models that tackles about creating our models.
Creating our Migrations
We will now connect this models to our website by creating migrations.
1. Open command prompt of our site, then type:
python manage.py makemigrations blog
This will create the migration for our blog app and will look for models created in our app.
2. Type: python manage.py migrate
Checking our Migrations
Go to our blog app then open migrations folder. As you can see, we have created a new file which is our migration.
Creating our Admin
Now that we have created our connection, we will now create our Admin that will manage our tables.
Open command prompt and type: python manage.py createsuperuser
This will direct us to create username and password for our admin.
Registering our Table into Admin
Next, we need to register Post table that we have created in our models into our admin.
Go to our blog app directory, open admin.py and paste the ff codes:
- from
django.contrib
import
admin
- from
blog.models
import
Post
- admin.site
.register
(
Post)
Running our Server
We now then run our server to check our admin.
1. Type: 127.0.0.1:8000/admin/ to go to Admin Login Page.
2. Login the account that we have registered earlier and you should be able to open Admin like this:
You can then add data to our Post table.
After adding data to our Post table, our site should look like this:
This end this tutorial. Happy Coding :)
Download
You must upgrade your account or reply in the thread to view hidden text.