Pshyotic
Neural Interface Developer
2
MONTHS
2 2 MONTHS OF SERVICE
LEVEL 1
400 XP

In this article, we will learn how to install and configure WordPress CMS in Ubuntu operating systems.
About WordPress
If there is a popular cms in today’s, then that is the WordPress. WordPress is becoming a most popular cms (content management system) because of his flexibility. WordPress is a open source platform which written in PHP and work with MySQL and It gives user friendly interface which helps to user to setup his website in few minutes. After complete the setup it gives the administrator console whose help to control whole website.
Prerequisites
Ubuntu 20.04 Server – ( Configure on Ubuntu )
Lets do it
 !!
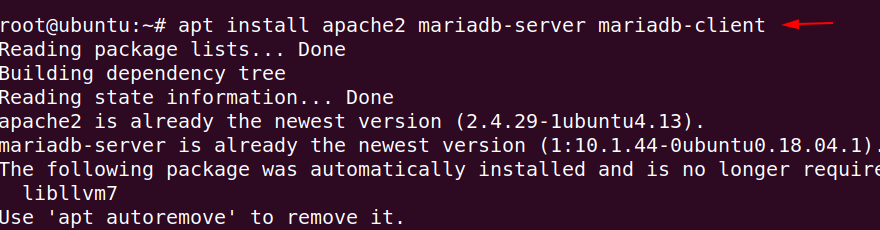
!!Fire up on Ubuntu and navigate the terminal on desktop. We need to install the required configurations for the WordPress installation. Hence to store the database we have to install the Mariadb server on ubuntu.
apt install apache2 mariadb-server mariadb-client1apt install apache2 mariadb-server mariadb-client
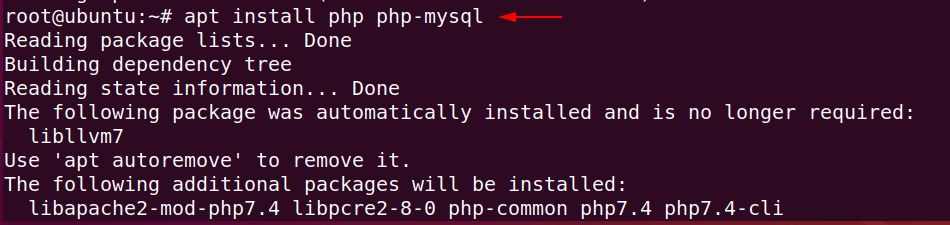
Now install the php which is the part of LAMP ( Linux Apache MySQL phpmyadmin ) setup.
apt install php php-mysql1apt install php php-mysql
Lets start the mysql server by using the following command.
mysql -u root -p1mysql-uroot-p

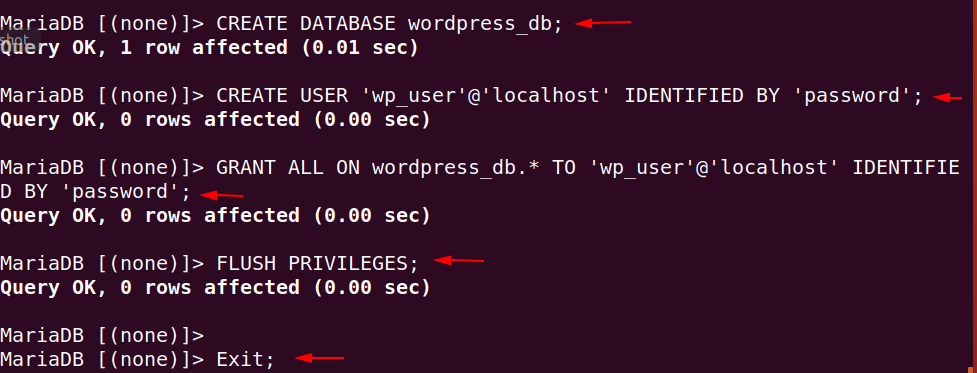
You can change the following configuration as per your need. Now create the database for wordpress.
CREATE DATABASE wordpress_db;1CREATE DATABASE wordpress_db;
Create a username and password for control the wordpress database.
CREATE USER 'wp_user'@'localhost' IDENTIFIED BY 'password';1CREATE USER'wp_user'@'localhost'IDENTIFIED BY'password';
Give the grant privileges to the user to control the database.
GRANT ALL ON wordpress_db.* TO 'wp_user'@'localhost' IDENTIFIED BY 'password';1GRANT ALL ON wordpress_db.*TO'wp_user'@'localhost'IDENTIFIED BY'password';
Update the rules and get exit.
FLUSH PRIVILEGES;
Exit;12FLUSH PRIVILEGES;Exit;
WordPress Installation
Download the latest version of wordpress cms from official website using the wget command.
wget https://wordpress.org/latest.tar.gz1wget https://wordpress.org/latest.tar.gz

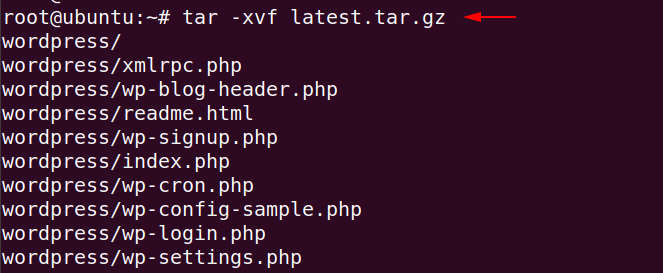
Extract it by using the following command on current directory.
tar -xvf latest.tar.gz1tar-xvf latest.tar.gz
Copy the wordpress folder on /var/ww/html/ directory.
cp -R wordpress /var/www/html/1cp-Rwordpress/var/www/html/
Chage the ownership of wordpress directory.
chown -R www-data:www-data /var/www/html/wordpress/1chown-Rwww-data:www-data/var/www/html/wordpress/
Give some important permission
chmod -R 755 /var/www/html/wordpress/1chmod-R755/var/www/html/wordpress/

Create a sub directory in wp-content folder of wordpress.
mkdir /var/www/html/wordpress/wp-content/uploads1mkdir/var/www/html/wordpress/wp-content/uploads
Again change the ownership of the upload directory.
chown -R www-data:www-data /var/www/html/wordpress/wp-content/uploads/1chown-Rwww-data:www-data/var/www/html/wordpress/wp-content/uploads/

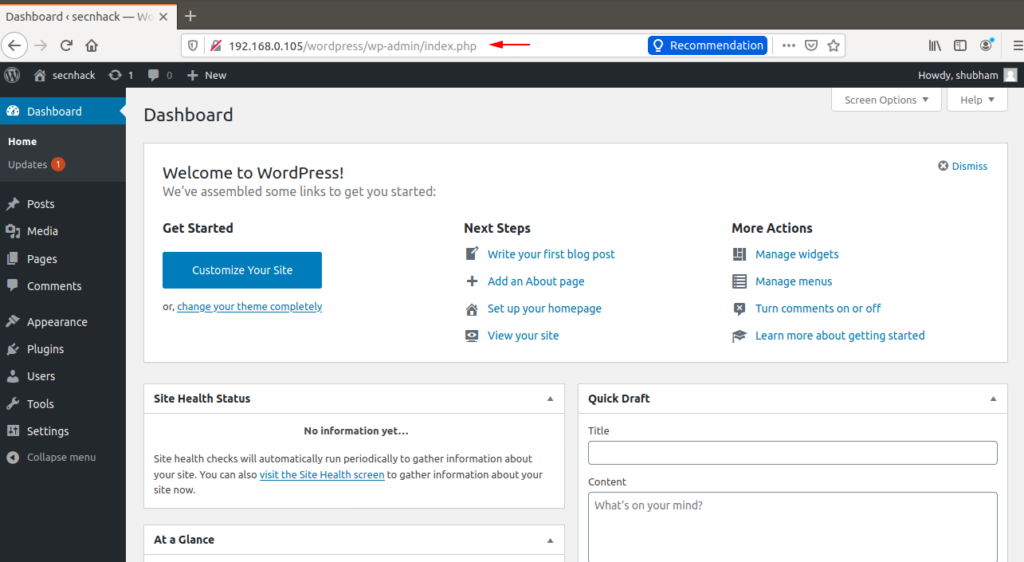
Now you are almost near to wordpress installation. Again start your apache server and enter IP address on browser.
systemctl start apache21systemctl start apache2
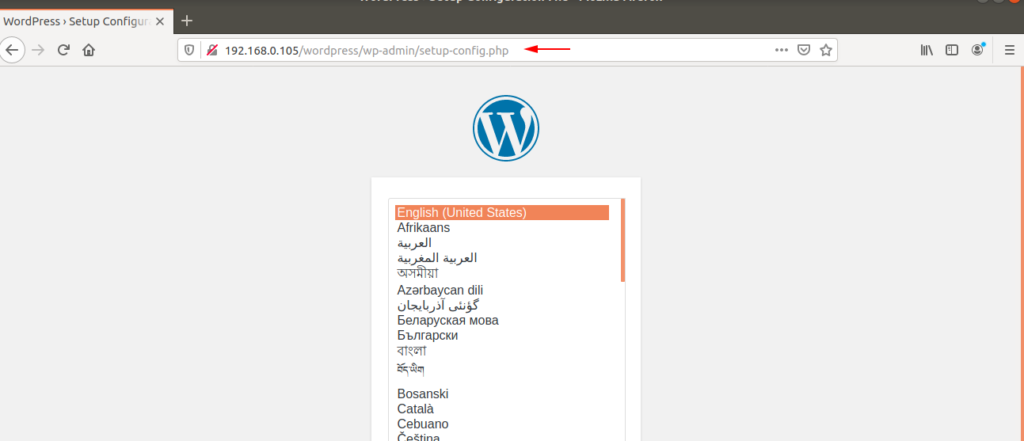
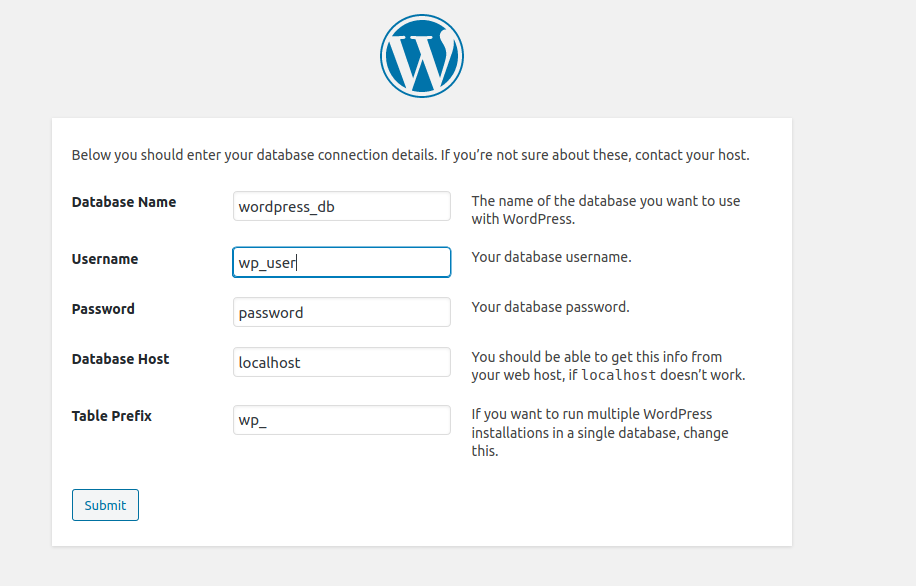
After selecting the language the database configuration page will come on your browser in which you have to enter the same credentials which were create in the Mariadb server.
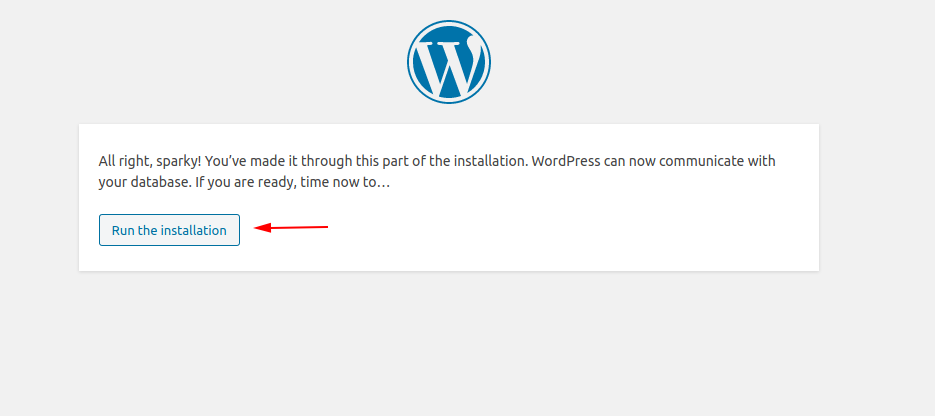
Now click the following option and proceed to next.
Now you can create the user and password as your comfort because it will be used to access the admin console of wordpress.
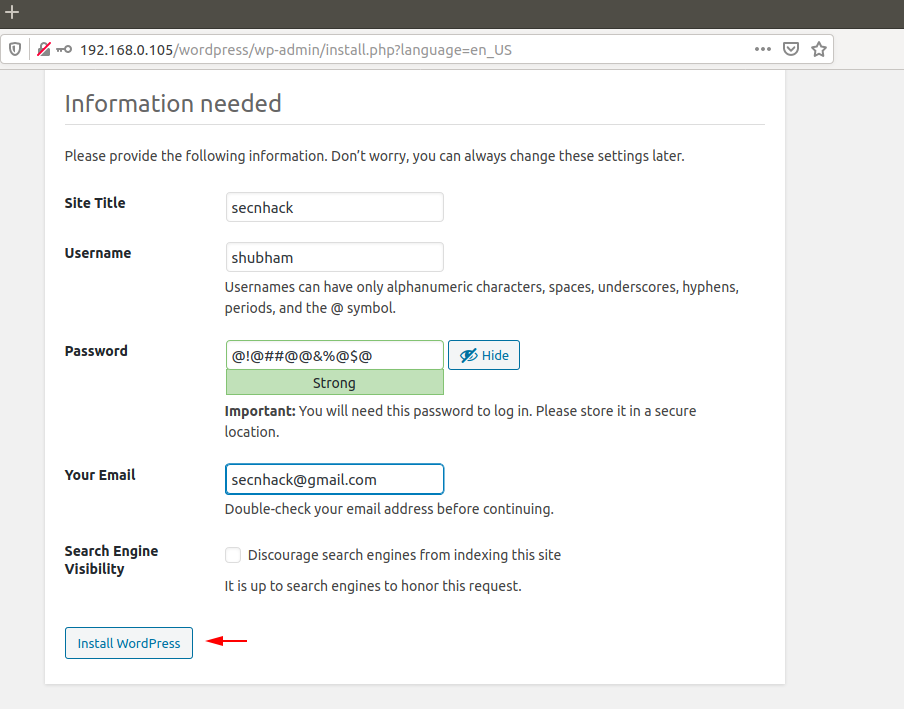
Enter your administrator credentials.
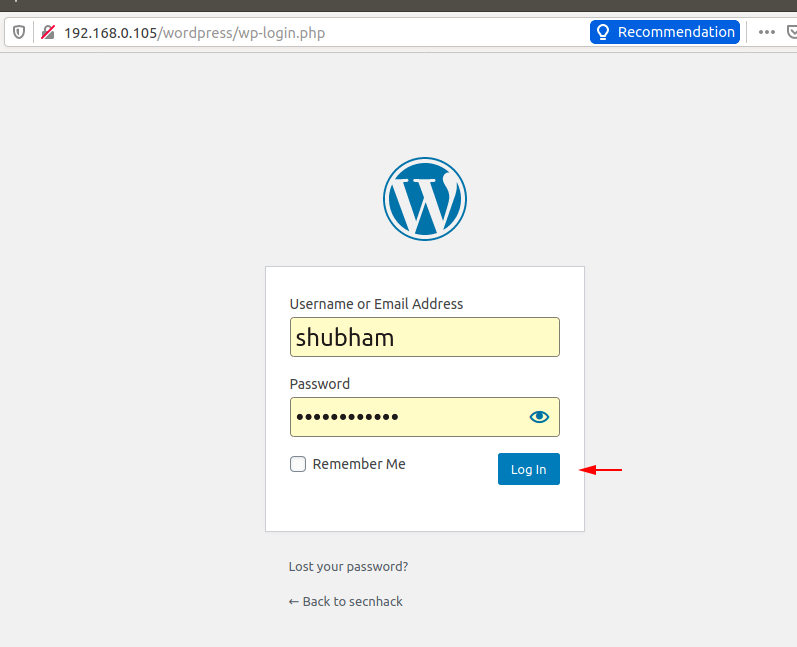
Great !! WordPress will is successfully installed in Ubuntu and now you can create your website in few minutes.